
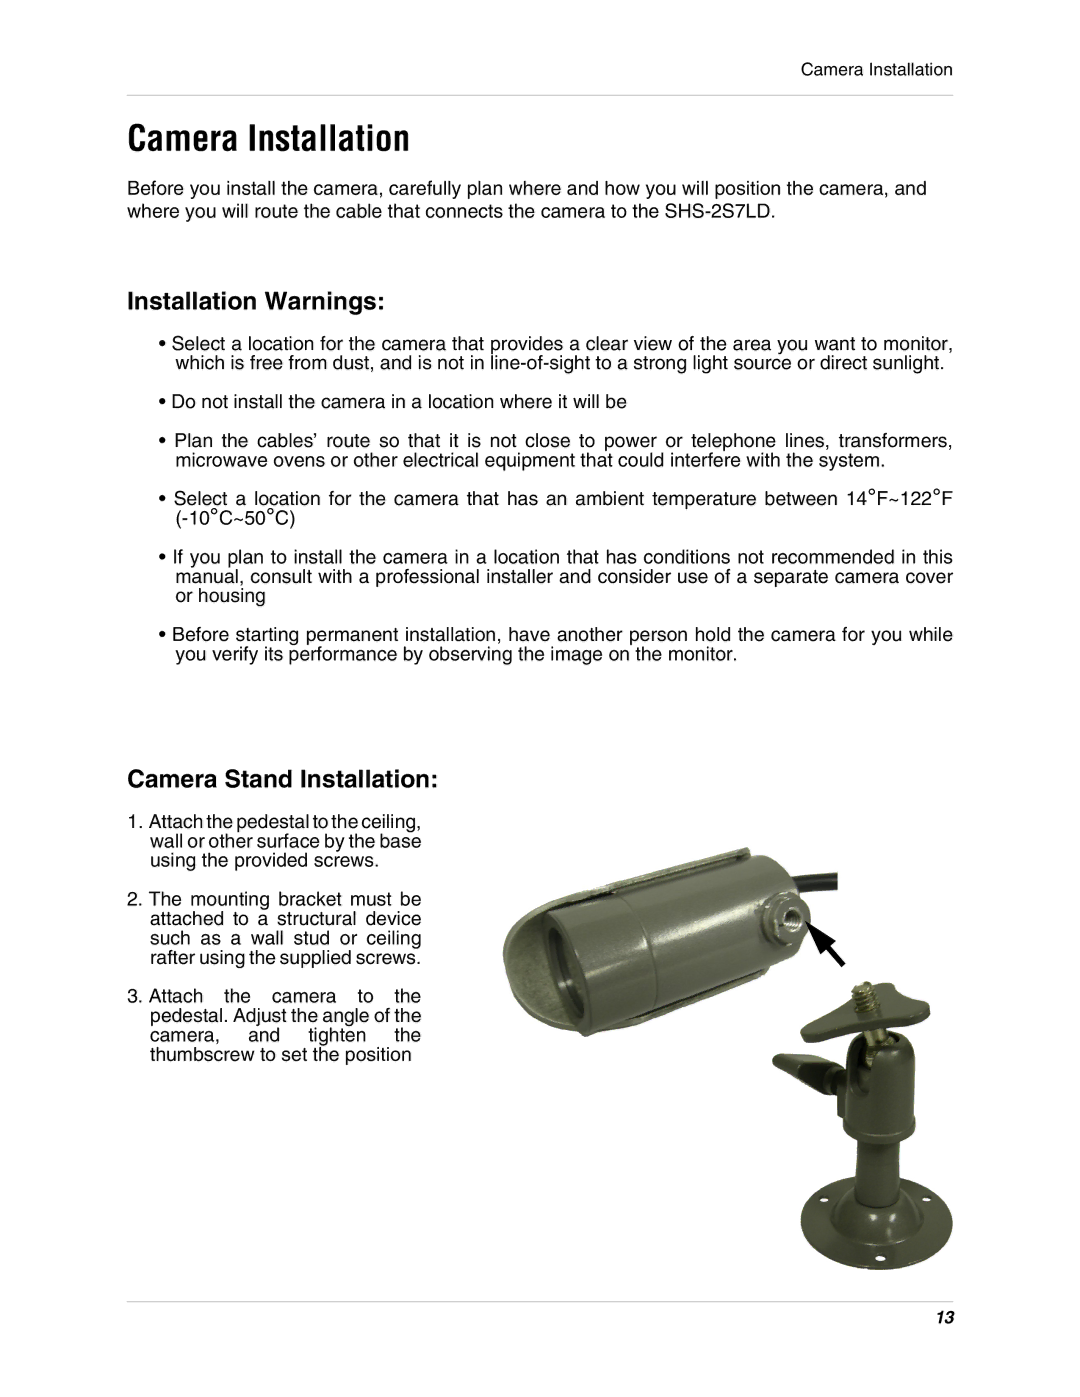
SHS-2S7LD Series specifications
The LOREX Technology SHS-2S7LD Series is a state-of-the-art security camera system designed for both residential and commercial use. This series stands out for its advanced features, reliable technologies, and user-friendly characteristics, making it an ideal choice for comprehensive surveillance needs.At the heart of the SHS-2S7LD is its exceptional 1080p Full HD video quality, which provides crystal-clear images for detailed monitoring. This high resolution allows users to capture important details, such as facial recognition and license plate identification, ensuring that no critical moment is missed. With a robust recording capability, the system supports continuous video recording, ensuring that every event is documented for review when necessary.
One of the standout features of the SHS-2S7LD series is its built-in night vision technology, which employs infrared LEDs to deliver high-quality images even in complete darkness. This allows for 24/7 monitoring, providing peace of mind to users regardless of the time of day. The camera's range of night vision is also noteworthy, enabling clear visibility up to a considerable distance.
The SHS-2S7LD series is equipped with a weather-resistant design, making it suitable for both indoor and outdoor installations. The cameras are built to withstand various environmental conditions, from heavy rain to extreme temperatures, ensuring long-term reliability and performance.
Another significant aspect of this series is its user-friendly mobile app. The LOREX Cloud app allows users to access live feeds and recorded footage from their smartphones or tablets, providing convenience and flexibility in monitoring their properties remotely. Notifications can be set up to alert users of any unusual activity, allowing for prompt responses to potential threats.
The SHS-2S7LD also incorporates advanced motion detection technologies that help reduce false alarms. With customizable motion zones, users can specify areas of interest, ensuring that alerts are triggered only when necessary. This feature adds a layer of intelligence to the surveillance system, enhancing its efficiency.
In conclusion, the LOREX Technology SHS-2S7LD Series is a robust security solution that combines high-definition video quality, reliable night vision, weather-resistant design, and advanced motion detection. Its user-friendly mobile app allows for convenient access to surveillance feeds, making it a comprehensive choice for those looking to enhance their security measures. With these features and technologies, the SHS-2S7LD series is designed to provide peace of mind and effective monitoring for any environment.