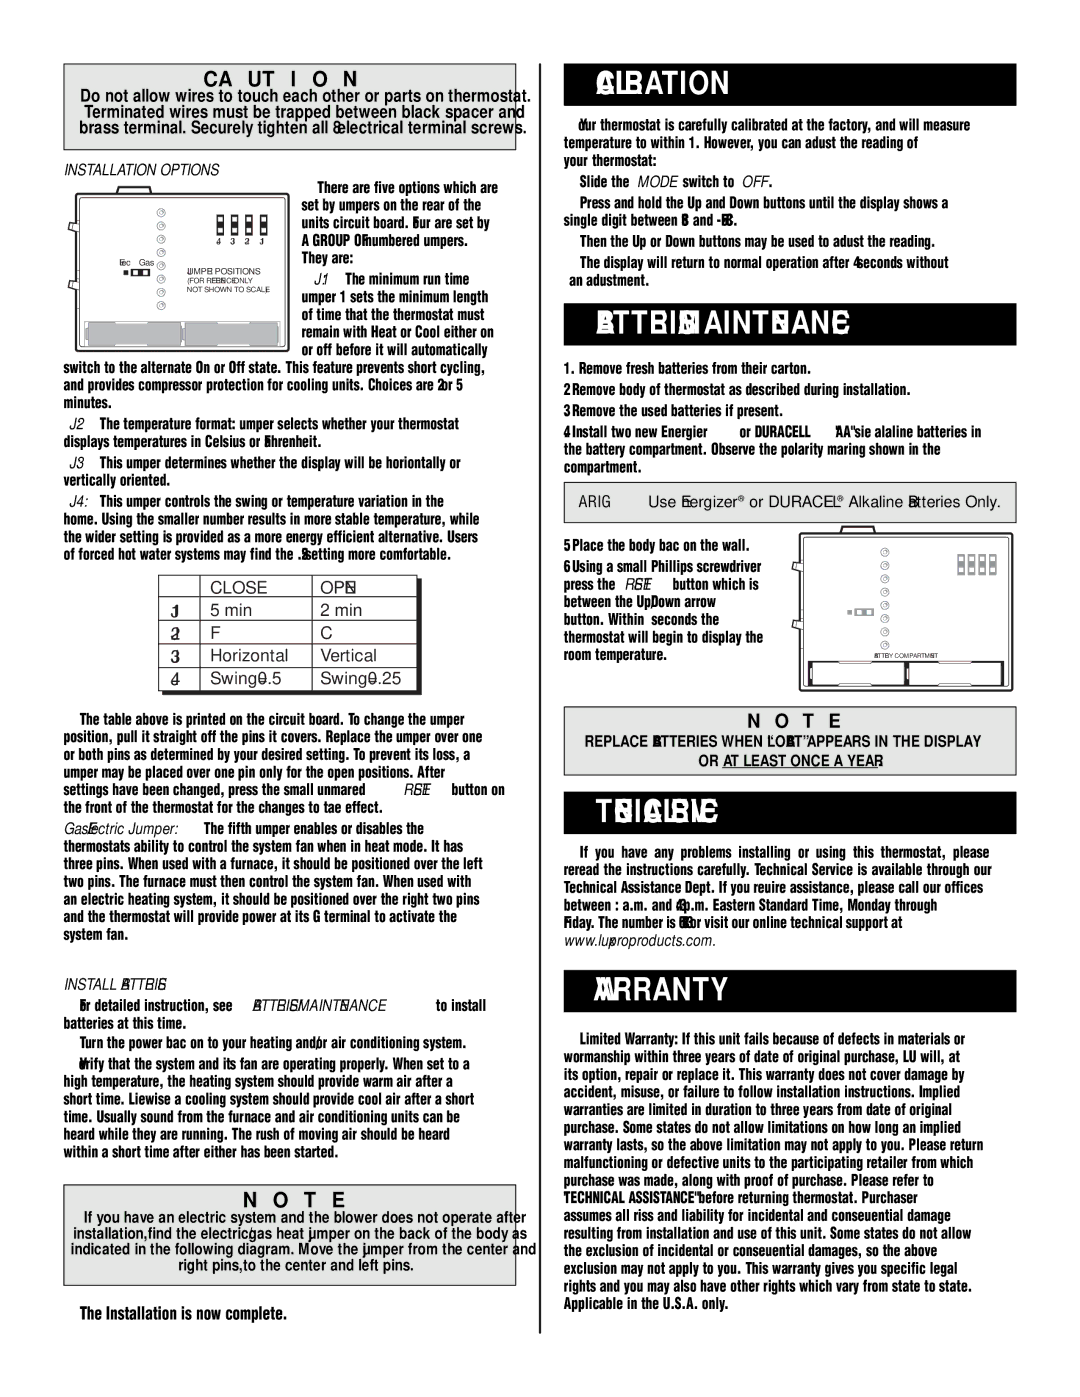
There are five options which are set by jumpers on the rear of the
units circuit board. Four are set by A GROUP OF numbered jumpers.
They are:
J1: The minimum run time
jumper J1 sets the minimum length of time that the thermostat must
remain with Heat or Cool either on
 or off before it will automatically switch to the alternate On or Off state. This feature prevents short cycling, and provides compressor protection for cooling units. Choices are 2 or 5 minutes.
J2: The temperature format: jumper selects whether your thermostat displays temperatures in Celsius or Fahrenheit.
J3: This Jumper determines whether the display will be horizontally or vertically oriented.
J4: This Jumper controls the “swing” or temperature variation in the home. Using the smaller number results in more stable temperature, while the wider setting is provided as a more energy efficient alternative. Users of forced hot water systems may find the 0.25 setting more comfortable.
| | CLOSE | OPEN | |
| | |
| J1 | 5 min | 2 min | |
| J2 | F | C | |
| J3 | Horizontal | Vertical | |
| J4 | Swing=0.5 | Swing=0.25 | |
The table above is printed on the circuit board. To change the jumper position, pull it straight off the pins it covers. Replace the jumper over one or both pins as determined by your desired setting. To prevent its loss, a jumper may be placed over one pin only for the open positions. After settings have been changed, press the small unmarked RESET button on the front of the thermostat for the changes to take effect.
Gas/Electric Jumper: The fifth jumper enables or disables the thermostats ability to control the system fan when in heat mode. It has three pins. When used with a furnace, it should be positioned over the left two pins. The furnace must then control the system fan. When used with an electric heating system, it should be positioned over the right two pins and the thermostat will provide power at its G terminal to activate the system fan.
INSTALL BATTERIES
For detailed instruction, see BATTERIES/MAINTENANCE to install batteries at this time.
●Turn the power back on to your heating and/or air conditioning system.
●Verify that the system and it’s fan are operating properly. When set to a high temperature, the heating system should provide warm air after a short time. Likewise a cooling system should provide cool air after a short time. Usually sound from the furnace and air conditioning units can be heard while they are running. The rush of moving air should be heard within a short time after either has been started.
N O T E
If you have an electric system and the blower does not operate after installation, find the electric/gas heat jumper on the back of the body as indicated in the following diagram. Move the jumper from the center and right pins, to the center and left pins.
●The Installation is now complete.
CALIBRATION
Your thermostat is carefully calibrated at the factory, and will measure temperature to within ±1°. However, you can adjust the reading of your thermostat:
●Slide the MODE switch to OFF.
●Press and hold the Up and Down buttons until the display shows a single digit between +5F°(+3C°) and -5F°(-3C°).
●Then the Up or Down buttons may be used to adjust the reading.
●The display will return to normal operation after 4 seconds without an adjustment.
BATTERIES/MAINTENANCE
1.Remove fresh batteries from their carton.
2.Remove body of thermostat as described during installation.
3.Remove the used batteries if present.
4.Install two new Energizer® or DURACELL® "AA" size alkaline batteries in the battery compartment. Observe the polarity marking shown in the compartment.
WARNING: Use Energizer® or DURACELL® Alkaline Batteries Only.
5. Place the body back on the wall.
6. Using a small Phillips screwdriver | |
press the RESET button which is | |
between the Up/Down arrow | |
button. Within 90 seconds the | |
thermostat will begin to display the | |
room temperature. | BATTERY COMPARTMENT |
N O T E
REPLACE BATTERIES WHEN “LOBAT” APPEARS IN THE DISPLAY
OR AT LEAST ONCE A YEAR.
TECHNICAL SERVICE
If you have any problems installing or using this thermostat, please reread the instructions carefully. Technical Service is available through our Technical Assistance Dept. If you require assistance, please call our offices between 8:00 a.m. and 4:30 p.m. Eastern Standard Time, Monday through
Friday. The number is (856) 234-8803 or visit our online technical support at www.luxproproducts.com.
WARRANTY
Limited Warranty: If this unit fails because of defects in materials or workmanship within three years of date of original purchase, LUX will, at its option, repair or replace it. This warranty does not cover damage by accident, misuse, or failure to follow installation instructions. Implied warranties are limited in duration to three years from date of original purchase. Some states do not allow limitations on how long an implied warranty lasts, so the above limitation may not apply to you. Please return malfunctioning or defective units to the participating retailer from which purchase was made, along with proof of purchase. Please refer to "TECHNICAL ASSISTANCE" before returning thermostat. Purchaser assumes all risks and liability for incidental and consequential damage resulting from installation and use of this unit. Some states do not allow the exclusion of incidental or consequential damages, so the above exclusion may not apply to you. This warranty gives you specific legal rights and you may also have other rights which vary from state to state. Applicable in the U.S.A. only.

