M6100CD specifications
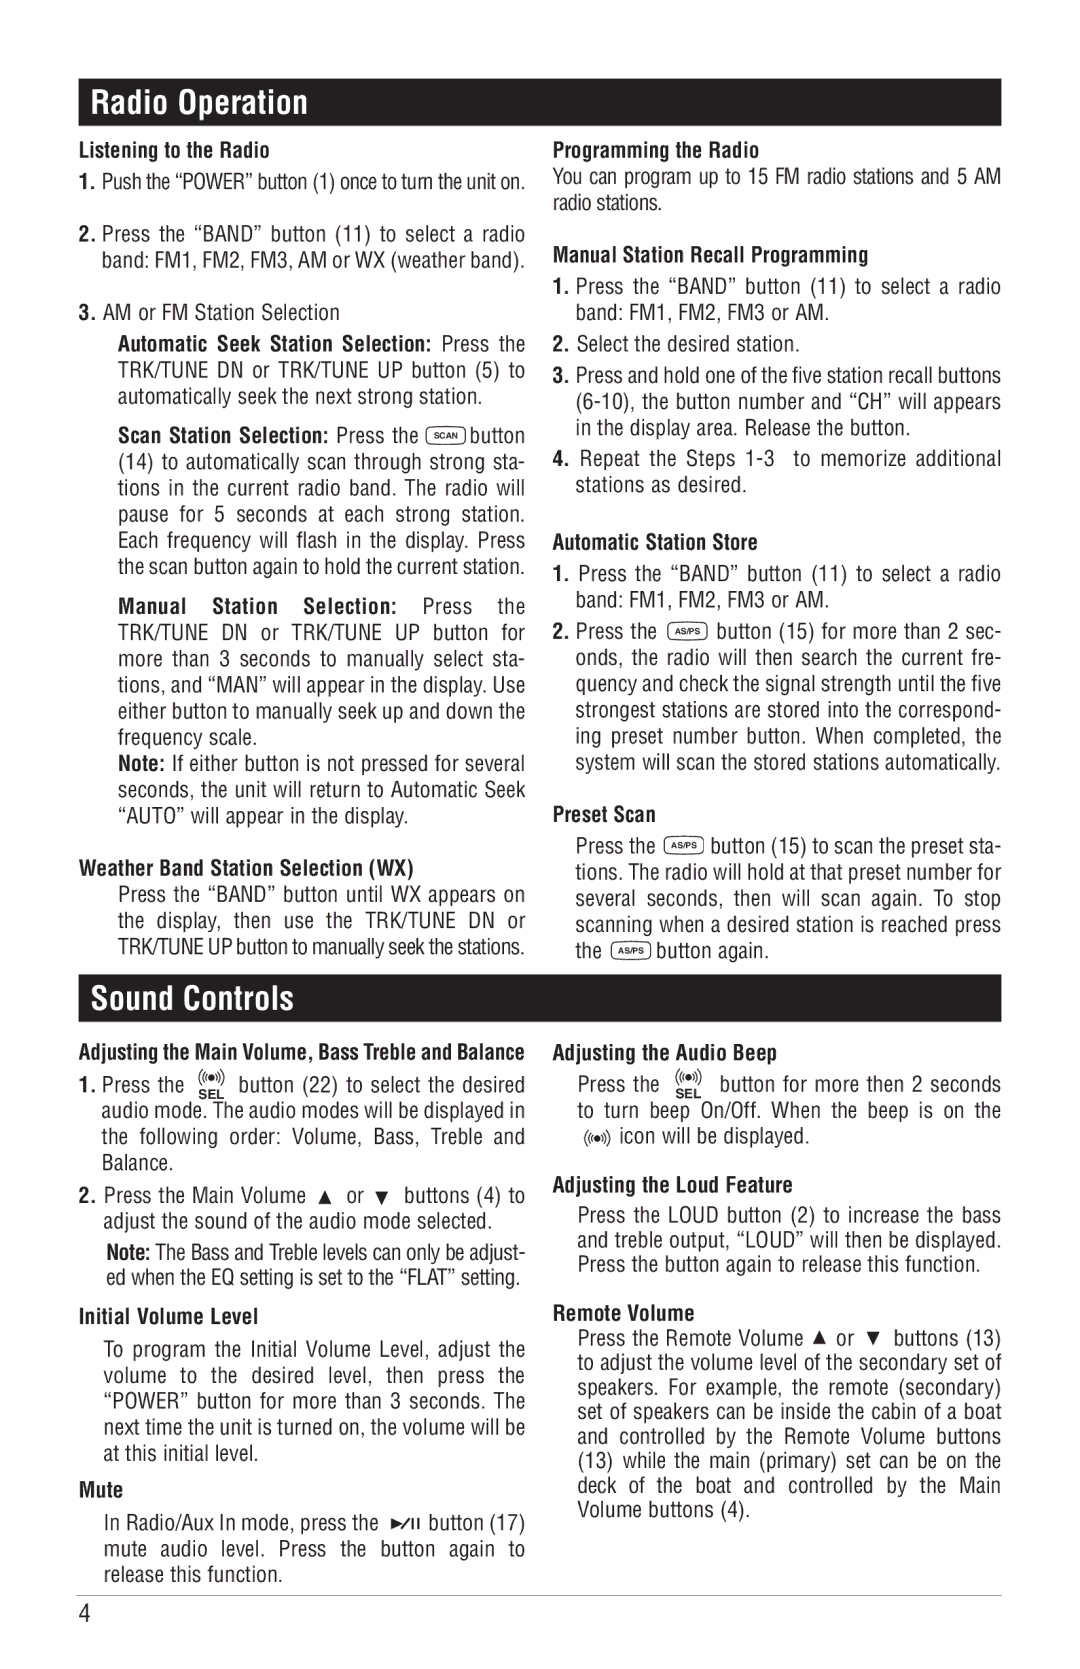
The Magnadyne M6100CD is a versatile and powerful multimedia system designed for automotive environments, catering to the needs of those who prioritize both entertainment and functionality in their vehicles. This advanced unit stands out due to its array of features, high-quality sound output, and modern connectivity options, making it an ideal choice for any vehicle owner.At the heart of the M6100CD is a robust CD player, capable of playing traditional CDs as well as audio files on CD-R and CD-RW formats. This feature allows users to enjoy their existing collections with clarity and precision. In addition to CD playback, the M6100CD supports various media formats, enhancing its versatility. This includes MP3 and WMA files, allowing users to experience their favorite music without limitation.
One of the key highlights of the Magnadyne M6100CD is its advanced connectivity. Equipped with Bluetooth technology, the unit supports hands-free calling and wireless audio streaming from compatible devices. This feature not only enhances safety while driving but also ensures seamless integration with smartphones and tablets, allowing users to enjoy their favorite playlists directly from their devices.
The M6100CD also features a front USB port and an auxiliary input, providing multiple options for connecting personal media devices. This versatility means users can easily connect flash drives or other devices to access a vast array of audio files. The USB port further enables fast charging of mobile devices, keeping them powered during long journeys.
Sound quality is paramount, and the M6100CD delivers on this front with its built-in amplifier, ensuring clear audio reproduction. The unit incorporates advanced digital signal processing to optimize sound performance, featuring adjustable equalizer settings that allow users to customize their listening experience according to their preferences. In addition, the unit supports multiple speaker outputs, allowing for an enhanced surround sound experience in the vehicle.
The design of the Magnadyne M6100CD is both user-friendly and sleek, featuring an intuitive interface that makes navigation easy while driving. The vibrant display provides clear visibility of track information, radio frequencies, and other relevant data, making it simple for users to control their media without distraction.
Overall, the Magnadyne M6100CD exemplifies modern automotive audio technology. With its extensive features, advanced connectivity options, and high-quality sound performance, it is a preferred choice for those seeking to elevate their in-car entertainment experience. This multimedia system not only enhances the enjoyment of music and media while driving but also incorporates functionality that aligns perfectly with the demands of today’s drivers.

