ASSEMBLY
CAUTION:
•Always be sure that the tool is switched off before carrying out any work on the tool.
|
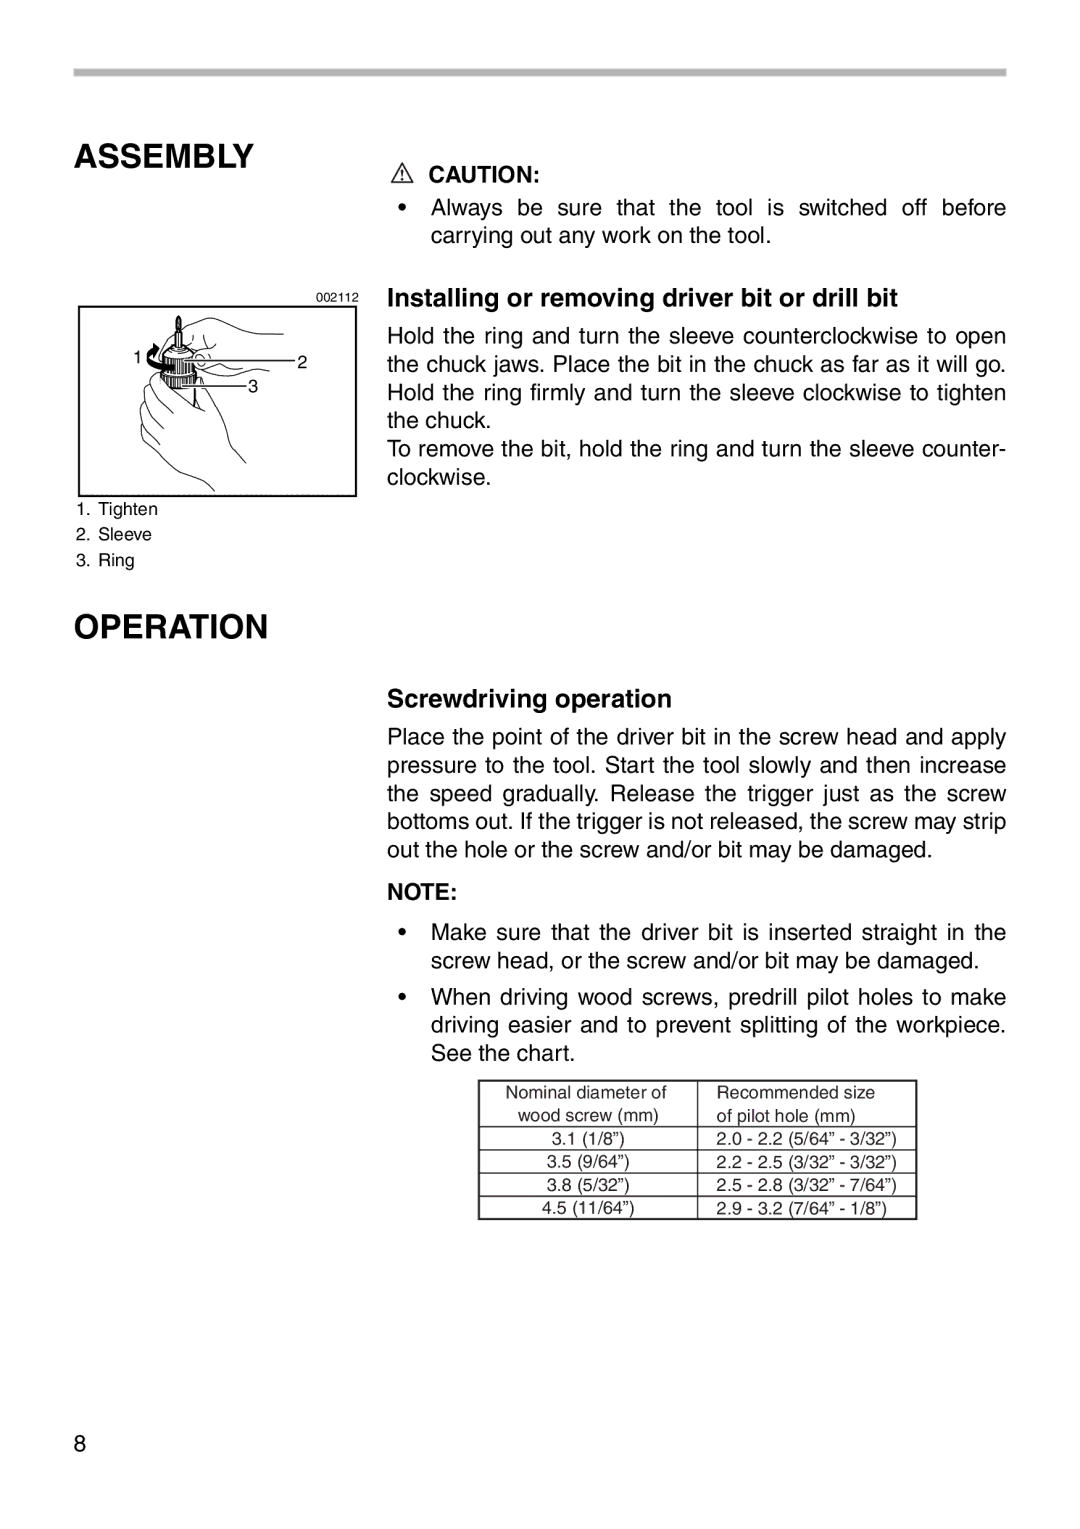
| 002112 | Installing or removing driver bit or drill bit |
|
|
| |
1 |
|
| Hold the ring and turn the sleeve counterclockwise to open |
2 |
| the chuck jaws. Place the bit in the chuck as far as it will go. | |
| 3 |
| Hold the ring firmly and turn the sleeve clockwise to tighten |
|
|
| the chuck. |
|
|
| To remove the bit, hold the ring and turn the sleeve counter- |
|
|
| clockwise. |
1.Tighten
2.Sleeve
3.Ring
OPERATION
Screwdriving operation
Place the point of the driver bit in the screw head and apply pressure to the tool. Start the tool slowly and then increase the speed gradually. Release the trigger just as the screw bottoms out. If the trigger is not released, the screw may strip out the hole or the screw and/or bit may be damaged.
NOTE:
•Make sure that the driver bit is inserted straight in the screw head, or the screw and/or bit may be damaged.
•When driving wood screws, predrill pilot holes to make driving easier and to prevent splitting of the workpiece. See the chart.
Nominal diameter of | Recommended size | ||
wood screw (mm) | of pilot hole (mm) | ||
3.1 (1/8”) | 2.0 | - 2.2 | (5/64” - 3/32”) |
3.5 (9/64”) | 2.2 | - 2.5 | (3/32” - 3/32”) |
3.8 (5/32”) | 2.5 | - 2.8 | (3/32” - 7/64”) |
4.5 (11/64”) | 2.9 | - 3.2 | (7/64” - 1/8”) |
8