Installation and Initial Setup
■Unpacking
Carefully unpack the V-R261-DLW monitor and verify that the following items are included:
•V-R261-DLW Monitor
•V-PS24-7.5 Power Supply with XLR Connector
•Operating Instructions
Inspect the unit for any physical damage that may have occurred during shipping. Should there be any damage, immediately contact Marshall Electronics at (800) 800-6608. If you are not located within the continental United States, call +1 (310) 333-0606.
■Installation
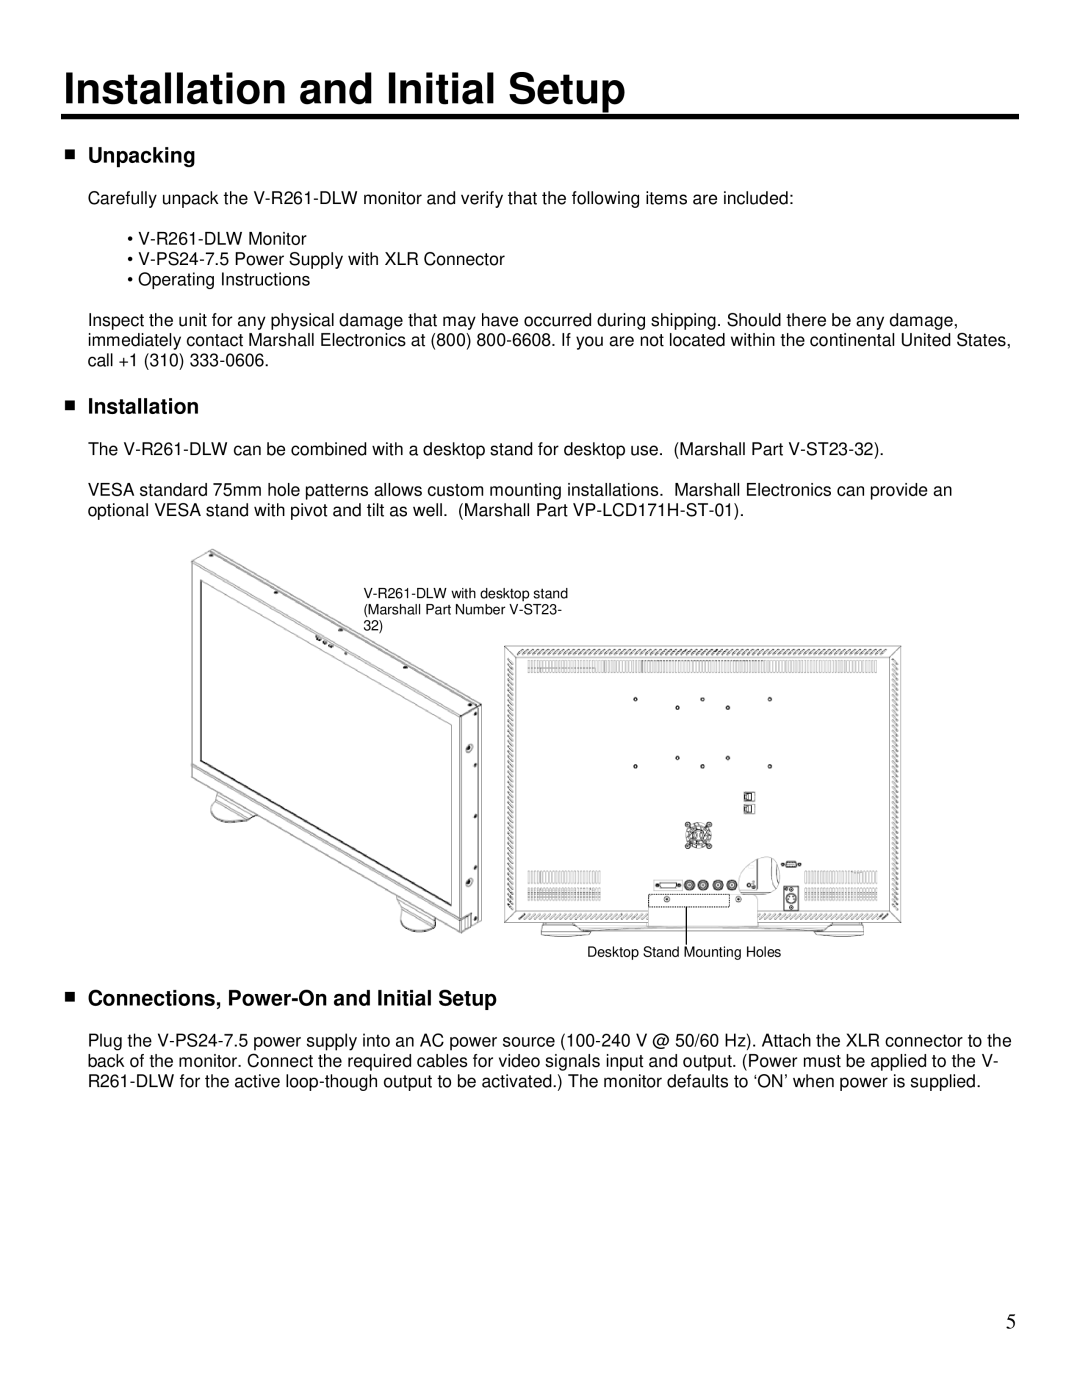
The V-R261-DLW can be combined with a desktop stand for desktop use. (Marshall Part V-ST23-32).
VESA standard 75mm hole patterns allows custom mounting installations. Marshall Electronics can provide an optional VESA stand with pivot and tilt as well. (Marshall Part VP-LCD171H-ST-01).
V-R261-DLW with desktop stand (Marshall Part Number V-ST23- 32)
Desktop Stand Mounting Holes
■Connections, Power-On and Initial Setup
Plug the V-PS24-7.5 power supply into an AC power source (100-240 V @ 50/60 Hz). Attach the XLR connector to the back of the monitor. Connect the required cables for video signals input and output. (Power must be applied to the V- R261-DLW for the active loop-though output to be activated.) The monitor defaults to ‘ON’ when power is supplied.

