LT Series, LT ACF Series, LT SC Series specifications
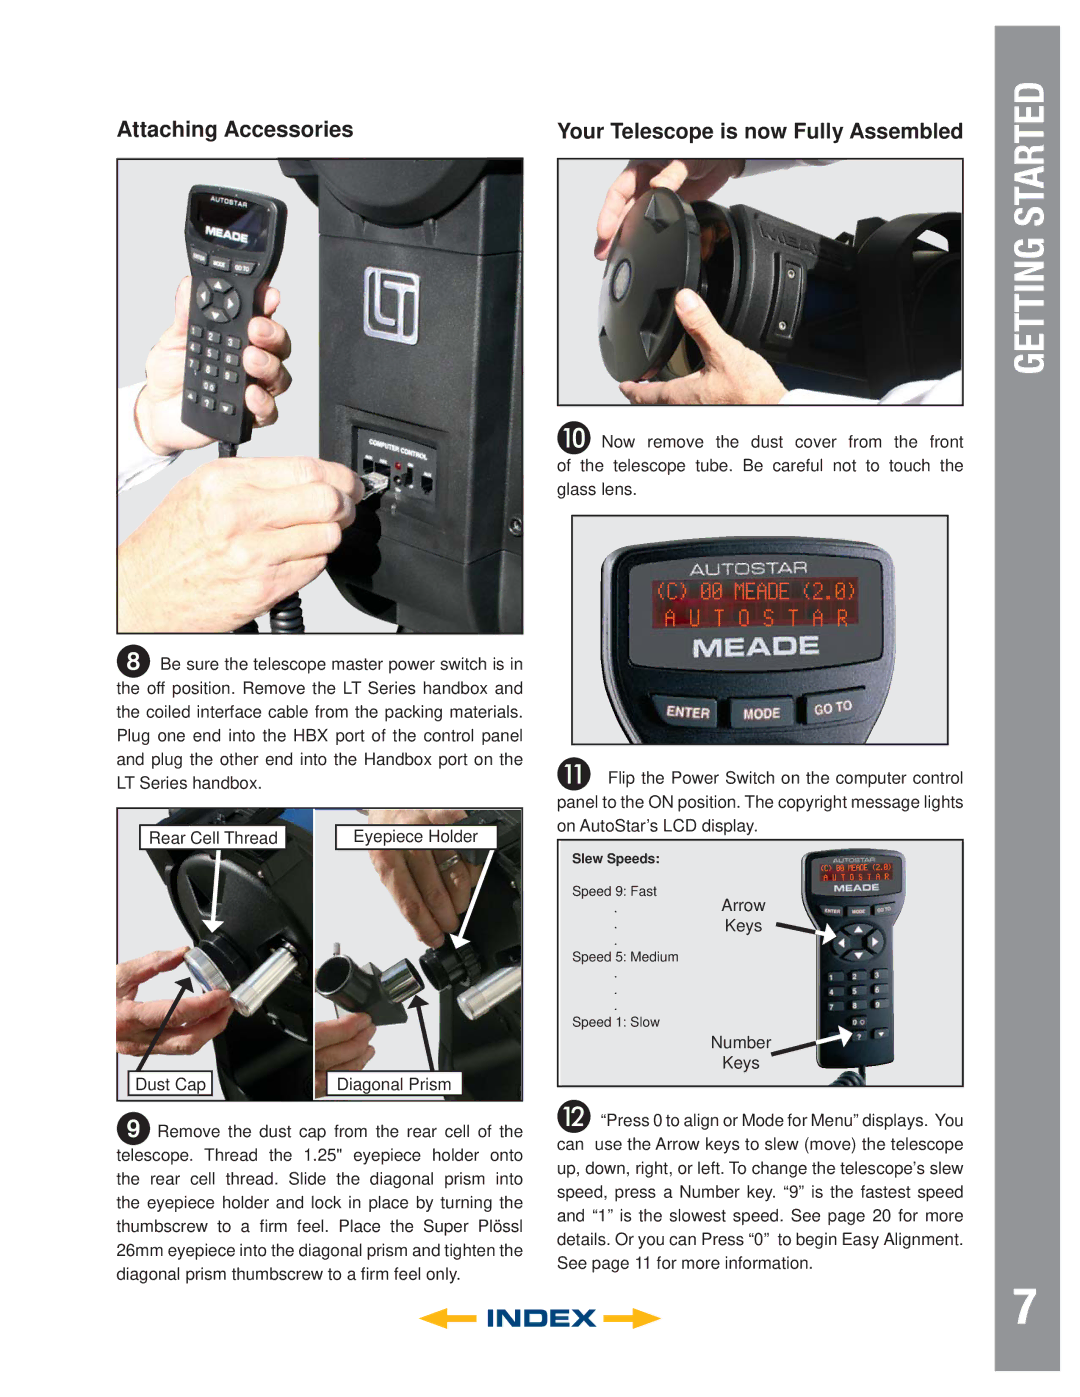
The Meade LT SC Series, LT ACF Series, and LT Series telescopes are designed to meet the diverse needs of amateur astronomers and astrophotographers alike. Each of these series caters to various levels of experience while incorporating advanced features and technologies that enhance observational stability and image quality.The Meade LT SC Series, featuring the advanced Schmidt-Cassegrain design, excels in versatility. This series includes different aperture sizes, allowing users to view celestial objects ranging from the moon to distant galaxies. The telescopes come equipped with an AudioStar hand controller that provides a database of over 30,000 celestial objects, enabling users to easily locate and track their subjects. The built-in GPS feature facilitates effortless alignment by automatically determining the user’s location and time.
In contrast, the LT ACF Series showcases Meade's innovative Advanced Coma-Free (ACF) optics. This design minimizes coma and field curvature, providing sharp, crisp images across a wider field of view. Ideal for astrophotography, this series is enhanced by features like a fast focal ratio for better imaging of dim objects and a robust construction that ensures stability during use. The LT ACF telescopes also support advanced imaging techniques, allowing users to capture stunning images of deep-sky objects while minimizing aberrations.
The classic LT Series remains a favorite among beginners. Known for its straightforward setup and usability, this series is designed with a lightweight and portable frame. The LT Series telescope is equipped with an altazimuth mount, making it user-friendly for quick observations. The simplicity allows new astronomers to start observing with minimal technical knowledge. Additionally, these telescopes support a variety of accessories such as smartphone adapters, making it easy for users to capture their observations.
All three series incorporate Meade's proprietary StarLock technology in certain models, which facilitates automated tracking. This feature frees astronomers from the complexities of manual tracking, allowing them to focus more on the experience of observing celestial wonders.
In summary, the Meade LT SC Series, LT ACF Series, and LT Series deliver exceptional optical performance and user-friendly features, making them suitable for a wide range of astronomy enthusiasts. Whether you are a seasoned astrophotographer or a novice sky-watcher, Meade's telescopes provide the technology and capabilities needed to explore the universe.

