UK
OWNER’S MANUAL
Model:
Portable Gas Grill
INTRODUCTION
To get the best out of your new gas grill, please read through these instructions carefully before using it for the first time. We also recommend that you keep the instructions for future reference.
IMPORTANT: Read these instructions for use carefully so as to fami- liarize yourself with the appliance before connecting its gas cartridge. Keep these instructions for future reference.
Type of gas: | |
Appliance category: | Category direct pressure |
Nominal rate: |
This appliance shall be only used with
FOR OUTDOOR USE ONLY.
Safety Information
Do not use an appliance which is leaking, damaged or which does not operate properly.
The appliance must be operated on a horizontal surface.
The appliance shall be away from flammable materials with a minimum distance of 0.4 m to adjacent walls.
The gas containers shall be changed outside, away from any sources of ignition, such as naked flames, pilots, electric fires and away from other people.
If there is a leak on your appliance (smell of gas), take it outside imme- diately into a well ventilated flame free location where the leak may be detected and stopped. If you wish to check for leaks on your appliance, do it outside. Do not try to detect leaks using a flame, use soapy water.
Check that the seal (between the appliance and the gas container) is in place and in good condition before connecting the gas cartridge.
Do not use the appliance if it has damaged or worn seals
Do not use an appliance, which is leaking, damaged or which does not operate properly
Do not modify the appliance
Caution accessible parts may become very hot. Keep young children away from the appliance.
ASSEMBLY
1.Remove the grill from its packing. Note the grill is delivered in the “storage position” and must be assembled before use.
2.Place the grill, support stand down, on a level surface.
3.Raise the Retainer Ring from the storage position. See Figure 1
Figure 1
4.Remove the Lid, Grill plate, Lid and Drip Tray and place one side.
5.Assemble the Lid Handle
The Lid Handle is fixed to the inside of the lid (See Figure 2) for transpor- tation purposes only and must be repositioned before use as follows:
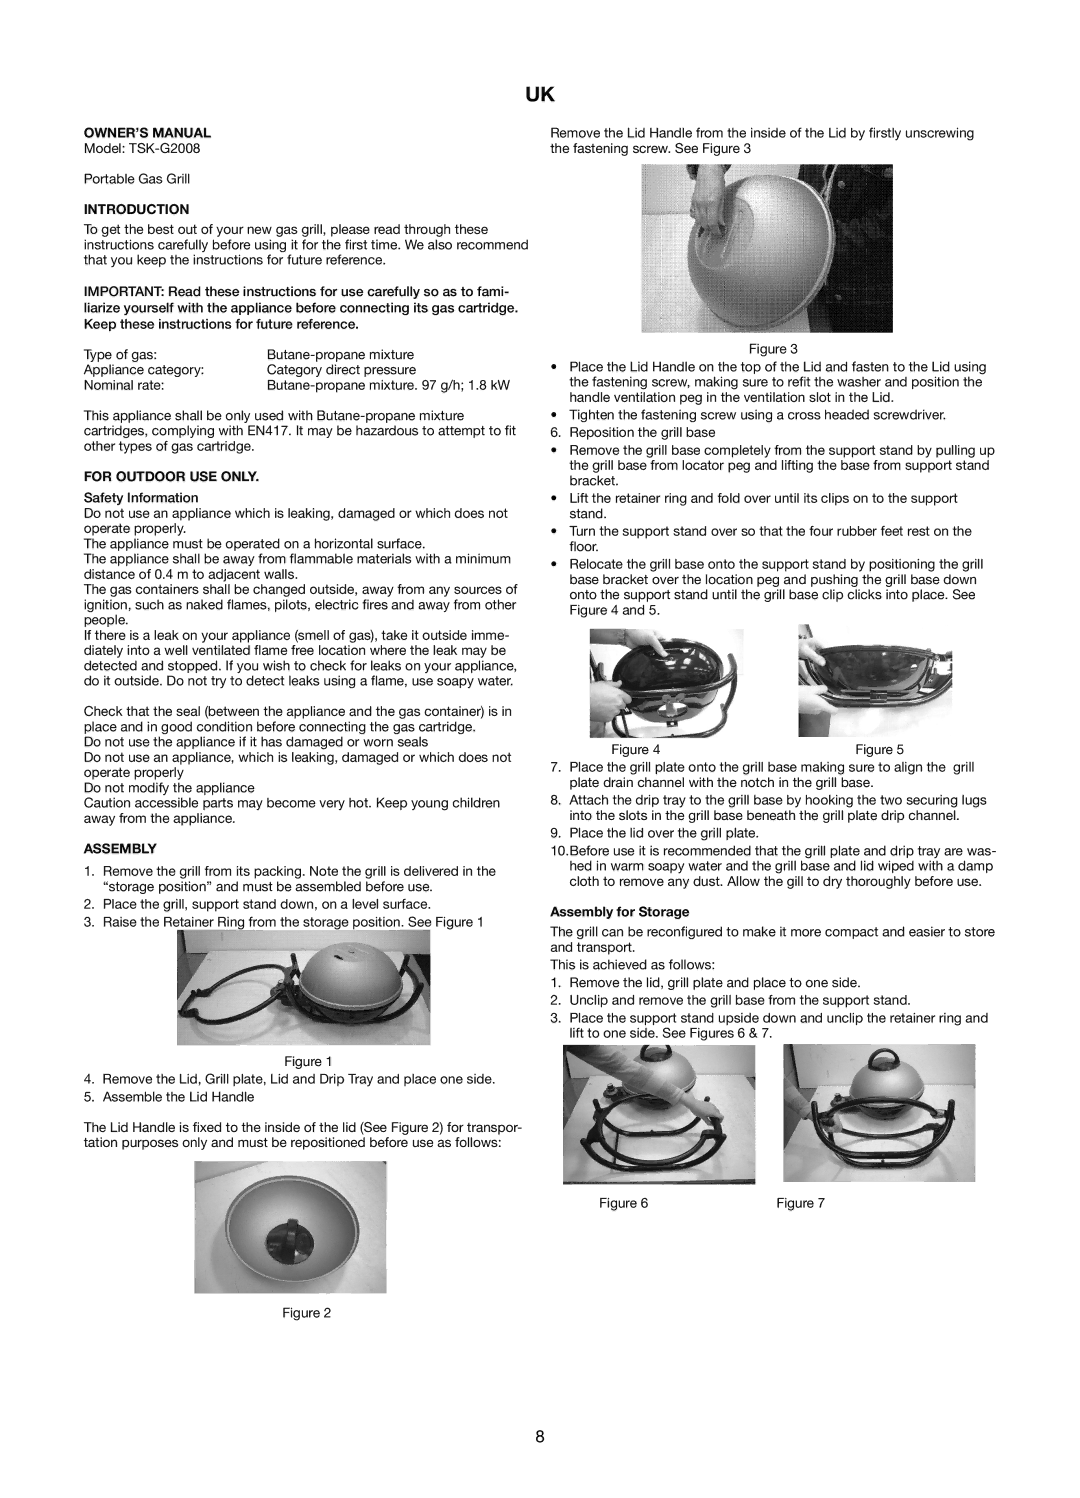
Remove the Lid Handle from the inside of the Lid by firstly unscrewing the fastening screw. See Figure 3
Figure 3
•Place the Lid Handle on the top of the Lid and fasten to the Lid using the fastening screw, making sure to refit the washer and position the handle ventilation peg in the ventilation slot in the Lid.
•Tighten the fastening screw using a cross headed screwdriver.
6. Reposition the grill base
•Remove the grill base completely from the support stand by pulling up the grill base from locator peg and lifting the base from support stand bracket.
•Lift the retainer ring and fold over until its clips on to the support stand.
•Turn the support stand over so that the four rubber feet rest on the floor.
•Relocate the grill base onto the support stand by positioning the grill base bracket over the location peg and pushing the grill base down onto the support stand until the grill base clip clicks into place. See Figure 4 and 5.
Figure 4 | Figure 5 |
7.Place the grill plate onto the grill base making sure to align the grill plate drain channel with the notch in the grill base.
8.Attach the drip tray to the grill base by hooking the two securing lugs into the slots in the grill base beneath the grill plate drip channel.
9.Place the lid over the grill plate.
10.Before use it is recommended that the grill plate and drip tray are was- hed in warm soapy water and the grill base and lid wiped with a damp cloth to remove any dust. Allow the gill to dry thoroughly before use.
Assembly for Storage
The grill can be reconfigured to make it more compact and easier to store and transport.
This is achieved as follows:
1.Remove the lid, grill plate and place to one side.
2.Unclip and remove the grill base from the support stand.
3.Place the support stand upside down and unclip the retainer ring and lift to one side. See Figures 6 & 7.
Figure 6 | Figure 7 |
Figure 2
8