4.Go to the folder where you saved the driver and
•A Welcome dialogue box will pop up to give you the option of installing the drivers. Click on NEXT.
•Click on Yes to accept the terms of the software licence agreement
•Click Next for each step following to complete the installation process.
•Be sure to remove your TravelDrive if you have installed it at any time prior to this software installation.
•A Setup Status screen will confirm that you have successfully installed your TravelDrive drivers.
•Choose "Yes, I want to restart my computer now" and click Finish to reboot your computer to complete the driver installation process.
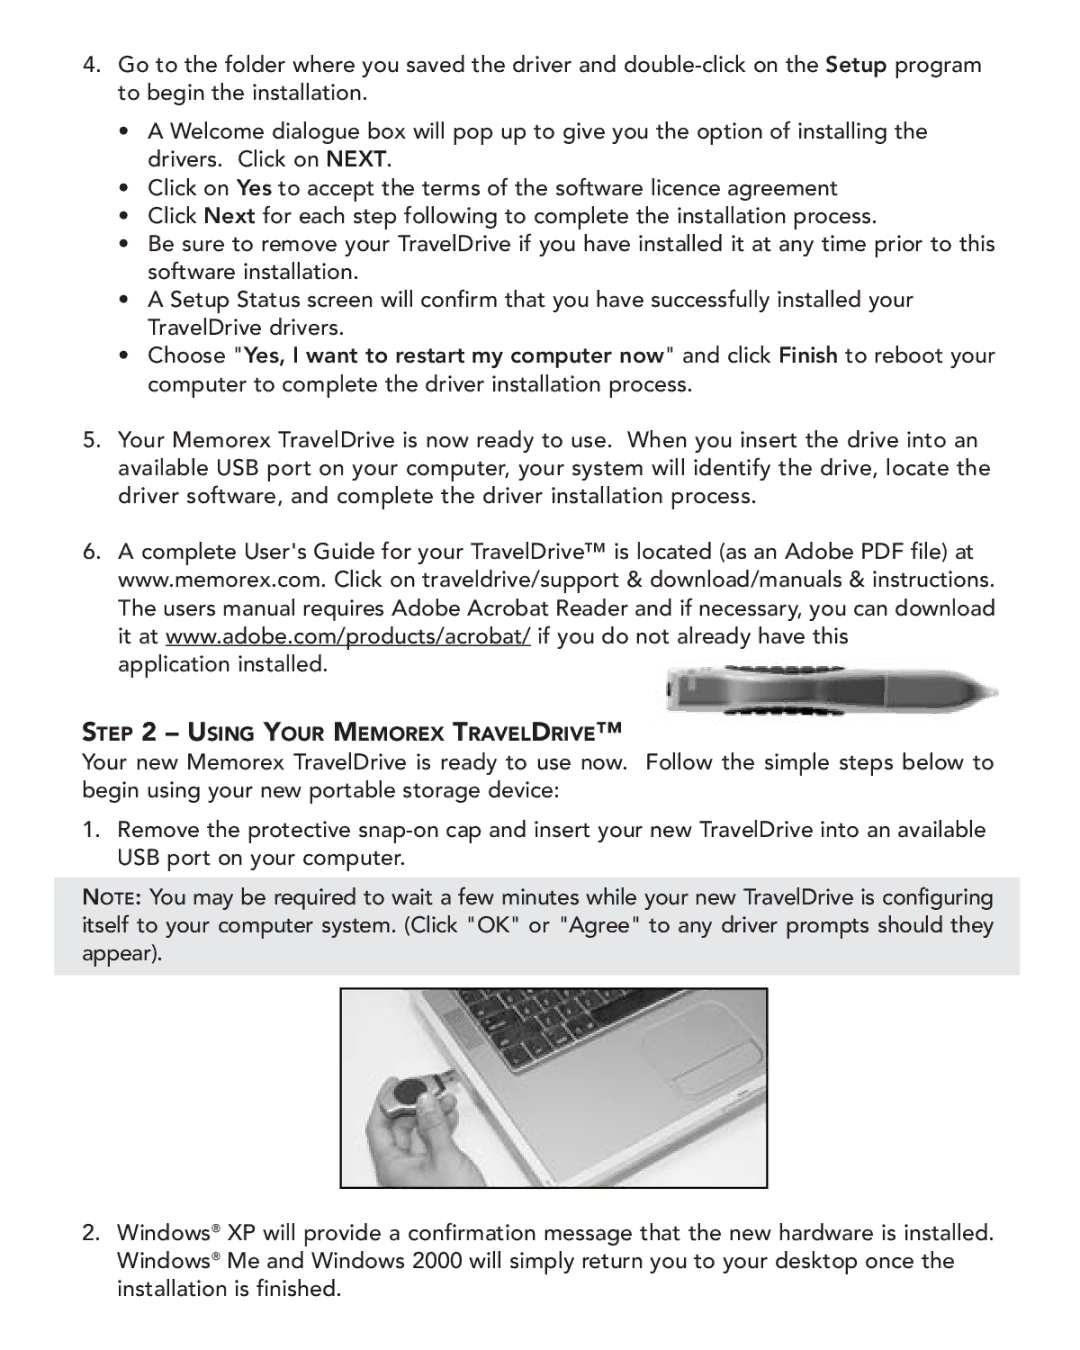
5.Your Memorex TravelDrive is now ready to use. When you insert the drive into an available USB port on your computer, your system will identify the drive, locate the driver software, and complete the driver installation process.
6.A complete User's Guide for your TravelDrive™ is located (as an Adobe PDF file) at www.memorex.com. Click on traveldrive/support & download/manuals & instructions. The users manual requires Adobe Acrobat Reader and if necessary, you can download it at www.adobe.com/products/acrobat/ if you do not already have this application installed.
STEP 2 – USING YOUR MEMOREX TRAVELDRIVE™
Your new Memorex TravelDrive is ready to use now. Follow the simple steps below to begin using your new portable storage device:
1.Remove the protective
NOTE: You may be required to wait a few minutes while your new TravelDrive is configuring itself to your computer system. (Click "OK" or "Agree" to any driver prompts should they appear).
2.Windows® XP will provide a confirmation message that the new hardware is installed. Windows® Me and Windows 2000 will simply return you to your desktop once the installation is finished.
