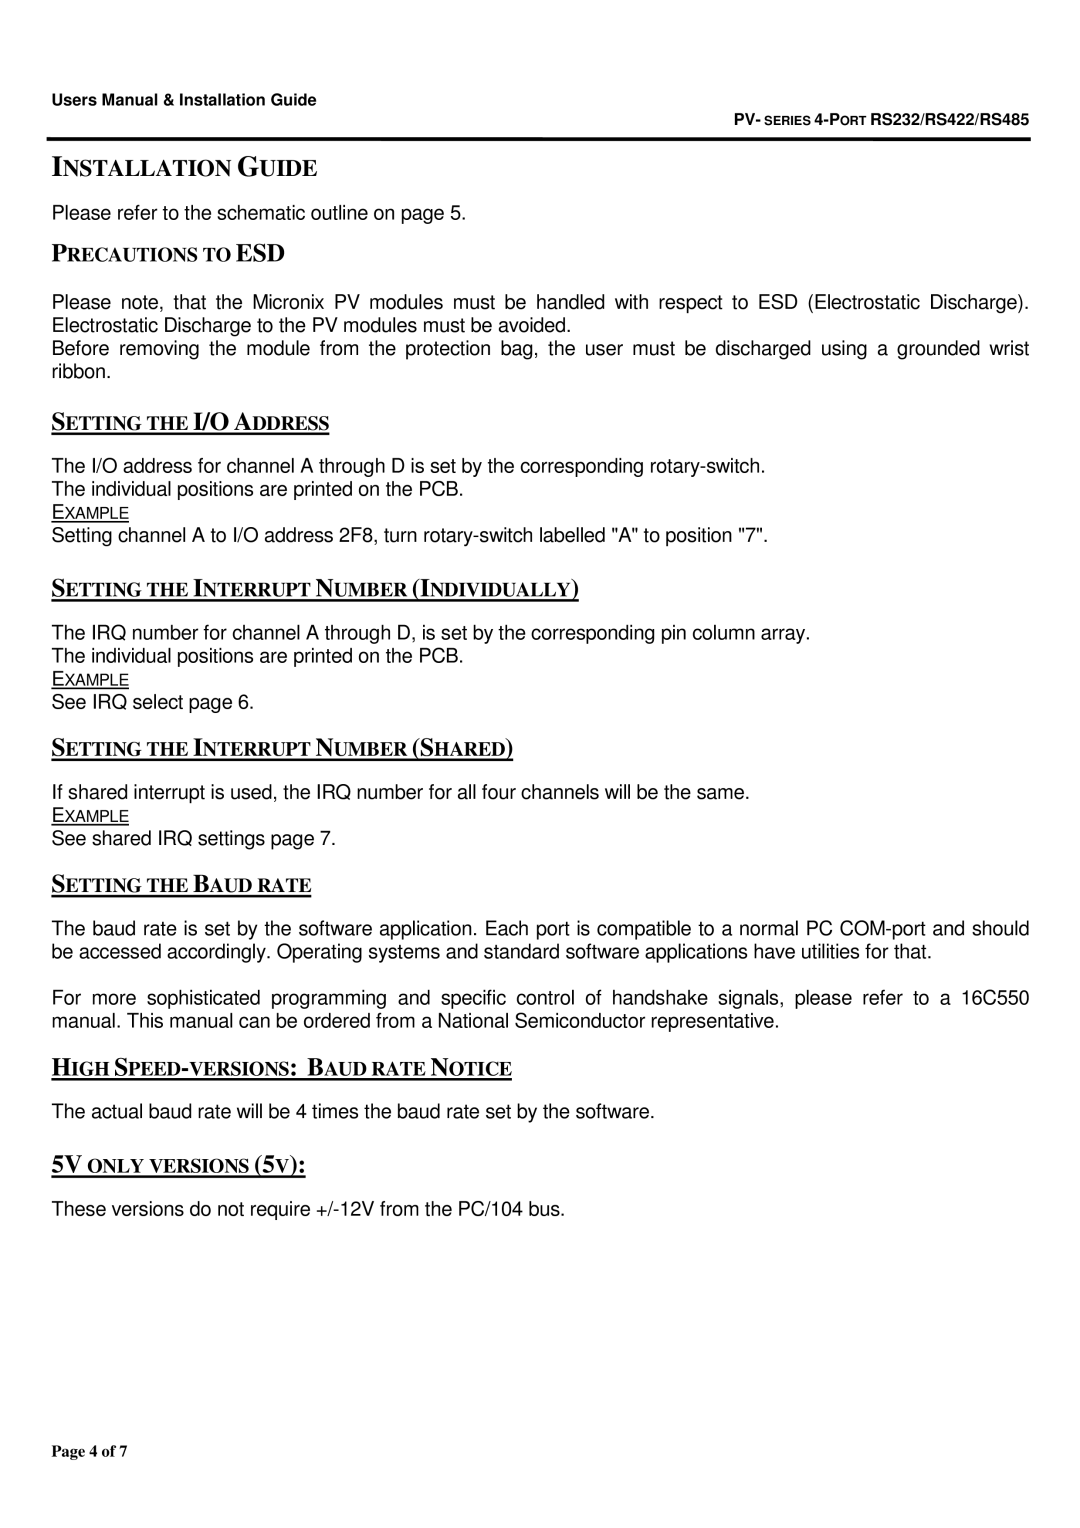
RS422, RS232, PV Series, RS485 specifications
Micro Technic is known for its robust communication products, particularly in the realm of industrial automation and control systems. Among its impressive range, the Micro Technic RS232, RS422, RS485, and PV series stand out for their durability, reliability, and versatile applications in various industries.The RS232 series is a widely recognized standard for serial communication, characterized by its simplicity and effectiveness for short-distance data transmission. The typical range for RS232 communication is limited to 15 meters, utilizing a single-ended signal. This series is favored for point-to-point connections, commonly found in devices like computers, printers, and modems. Main features of the RS232 include easy integration, low cost, and straightforward cabling requirements, making it an ideal choice for small-scale applications.
In contrast, the RS422 series offers enhanced communication capabilities suitable for multipoint systems. It can support distances up to 1200 meters and is well-suited for applications that require higher data rates and longer transmission distances. The differential signaling in RS422 minimizes the impact of noise, providing a reliable communication link in industrial environments where electrical interference is a concern. Its main characteristics include compatibility with multi-drop configurations and high-speed data transfer, making it a preferred option for robust applications.
The RS485 series takes the advantages of RS422 further, enabling even greater flexibility with its half-duplex communication. It is widely utilized for communication in networks where multiple devices need to be connected simultaneously, thanks to its ability to support up to 32 devices on a single bus. The maximum distance can reach up to 1200 meters. RS485 is particularly common in industrial control systems, building automation, and remote sensor applications due to its resilience and cost-effectiveness.
Additionally, the PV series from Micro Technic includes innovative products that integrate both wired and wireless communication solutions, often incorporating the latest technologies such as Ethernet and IoT compatibility. These devices are designed for telemetry and remote monitoring, providing superior data handling capabilities and robust security features. They are particularly valuable in modern industrial applications where real-time data transmission is critical for operational efficiency.
In conclusion, Micro Technic’s RS232, RS422, RS485, and PV series showcase an array of communication solutions tailored for various industrial requirements. With their unique features and capabilities, these products not only ensure reliable data transfer but also enhance the productivity and efficiency of contemporary automation systems. Whether for short or long distances, Micro Technic’s offerings solidify its position as a leader in industrial communication technologies.
