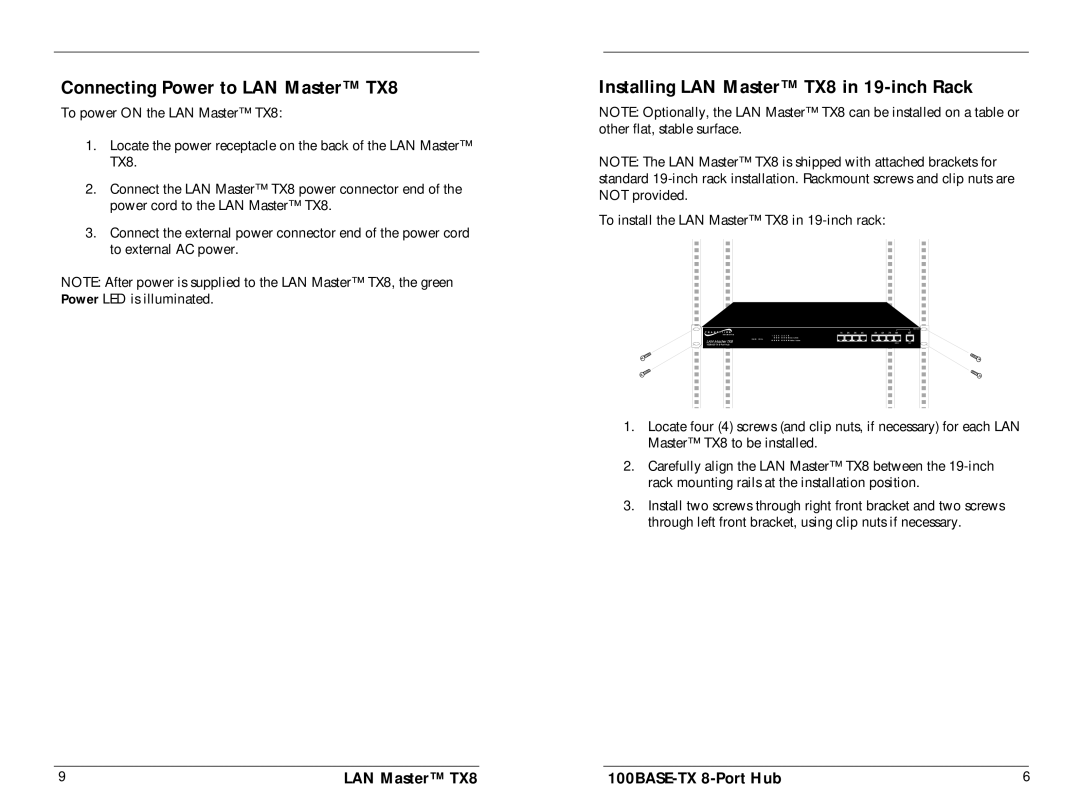
HB-E-TX-8 specifications
The Milan Technology HB-E-TX-8 is a cutting-edge device designed for modern communication and connectivity needs. Drawing on advanced technologies, this product showcases remarkable features aimed at enhancing user experience and efficiency across various applications.At the heart of the HB-E-TX-8 is its exceptional processing power. Powered by a high-performance chipset, it operates seamlessly, handling multiple tasks simultaneously without lag. This makes it an ideal choice for professionals who demand reliability and speed in their devices. The device supports advanced multitasking capabilities, ensuring users can transition effortlessly between applications.
One of the standout characteristics of the HB-E-TX-8 is its superior connectivity options. Equipped with multiple ports, including USB, HDMI, and Ethernet, it provides various ways to connect to other devices, making it suitable for a range of environments, from home offices to professional settings. The device also supports the latest wireless standards, enabling fast and stable connections to Wi-Fi networks and other wireless peripherals.
The HB-E-TX-8 features an intuitive user interface designed for ease of use. The operating system is user-friendly, allowing even those who are not tech-savvy to navigate effortlessly. Features such as customizable menus and shortcuts further enhance the user experience, making it adaptable to individual preferences.
In terms of design, the Milan Technology HB-E-TX-8 boasts a sleek and modern aesthetic, making it an unobtrusive addition to any workspace. Its compact form factor ensures that it can be easily transported, making it an excellent choice for users who are frequently on the move. The device is also built with durability in mind, combining robust materials that resist everyday wear and tear.
Moreover, the HB-E-TX-8 incorporates smart energy-saving technologies designed to prolong battery life, ensuring that users can work longer without needing to recharge. This consideration for energy efficiency makes it an environmentally friendly choice and appeals to users looking to reduce their carbon footprint.
In conclusion, the Milan Technology HB-E-TX-8 stands out as a versatile and powerful device, packed with features that cater to modern needs. Its combination of performance, connectivity, usability, and design makes it an exceptional choice for anyone seeking a reliable tool for communication and productivity in today’s fast-paced environment.

