TOOL ASSEMBLY
WARNING!
To reduce the risk of injury, always unplug tool before attaching or removing accessories or making adjustments. Use only specifically recommended accessories. Others may be hazardous.
Random Orbit Sanders
Random orbit sanders combine a small orbiting action with free floating rotation. The resulting motion is a random pattern that produces an even,
Selecting Sandpaper and Grits
Sandpaper can be made from various grit materials and these should be selected according the material to be sanded. The guidelines below list materials and grit materials that should be used with them.
•Fine woodwork - garnet or aluminum oxide
•Rough woodwork - aluminum zirconia or ceramic aluminum oxide
•Manufactured wood products (particleboard, medium density fiber board etc.) - silicon carbide or aluminum oxide
•Solid surfacing materials (Corian, etc.) - silicon carbide or aluminum oxide
•Metals - emery or aluminum oxide
Sandpaper is also graded by coarseness. Start your work with an abra- sive grit just coarse enough to remove high spots and excessive rough- ness. Follow with a second sanding using a grit one or two grades finer. Continue with successively finer grits until you obtain the desired finish.
Do not switch from a coarse grit to a very fine grit in one step because it may be difficult to remove the marks made by the coarse grit abrasive. Use the finest grits practical for the roughing operation, and finish by using successively finer grits.
Grit | Type | Typical Application | |
60 |
| Ideal for initial sanding on rougher surfaces. | |
| Course | For fast stock removal. Rough sanding and | |
80 |
| stripping of painted and rusted surfaces. | |
|
| ||
100 |
| For intermediate sanding and removal of | |
| Medium | ||
| minor surface imperfections. | ||
120 |
| ||
|
| ||
150 |
|
| |
180 | Fine | Ideal for fine sanding prior to staining, | |
priming or sealing. | |||
|
| ||
220 |
|
| |
|
|
|
Attaching Sandpaper Discs
Cat. No. 6018 is designed to be used with sanding discs that have a PSA (pressure sensitive adhesive) backing. Cat. No. 6019 is designed to be used with sanding discs that have a hook and loop backing.
1.Unplug tool and place it on a flat surface with pad up.
2.For Cat. No. 6018, clean dust and debris from pad face with a dry cloth. Do not use solvents or immerse pad in liquids as this may damage the pad.
3.Align holes in sandpaper with the dust extraction holes in the sand- ing pad and firmly press the sandpaper onto the pad.
NOTE: Sanding disc sizes vary. Choose a sanding disc between
To secure the sanding disc, run the sander on scrap, pressing down firmly on the sandpaper.
4.To remove the sandpaper disc, peel it away from the pad.
NOTE: When using PSA sanding discs, do not store tool with sand- paper disc on pad. Due to heat generated while sanding, discs left on the pad for extended periods may be difficult to remove.
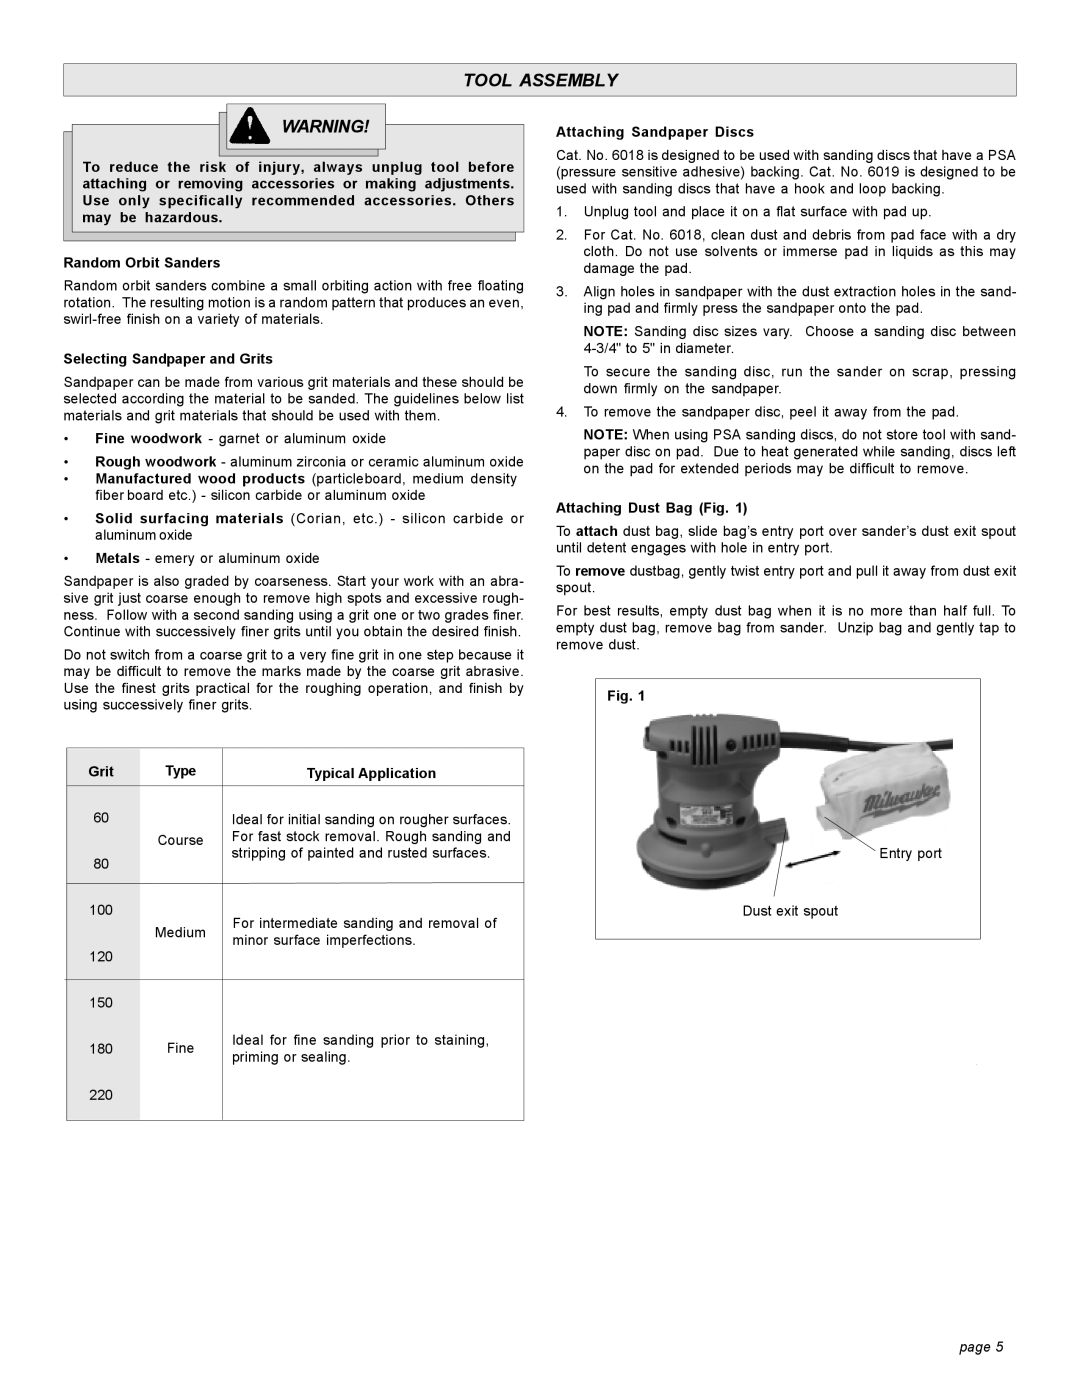
Attaching Dust Bag (Fig. 1)
To attach dust bag, slide bag’s entry port over sander’s dust exit spout until detent engages with hole in entry port.
To remove dustbag, gently twist entry port and pull it away from dust exit spout.
For best results, empty dust bag when it is no more than half full. To empty dust bag, remove bag from sander. Unzip bag and gently tap to remove dust.
Fig. 1
Entry port
Dust exit spout
page 5