Manuals
/
Mitsubishi Electronics
/
Computer Equipment
/
Projector
Mitsubishi Electronics
EX53E Contents, Declaration of Conformity, Trademark, Registered trademark
Models:
EX53E
EX53U
1
3
50
50
Download
50 pages
10.82 Kb
1
2
3
4
5
6
7
8
Troubleshooting
Specification
Install
SIGNAL USER menu
Password
Indicators
About wireless LAN network
Dimension
Maintenance
Configuring the projector
Page 3
Image 3
Page 2
Page 4
Page 3
Image 3
Page 2
Page 4
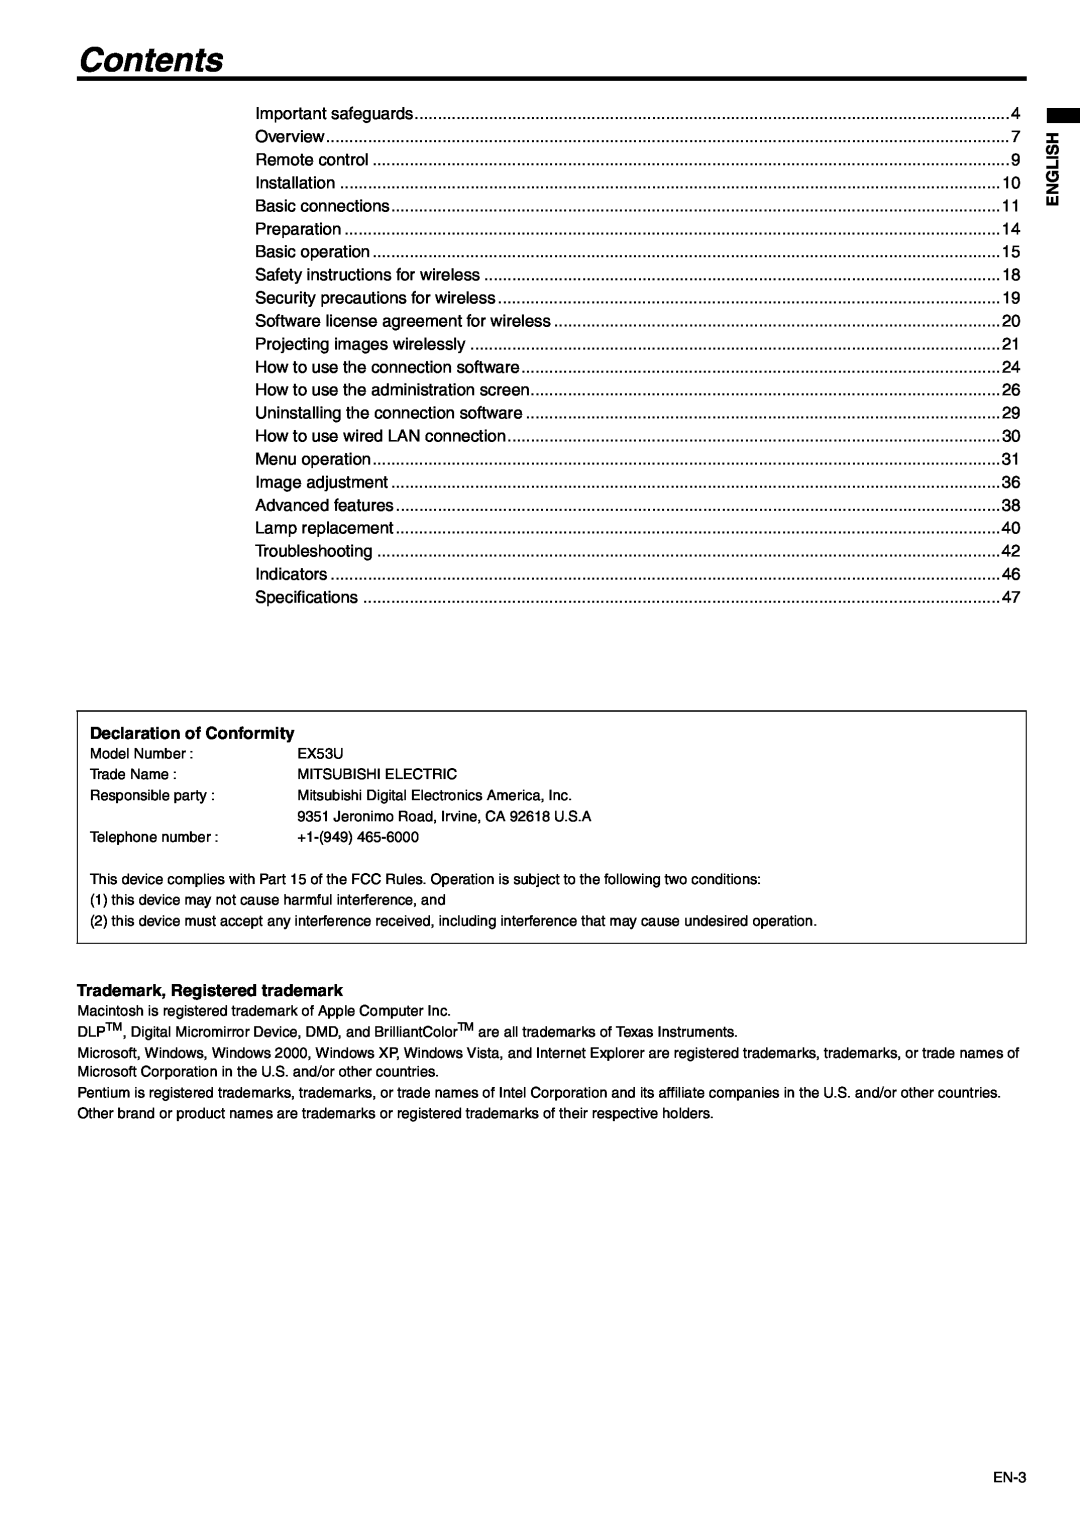
Contents
ENGLISH
Please read it before using your projector
MODEL
This User Manual is important to you
REFER SERVICING TO QUALIFIED SERVICE PERSONNEL
When using the projector in Europe only for EX53E COMPLIANCE NOTICE
CAUTION TO REDUCE THE RISK OF ELECTRIC
DO NOT REMOVE COVER OR BACK NO USER-SERVICEABLE PARTS INSIDE
Safety instructions for wireless
Contents
Declaration of Conformity
Trademark, Registered trademark
Important safeguards
Do not look into the air outlet grilles when projector is operating
Do not keep using the damaged projector
Do not look into the lens when the projector is operating
Do not unplug the power cord during operation
Regulatory statement R&TTE
Model Name EX53U
Model Name EX53E
Kensington Lock
Overview
Control panel
Terminal board
Remote control
Overview continued
Bottom side
Reception angle vertical
Remote control
Battery installation
Operation range of the remote control
Front projection, ceiling mounting
Installation
Layout of the projector
Front projection
Projector + AV device
Basic connections
Projector + DVD player or HDTV decoder
Basic connections continued
For digital connection
Projector + Computer
For computer with Mini D-SUB or DVI-D
For analog connection
After using the projector
Adjustment of the projection angle
Using the adjustment feet front
Using the adjustment feet rear
4 FOCUS 6 ZOOM
Power-on
When fine streaks are seen on projected images
Basic operation
How to change the settings
Power-off
Volume from the speaker
Setting the aspect ratio
Wall Screen
When connecting to a laptop computer
Safety instructions for wireless
Security precautions for wireless
About wireless LAN network
Security measures
Precaution for Windows Vista
Software license agreement for wireless
Installing software
After-sales Service
C. Turning the power on and adjusting the focus
Projecting images wirelessly
A. Connecting the antenna
B. Plugging the power code
Running the connection software
Projecting images wirelessly continued
F. Installing the connection software
G. Projecting images
If the wireless connection fails
Displaying the administration screen
How to use the connection software
Pausing or resuming the projection
Pausing the projection
How to use the connection software continued
Displaying the information about the projector
Displaying the version information of the software
Selecting the image to be projected
How to use the administration screen
Configuring the projector
Downloading the connection software
1. Click Network Setup
How to use the administration screen continued
Changing the network settings
For the setting items, ask your network administrator
Glossary
Changing the settings for the projection
Changing the password
Restoring the default settings
EN-29
Uninstalling the connection software
2. Click the Yes button
3. Click the OK button
For Ethernet connection
How to use wired LAN connection
Menu operation
Menus are not displayed when no signal is supplied to the projector
EN-31
1. IMAGE menu
Menu operation continued
Basic operation
Menu Options
EN-33
2. INSTALLATION menu
3. FEATURE menu
6. INFORMATION menu
SIGNAL USER menu
5. WIRELESS menu
4. SINGAL menu
To adjust the color COLOR and TINT
Image adjustment
Adjusting projected images
To adjust the brightness CONTRAST and BRIGHT- NESS
To adjust the horizontal position
Image adjustment continued
Simple method to adjust the image position
How to adjust the image supplied from the computer using the menu
To enable the password function
Advanced features
Procedure
Password function
To use the MAGNIFY mode
Advanced features continued
To cancel the password function
Magnify
When the projector is mounted to the ceiling
Lamp replacement
Lamp replacement continued
Interval of lamp replacement
Reset of the lamp operation time
Solution
Troubleshooting
No image appears on the screen
Problem
Images are not displayed correctly
Troubleshooting continued
Others
The projector cannot be connected wirelessly
To protect the surface of the projector from fading or deteriorating
Maintenance
Cleaning of the projector and the ventilation slots
Cleaning of the lens
Indicators
Normal condition
Abnormal condition
EN-47
Specifications
Replacement part
Specifications continued
Connectors
Dimensional drawings unit mm
3 Supports a DVI-D terminal
Specification of RGB signals in each computer mode of the projector
MITSUBISHI ELECTRIC CORPORATION
Mitsubishi Projector Warranty, Sales Support and Service Information
1 Zusho Baba, Nagaokakyo-City, Kyoto Japan
Top
Page
Image
Contents