GXC 350, GXC 150, GX-FX specifications
Monitor Audio has long been a respected name in high-fidelity audio equipment, renowned for its commitment to quality and performance. The Monitor Audio GXC 150, GXC 350, and GX-FX speakers are exceptional products in their lineup, each catering to different audio needs while sharing the brand’s signature technology and craftsmanship.The Monitor Audio GXC 150 is a compact center channel speaker designed to deliver clear dialogue and sound effects in home theater setups. With a two-way design, it features a 5.5-inch C-CAM bass driver and a 1-inch C-CAM gold dome tweeter, both of which work harmoniously to produce a full-bodied soundscape. The GXC 150 is built with rigid enclosure technology that minimizes resonance, ensuring that sound remains pure and distortion-free. Weighing only 12.8 kg, it can be easily positioned in front of a television or mounted on a stand for optimal performance.
On the other hand, the GXC 350 is larger and more powerful, positioned to handle movie soundtracks and multi-channel audio with greater authority. It boasts an impressive dual 6.5-inch C-CAM bass driver arrangement combined with a 1-inch C-CAM tweeter. This configuration enables the GXC 350 to deliver deeper bass and wider dynamic ranges, making it a perfect choice for audiophiles who demand immersive sound experiences. This speaker also features Monitor Audio’s high-frequency waveguide, which disperses sound evenly across a wide listening area, ensuring that every seat in the room enjoys optimal audio clarity.
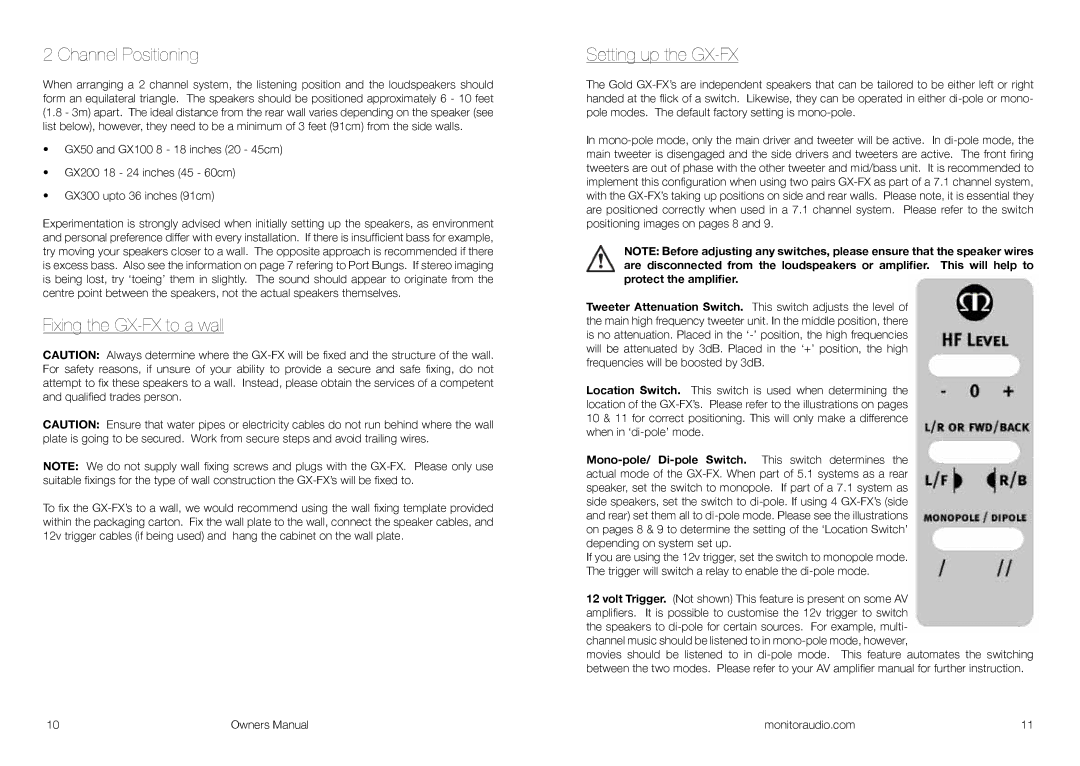
The GX-FX serves a different yet equally essential purpose within a surround sound setup. As the rear speaker, it features a unique dual driver configuration of a 5.5-inch C-CAM bass driver and a 1-inch C-CAM tweeter, all enclosed in a sleek cabinet designed to minimize unwanted resonances. This speaker excels in creating an enveloping soundstage, effectively placing listeners at the center of the action. With its sophisticated design, the GX-FX also allows for flexible placement options, including wall mounting, making it versatile for various room configurations.
All three models exemplify Monitor Audio's focus on innovation, with technologies like the RST (Rigid Surface Technology) bass driver design and high-quality crossover components, which ensure a seamless integration of sound across the frequency spectrum. The use of C-CAM (Ceramic-Coated Aluminum Magnesium) in the drivers contributes to their lightweight yet rigid construction, enhancing efficiency and reducing distortion.
In summary, the Monitor Audio GXC 150, GXC 350, and GX-FX speakers are meticulously engineered to elevate any audio experience, whether for cinematic adventures or musical enjoyment. Each model showcases high-performance features, advanced technologies, and exceptional design, making them an excellent investment for audio enthusiasts seeking quality and durability.

