75310 rev2 11/1/08 15:33 Page 8
HOW TO USE
1Ensure the blanket is fitted to the bed correctly. Move the slider switch to the ‘OFF’ position.
2Plug the power lead into the closest socket, using an extension lead, if needed, to ensure that the lead is not stretched.
Start up
1When plugged in, the red power LED will illuminate. The switch is already in time set mode.
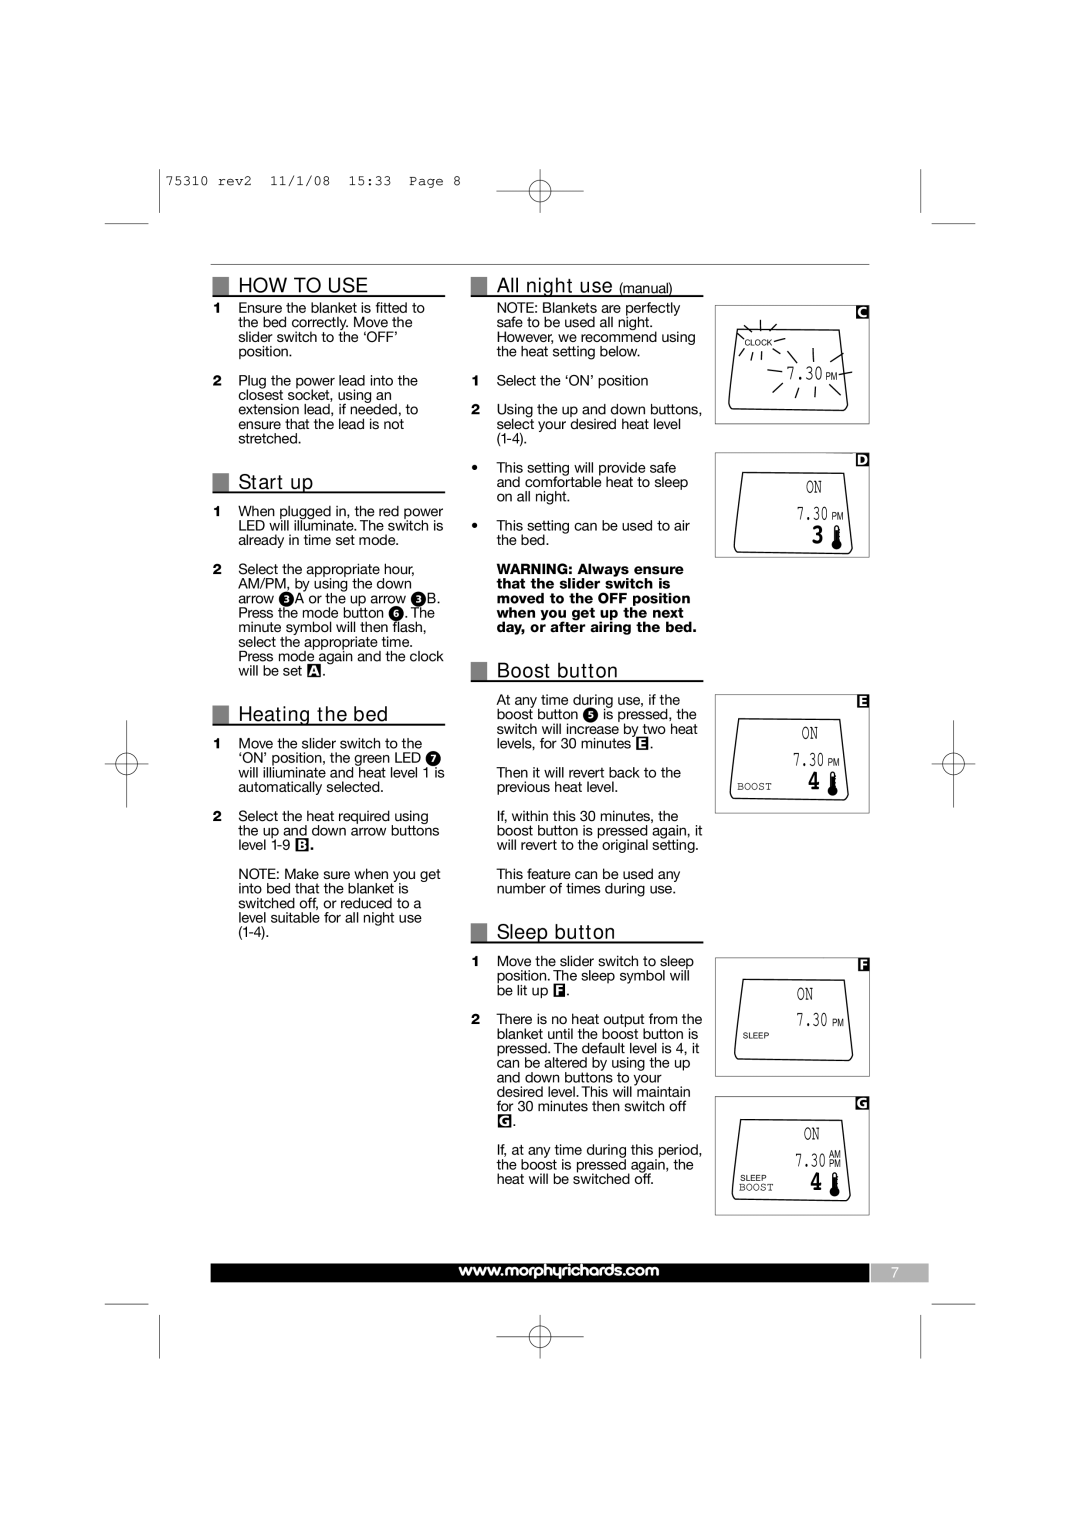
2Select the appropriate hour, AM/PM, by using the down arrow ‹A or the up arrow ‹B. Press the mode button fl. The minute symbol will then flash, select the appropriate time. Press mode again and the clock will be set A.
Heating the bed
1Move the slider switch to the ‘ON’ position, the green LED ‡ will illiuminate and heat level 1 is automatically selected.
2Select the heat required using the up and down arrow buttons level
NOTE: Make sure when you get into bed that the blanket is switched off, or reduced to a level suitable for all night use
All night use (manual)
NOTE: Blankets are perfectly safe to be used all night. However, we recommend using the heat setting below.
1Select the ‘ON’ position
2Using the up and down buttons, select your desired heat level
•This setting will provide safe and comfortable heat to sleep on all night.
•This setting can be used to air the bed.
WARNING: Always ensure that the slider switch is moved to the OFF position when you get up the next day, or after airing the bed.
Boost button
At any time during use, if the boost button fi is pressed, the switch will increase by two heat levels, for 30 minutes E.
Then it will revert back to the previous heat level.
If, within this 30 minutes, the boost button is pressed again, it will revert to the original setting.
This feature can be used any number of times during use.
Sleep button
1Move the slider switch to sleep position. The sleep symbol will be lit up F.
2There is no heat output from the blanket until the boost button is pressed. The default level is 4, it can be altered by using the up and down buttons to your desired level. This will maintain for 30 minutes then switch off G.
If, at any time during this period, the boost is pressed again, the heat will be switched off.
C
CLOCK
7.30PM
D
ON
7.30 PM
3 ![]()
E
| ON |
| 7.30 PM |
BOOST | 4 |
F
ON 7.30 PM
SLEEP
G
| ON |
| AM |
| 7.30 PM |
SLEEP | 4 |
BOOST |
7
