SECTION 9: ADJUSTMENTS
WARNING: Do not at any time make any adjustment to lawn mower without first stopping engine and disconnecting spark plug wire.
CUTTING HEIGHT ADJUSTMENT
Adjustment may be made by removing and moving axle bolts to desired position. Cutting heights will be raised as axle bolts are moved to a lower hole and lowered as axle bolts are moved to a higher hole in the deck. All axle bolts must be mounted in the same relative position. Cupped washers must be assembled so that the cupped side of the washers are against the deck. Refer to Figure 9.
CARBURETOR ADJUSTMENTS
WARNING: If any adjustments are made to the engine while the engine is running (e.g. carburetor), keep clear of all moving parts. Be careful of heated surfaces and muffler.
Minor carburetor adjustment may be required to compensate for differences in fuel, temperature, altitude and load. Refer to the separate engine manual packed with your mower for carburetor adjustment information.
NOTE: A dirty air cleaner will cause an engine to run rough. Be certain air cleaner is clean and attached to the carburetor before adjusting carburetor.
SECTION 10: LUBRICATION
WARNING: Always stop engine and disconnect spark plug wire before cleaning, lubricating or doing any kind of work on lawn mower.
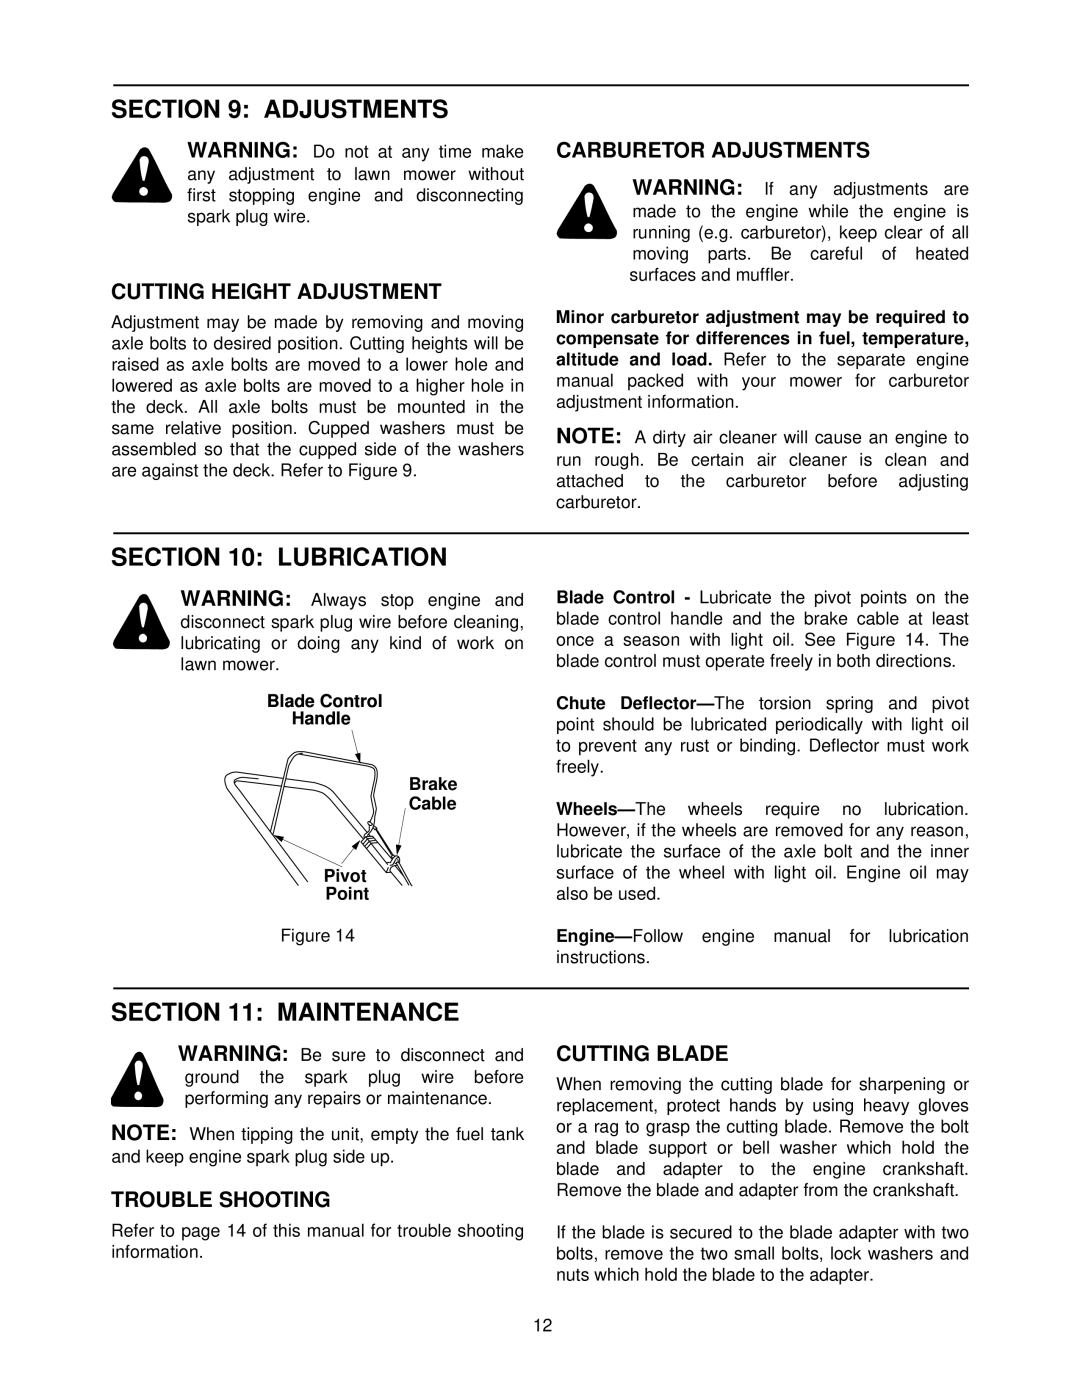
Blade Control
Handle
Brake
Cable
Pivot
Point
Figure 14
Blade Control - Lubricate the pivot points on the blade control handle and the brake cable at least once a season with light oil. See Figure 14. The blade control must operate freely in both directions.
Chute
SECTION 11: MAINTENANCE
WARNING: Be sure to disconnect and ground the spark plug wire before performing any repairs or maintenance.
NOTE: When tipping the unit, empty the fuel tank and keep engine spark plug side up.
TROUBLE SHOOTING
Refer to page 14 of this manual for trouble shooting information.
CUTTING BLADE
When removing the cutting blade for sharpening or replacement, protect hands by using heavy gloves or a rag to grasp the cutting blade. Remove the bolt and blade support or bell washer which hold the blade and adapter to the engine crankshaft. Remove the blade and adapter from the crankshaft.
If the blade is secured to the blade adapter with two bolts, remove the two small bolts, lock washers and nuts which hold the blade to the adapter.
12
