
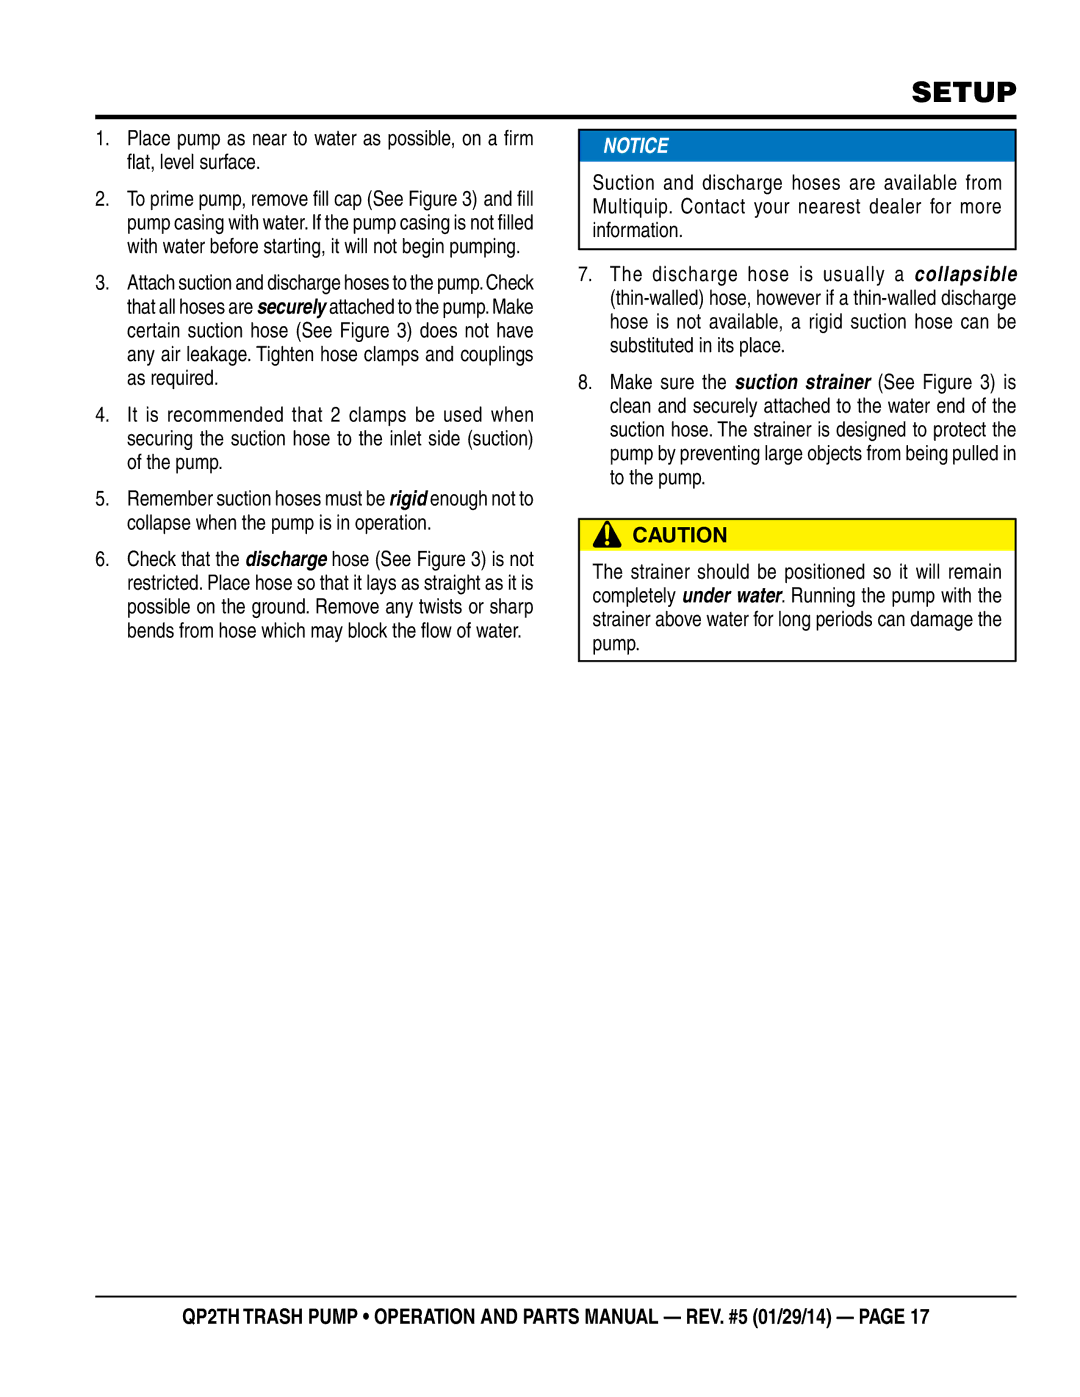
QP2TH specifications
The Multiquip QP2TH is a versatile and efficient piece of equipment tailored for various applications, including construction, landscaping, and roadwork. This powerful equipment is designed to provide robust performance, easy maneuverability, and a range of features that make it a valuable addition to any job site.One of the standout features of the QP2TH is its robust construction, which includes a heavy-duty frame designed to withstand the rigors of demanding work environments. The equipment is built with high-quality materials, ensuring longevity and reliability. The QP2TH is equipped with a reliable engine, offering sufficient power to tackle tough tasks while maintaining efficiency. This engine not only provides excellent performance but also ensures lower fuel consumption, making it an economic choice for operators.
The QP2TH boasts advanced technology that enhances its usability, including automated features that simplify operation. Its intuitive control panel allows operators to easily select settings, monitor performance, and troubleshoot issues with minimal downtime. Additionally, the machine features ergonomic controls designed to reduce operator fatigue, enabling longer working hours without compromising comfort.
Maneuverability is another defining characteristic of the Multiquip QP2TH. The compact design coupled with robust wheels allows for easy navigation across various terrains, including rugged landscapes and tight urban spaces. This versatility ensures that the QP2TH can perform effectively in a range of job applications, from grading and trenching to compacting and leveling.
Another noteworthy feature is the machine's ability to accommodate a variety of attachments and accessories. This adaptability makes the QP2TH suitable for multiple tasks, enhancing its effectiveness as a multifunctional tool on the job site. Whether operators need to switch from a compactor to a grader, the QP2TH can meet those needs swiftly and efficiently.
In conclusion, the Multiquip QP2TH is a powerful and adaptable machine equipped with significant features and technologies that enhance its performance and usability. With its durable construction, efficient engine, ergonomic controls, and versatility in attachments, the QP2TH stands out as an essential asset for professionals in the construction and landscaping industries.