ST-1500 SERIES SUB. PUMP— CONTROL BOX INSTALLATION

Connecting AC Power to the Control Box

1.The AC power cord (input) should have three wires. Each wire is color coded. The colors are WHITE, BLACK and

GREEN.

2.Remove the AC input connector housing from the control box, then route the power cord through the cable gland on the control box.

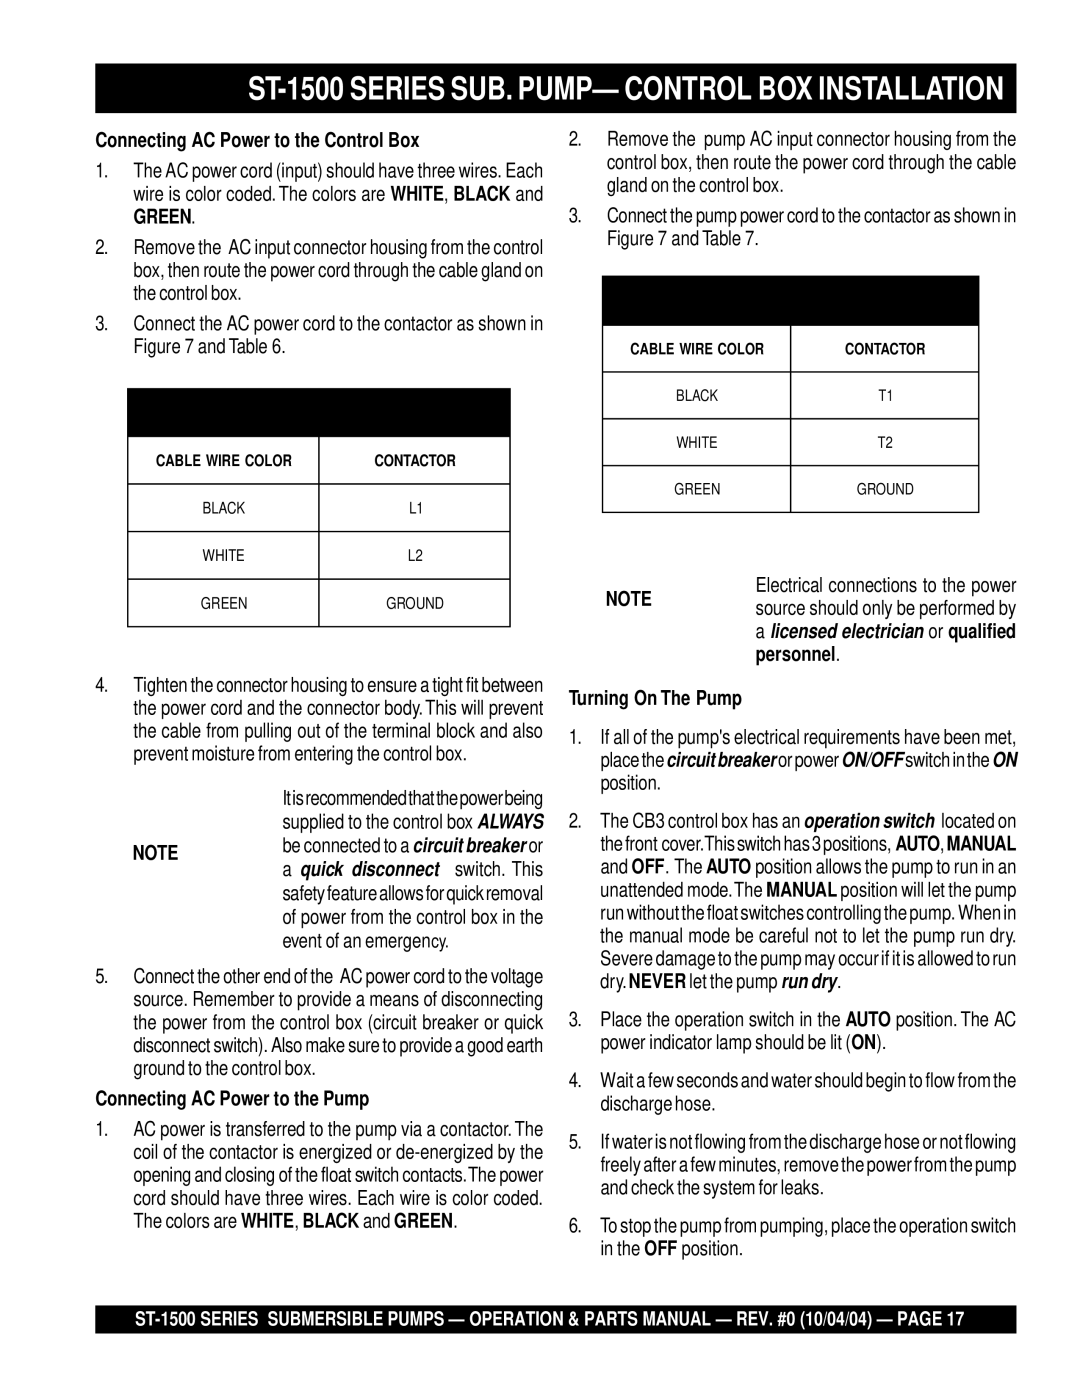
3.Connect the AC power cord to the contactor as shown in Figure 7 and Table 6.

TABLE 6. AC INPUT POWER

CONNECTIONS TO CONTACTORS

CABLE WIRE COLOR

CONTACTOR


BLACK

L1


WHITE

L2

2.Remove the pump AC input connector housing from the control box, then route the power cord through the cable gland on the control box.

3.Connect the pump power cord to the contactor as shown in Figure 7 and Table 7.

TABLE 7. AC OUTPUT POWER

CONNECTIONS TO PUMP

CABLE WIRE COLOR

CONTACTOR


BLACK

T1


WHITE

T2


GREEN

GROUND


GREEN

GROUND

4. Tighten the connector housing to ensure a tight fit between

the power cord and the connector body. This will prevent

NOTE

Turning On The Pump

Electrical connections to the power source should only be performed by a licensed electrician or qualified personnel.

the cable from pulling out of the terminal block and also

prevent moisture from entering the control box.

Itisrecommendedthatthepowerbeing supplied to the control box ALWAYS

NOTEbe connected to a circuit breaker or a quick disconnect switch. This safetyfeatureallowsforquickremoval of power from the control box in the event of an emergency.

5.Connect the other end of the AC power cord to the voltage source. Remember to provide a means of disconnecting the power from the control box (circuit breaker or quick disconnect switch). Also make sure to provide a good earth ground to the control box.

Connecting AC Power to the Pump

1.AC power is transferred to the pump via a contactor. The coil of the contactor is energized or de-energized by the opening and closing of the float switch contacts.The power cord should have three wires. Each wire is color coded. The colors are WHITE, BLACK and GREEN.

1.If all of the pump's electrical requirements have been met, place thecircuit breaker or powerON/OFF switchintheON position.

2.The CB3 control box has an operation switch located on thefront cover.Thisswitchhas3positions, AUTO,MANUAL and OFF. The AUTO position allows the pump to run in an unattended mode.The MANUAL position will let the pump run without the float switches controlling the pump. When in the manual mode be careful not to let the pump run dry. Severe damage to the pump may occur if it is allowed to run dry.NEVER let the pump run dry.

3.Place the operation switch in the AUTO position. The AC power indicator lamp should be lit (ON).

4.Wait a few seconds and water should begin to flow from the discharge hose.

5.If water is not flowing from the discharge hose or not flowing freely after a few minutes, remove the power from the pump and check the system for leaks.

6.To stop the pump from pumping, place the operation switch in the OFF position.

ST-1500 SERIES SUBMERSIBLE PUMPS — OPERATION & PARTS MANUAL — REV. #0 (10/04/04) — PAGE 17

Page 17
Image 17
Multiquip ST-1500 manual Connecting AC Power to the Control Box, Connecting AC Power to the Pump

ST-1500 specifications

The Multiquip ST-1500 is a versatile and powerful equipment designed for various applications in construction and landscaping. This machine excels in its category due to its combination of efficiency, durability, and ease of use. Whether you are tackling small landscaping tasks or larger grading projects, the ST-1500 has the features to meet your needs.

One of the standout features of the Multiquip ST-1500 is its robust engine. Equipped with a reliable gasoline-powered engine, it delivers impressive performance while ensuring fuel efficiency. This allows operators to work longer hours without the constant need for refueling, making it ideal for extensive job sites.

The ST-1500 also boasts an advanced hydrostatic transmission system. This technology provides smooth and precise control over speed and direction. Operators can effortlessly maneuver the machine in tight spaces and on uneven terrain. The variable speed control allows for a tailored approach to different tasks, further enhancing productivity.

Safety is paramount in any construction equipment, and the Multiquip ST-1500 addresses this concern with well-thought-out design features. It includes a sturdy roll-over protection structure (ROPS) and operator presence controls to prevent accidental operation. These safety features ensure that users can operate the machine with confidence.

In terms of versatility, the ST-1500 can be outfitted with various attachments, making it suitable for a range of applications. From digging and grading to lifting and transporting materials, this machine can adapt to the specific demands of each job. Additionally, its compact size allows it to navigate through narrow passages and deliver performance in restricted spaces.

The ST-1500 is also designed for low maintenance, which is a significant advantage for contractors and landscapers. Its accessible components make routine checks and maintenance straightforward, minimizing downtime and keeping projects on schedule.

In conclusion, the Multiquip ST-1500 is a well-engineered machine that combines power, safety, and versatility in one compact package. With its innovative technologies and user-friendly design, it stands out as an essential tool for professionals in the construction and landscaping industries, capable of tackling a variety of tasks with ease and efficiency. Whether you are working on grading, landscaping, or material handling, the ST-1500 is engineered to deliver reliable performance that professionals can depend on.