
NG90EQ specifications
The National Geographic NG90EQ is a premium-quality, fully-equipped equatorial telescope that provides amateur astronomers and enthusiasts with an exceptional viewing experience. This powerful telescope is ideal for both planetary observation and deep-sky tracking, making it a versatile addition to any stargazer's collection.One of the standout features of the NG90EQ is its impressive 90mm aperture. This large lens collects ample light, allowing for bright and detailed images of celestial bodies. With a focal length of 900mm, the telescope offers a focal ratio of f/10, which is well-suited for high-magnification observation. This design ensures that users can easily spot planets like Jupiter and Saturn, as well as a variety of stars and nebulae.
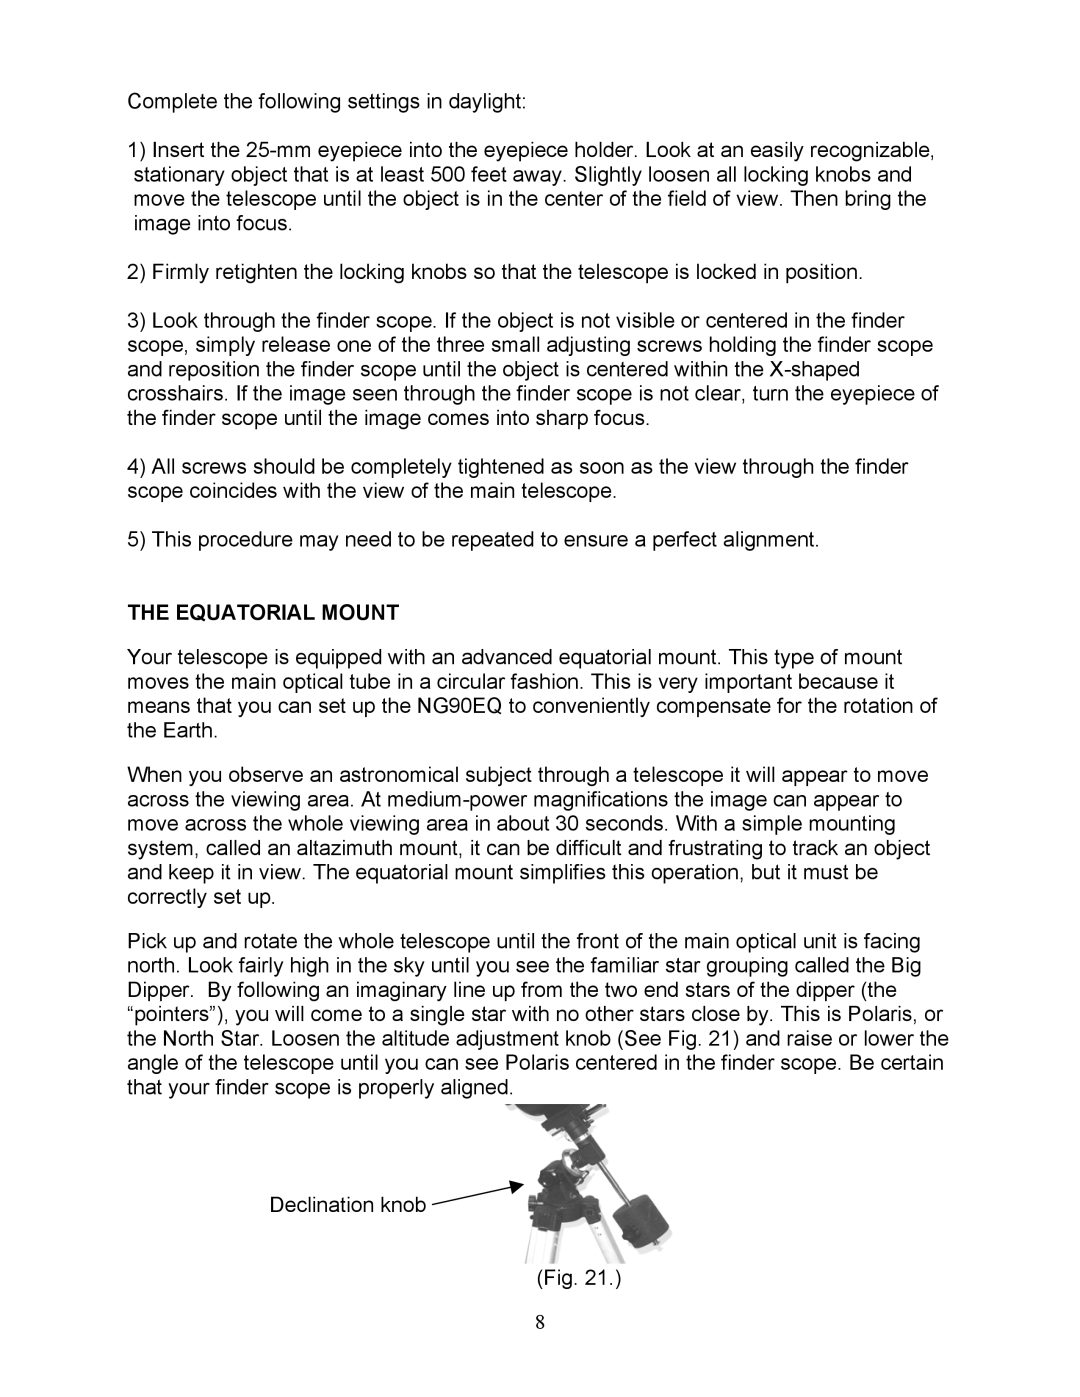
The NG90EQ is equipped with an equatorial mount, an essential component for tracking celestial objects as they move across the night sky. This mount allows users to precisely align the telescope with the North Star, simplifying the process of finding and following planets and stars. The included setting circles further assist in locating astronomical objects, making it easier for newcomers to explore the night sky.
Another notable characteristic of the NG90EQ is its user-friendly design. The telescope features an adjustable, ergonomic tripod that provides stability and supports easy height adjustment. With an optical finderscope, users can quickly locate objects before zooming in with the main telescope. The scope also includes high-quality eyepieces, offering multiple magnification options for varied viewing experiences.
Durability is a key aspect of the NG90EQ, as it is built with robust materials that withstand regular use. Its compact design makes it portable, perfect for taking to dark sky locations away from city lights. The telescope's ease of assembly means that novice astronomers can set it up in a matter of minutes, encouraging exploration and learning.
In summary, the National Geographic NG90EQ telescope stands out due to its excellent optical performance, user-friendly features, and sturdy construction. With its equatorial mount and quality optics, this telescope is perfect for discovering the wonders of the universe, making it a fantastic choice for both beginners and seasoned astronomers alike.