LCD1990FXp specifications
The NEC LCD1990FXp is a versatile and high-performing LCD monitor that has garnered attention for its exceptional display quality and user-friendly features. This model, part of the NEC MultiSync series, is designed primarily for professional environments, including graphic design, CAD applications, and general office use.One of the standout features of the NEC LCD1990FXp is its 19-inch screen size, providing ample display real estate for multitasking and detailed work. The monitor boasts a maximum resolution of 1280 x 1024 pixels, ensuring crisp and clear visuals that enhance productivity. With a 16:10 aspect ratio, the screen offers a comfortable viewing experience, allowing users to see more content without sacrificing clarity.
The LCD technology used in the NEC LCD1990FXp is based on an advanced TFT (Thin Film Transistor) structure, which contributes to its impressive color accuracy and wide viewing angles. The monitor typically showcases a brightness level of around 250 cd/m², paired with a contrast ratio of 600:1, enabling vibrant color reproduction and deep blacks. This robust combination of specifications means that users can work on color-sensitive projects with confidence.
Another notable characteristic of the LCD1990FXp is its fast response time, which is typically around 25 milliseconds. This quick response helps reduce motion blur, making it suitable for various applications, including watching videos or gaming, despite being primarily geared toward business and professional uses.
In terms of connectivity, the NEC LCD1990FXp is equipped with multiple options, including VGA and DVI-D ports, allowing for seamless integration with various computer systems. This flexibility ensures that users can easily connect the monitor to both older and newer devices without compatibility concerns.
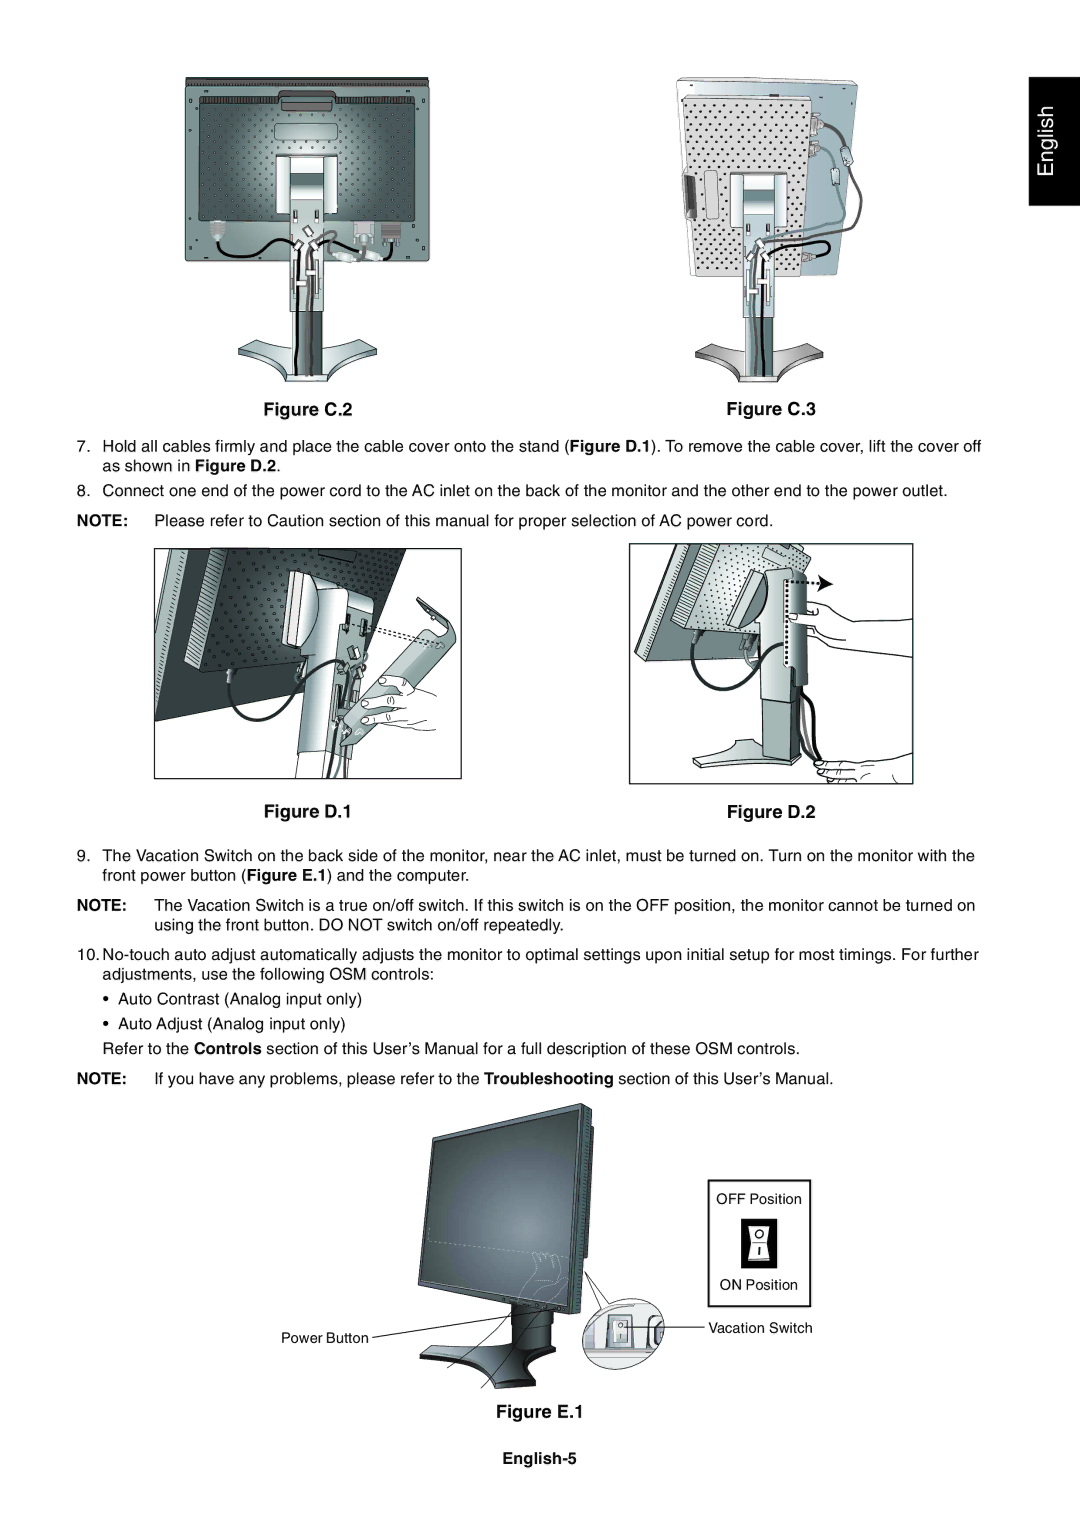
Additionally, the monitor includes features aimed at ergonomics and usability. It comes equipped with adjustable height, tilt, swivel, and pivot capabilities, allowing users to customize their viewing angles to reduce strain during extended use. The built-in power management system contributes to energy efficiency, aligning with modern sustainable practices.
Overall, the NEC LCD1990FXp is an excellent choice for users seeking a reliable, high-quality display with features that cater to both performance and comfort. Its combination of advanced technology, versatile connectivity, and ergonomic options positions it as a strong contender in the business and professional monitor market. Whether used for detailed graphic work or general productivity tasks, the NEC LCD1990FXp stands out as a solid investment for any workplace.

