1UICKI)NSTALLATION 'UIDE

7200 Series Managed Switch

Follow these quick steps to install your switch.

You can also consult the full hardware installation guide on the Resource CD.

Verify the Following Package Contents

7200 Series Managed Switch

Rubber footpads for tabletop installation

Power cord

Null-modem console cable

Rack-mount kit for installing the switch in the rack

This Installation Guide

CD ROM

Warranty and Support Information Cards

If any item is missing or damaged, contact your place of purchase immediately.

Set Up the Switch

Prepare the site so that the mounting, access, power source, and environmental requirements identified in the Hardware Installation Guide published on the CD-ROM are met.

1.Install the switch.

Installing the Switch on a Flat Surface: Stick one of the rubber footpads that came with the switch on each of the four concave spaces on the bottom of the switch.

Installing the Switch in a Rack: Use the rack-mount kit supplied with your switch.

2.Apply AC Power

When you apply power, the Power LED on the switch’s front panel will be Yellow, as it conducts a Power On Self Test (POST). After the switch passes the POST, the Power LED will change to Green and the switch is functional and ready to pass data. If the POST fails, the Power LED will stay Yellow.

If the Power LED does not go on, check that the power cable is plugged in correctly and that the power source is good. If this does not resolve the problem, refer to Appendix B, Troubleshooting, in the Hardware Installation Guide on the CD-ROM.

3.Connect Devices to the Switch

Use Category 5 (Cat5) cable to connect devices.

SFP modules ship separately. If you need instructions on installing an SFP module, please refer to the Hardware Installation Guide on the CD-ROM.

Perform the Initial Configuration

To configure the IP address, you must first access the Command Line management utility via the console interface. You can connect to it using a VT100/ANSI terminal or a PC, Apple Macintosh, or UNIX workstation that is directly connected to the switch’s console port.

Establish a Console Session and Log In to the Switch

1.To connect a console to the switch:

Using the null-modem cable supplied with the switch, connect a VT100/ANSI terminal or a workstation to the switch port labeled Console.

If you attached a PC, Apple Macintosh, or UNIX workstation, start a terminal- emulation program:

Windows users can use HyperTerminal.

Macintosh users can use ZTerm.

UNIX users can use a terminal emulator like TIP.

2.Configure the terminal-emulation program to use the following settings:

Baud rate: 9,600 bps

Data bits: 8

Parity: none

Stop bit: 1

Flow control: none

These settings appear below the connector on the switch front panel.

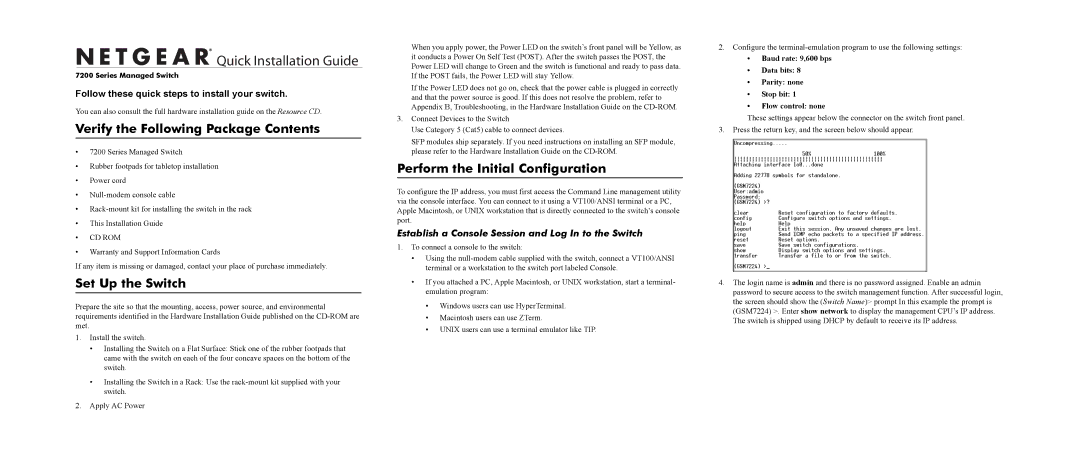
3.Press the return key, and the screen below should appear.

4.The login name is admin and there is no password assigned. Enable an admin password to secure access to the switch management function. After successful login, the screen should show the (Switch Name)> prompt In this example the prompt is (GSM7224) >. Enter show network to display the management CPU’s IP address. The switch is shipped using DHCP by default to receive its IP address.

Page 1
Image 1
NETGEAR 7200 warranty Verify the Following Package Contents, Set Up the Switch, Perform the Initial Configuration

7200 specifications

The NETGEAR 7200 is a robust and versatile wireless router designed to meet the demands of modern home and small office environments. Known for its high-performance capabilities, the NETGEAR 7200 supports simultaneous dual-band connectivity, operating on both the 2.4 GHz and 5 GHz frequencies. This feature helps in minimizing interference, ensuring a stable and reliable internet connection for various devices, from smartphones to laptops and smart TVs.

One of the standout features of the NETGEAR 7200 is its impressive speed performance. It provides a combined wireless data rate of up to 7200 Mbps, making it ideal for high-bandwidth activities such as gaming, streaming, and video conferencing. The advanced Wi-Fi 6 technology, also known as 802.11ax, enhances overall network capacity, allowing more devices to connect without sacrificing speed. This is especially beneficial in households with multiple users and smart devices.

The NETGEAR 7200 is equipped with multiple Gigabit Ethernet ports, enabling users to connect wired devices directly for faster and more reliable connections. Additionally, the router features a USB port, allowing users to share storage devices or printers over the network, enhancing its usability for both personal and professional tasks.

Security is a top priority for any router, and the NETGEAR 7200 excels in this aspect with its built-in firewall and support for advanced encryption protocols. It features NETGEAR Armor, an advanced cybersecurity solution that offers real-time protection from online threats and intrusions, ensuring that users' personal information remains secure.

Furthermore, the NETGEAR 7200 includes an intuitive mobile app, enabling users to manage their network easily. The app allows users to view connected devices, set up parental controls, and prioritize bandwidth for specific devices, ensuring that the most critical tasks receive the necessary resources.

With its sleek design and user-friendly interface, the NETGEAR 7200 stands out as a powerful solution for anyone looking to upgrade their home or small office network. Its combination of high-speed performance, extensive range, and robust security features makes it a worthy investment for bandwidth-intensive activities and a seamlessly connected lifestyle. Whether for work or play, the NETGEAR 7200 delivers the performance needed to keep users connected and productive.