EX6200 WiFi Range Extender

AC1200 High Power Dual Band Gigabit Ports

Installation Guide

Getting Started

Does your WiFi router have a WPS button?

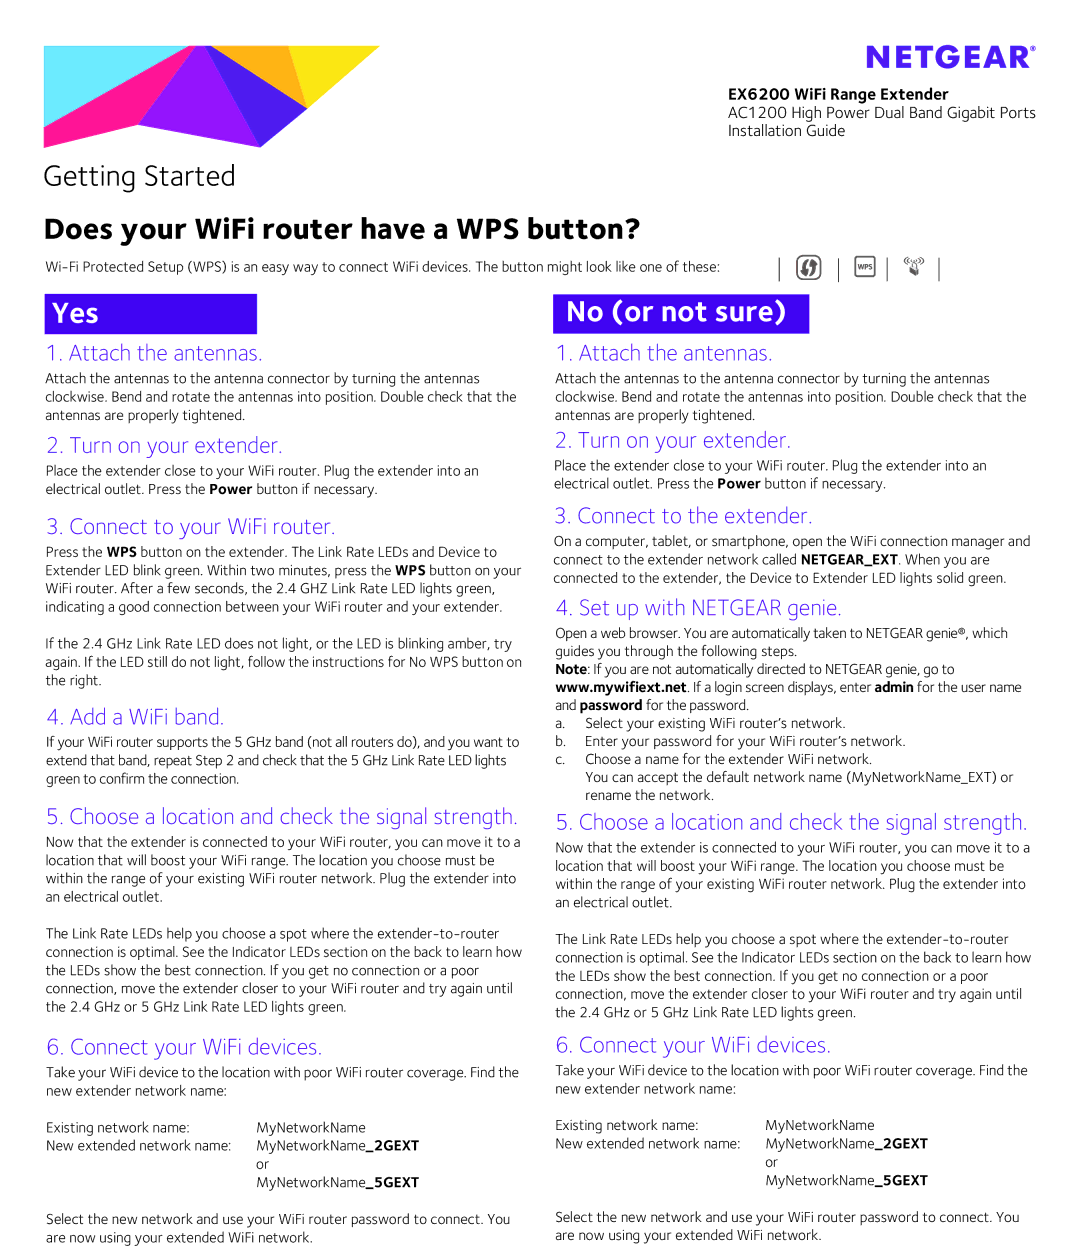
Wi-Fi Protected Setup (WPS) is an easy way to connect WiFi devices. The button might look like one of these:

Yes

1. Attach the antennas.

Attach the antennas to the antenna connector by turning the antennas clockwise. Bend and rotate the antennas into position. Double check that the antennas are properly tightened.

2. Turn on your extender.

Place the extender close to your WiFi router. Plug the extender into an electrical outlet. Press the Power button if necessary.

3. Connect to your WiFi router.

Press the WPS button on the extender. The Link Rate LEDs and Device to Extender LED blink green. Within two minutes, press the WPS button on your WiFi router. After a few seconds, the 2.4 GHZ Link Rate LED lights green, indicating a good connection between your WiFi router and your extender.

If the 2.4 GHz Link Rate LED does not light, or the LED is blinking amber, try again. If the LED still do not light, follow the instructions for No WPS button on the right.

4. Add a WiFi band.

If your WiFi router supports the 5 GHz band (not all routers do), and you want to extend that band, repeat Step 2 and check that the 5 GHz Link Rate LED lights green to confirm the connection.

5. Choose a location and check the signal strength.

Now that the extender is connected to your WiFi router, you can move it to a location that will boost your WiFi range. The location you choose must be within the range of your existing WiFi router network. Plug the extender into an electrical outlet.

The Link Rate LEDs help you choose a spot where the extender-to-router connection is optimal. See the Indicator LEDs section on the back to learn how the LEDs show the best connection. If you get no connection or a poor connection, move the extender closer to your WiFi router and try again until the 2.4 GHz or 5 GHz Link Rate LED lights green.

6. Connect your WiFi devices.

Take your WiFi device to the location with poor WiFi router coverage. Find the new extender network name:

Existing network name:

MyNetworkName

New extended network name:

MyNetworkName_2GEXT


or


MyNetworkName_5GEXT

No (or not sure)

1. Attach the antennas.

Attach the antennas to the antenna connector by turning the antennas clockwise. Bend and rotate the antennas into position. Double check that the antennas are properly tightened.

2. Turn on your extender.

Place the extender close to your WiFi router. Plug the extender into an electrical outlet. Press the Power button if necessary.

3. Connect to the extender.

On a computer, tablet, or smartphone, open the WiFi connection manager and connect to the extender network called NETGEAR_EXT. When you are connected to the extender, the Device to Extender LED lights solid green.

4. Set up with NETGEAR genie.

Open a web browser. You are automatically taken to NETGEAR genie®, which guides you through the following steps.

Note: If you are not automatically directed to NETGEAR genie, go to www.mywifiext.net. If a login screen displays, enter admin for the user name and password for the password.

a.Select your existing WiFi router’s network.

b.Enter your password for your WiFi router’s network.

c.Choose a name for the extender WiFi network.

You can accept the default network name (MyNetworkName_EXT) or rename the network.

5. Choose a location and check the signal strength.

Now that the extender is connected to your WiFi router, you can move it to a location that will boost your WiFi range. The location you choose must be within the range of your existing WiFi router network. Plug the extender into an electrical outlet.

The Link Rate LEDs help you choose a spot where the extender-to-router connection is optimal. See the Indicator LEDs section on the back to learn how the LEDs show the best connection. If you get no connection or a poor connection, move the extender closer to your WiFi router and try again until the 2.4 GHz or 5 GHz Link Rate LED lights green.

6. Connect your WiFi devices.

Take your WiFi device to the location with poor WiFi router coverage. Find the new extender network name:

Existing network name:

MyNetworkName

New extended network name:

MyNetworkName_2GEXT


or


MyNetworkName_5GEXT

Select the new network and use your WiFi router password to connect. You are now using your extended WiFi network.

Select the new network and use your WiFi router password to connect. You are now using your extended WiFi network.

Page 1
Image 1
NETGEAR AC1200, EX6200 manual Yes, No or not sure

AC1200, EX6200 specifications

The NETGEAR EX6200 AC1200 is a powerful dual-band WiFi range extender designed to enhance your home network experience by providing wider coverage and improved connectivity. With its sleek design and advanced features, this device is an excellent choice for anyone looking to eliminate dead zones and extend the reach of their existing WiFi network.

One of the standout features of the EX6200 is its dual-band capability, which allows it to operate on both the 2.4 GHz and 5 GHz frequency bands. This provides users with the flexibility to prioritize performance based on their needs. The 2.4 GHz band is ideal for basic web surfing and email, while the 5 GHz band offers faster speeds for activities such as streaming HD video and online gaming.

The EX6200 is equipped with AC1200 technology, which means it can deliver up to 1200 Mbps of combined WiFi speed. This high-speed performance is essential for households with multiple devices connected to the network simultaneously. The extender comes with four Gigabit Ethernet ports, providing the option to connect wired devices such as smart TVs, gaming consoles, and computers for reliable, high-speed connections.

One of the key technologies integrated into the EX6200 is Beamforming+. This advancement enhances the wireless signal strength and range by focusing the WiFi signal towards connected devices, rather than broadcasting it uniformly in all directions. As a result, users can experience improved connection quality even at a distance from the router.

Installation and setup of the EX6200 is user-friendly, featuring a smart setup wizard. Users can easily connect the extender to their existing router through WPS (WiFi Protected Setup) or by using a web interface. The LED indicators on the device help users find the best location for optimal performance.

Security is also a critical aspect of the NETGEAR EX6200. The device supports WPA/WPA2 wireless security protocols, ensuring that your network remains secure from unauthorized access. Additionally, users can manage their network settings through the convenient NETGEAR Genie app, which allows for easy monitoring of connected devices and network performance.

In conclusion, the NETGEAR EX6200 AC1200 is an exceptional WiFi range extender that combines advanced technology with user-friendly features. Its dual-band support, high-speed performance, Beamforming+, and robust security measures make it an ideal solution for extending the reach of your home WiFi network, catering to the needs of modern households and their increasing connectivity demands.