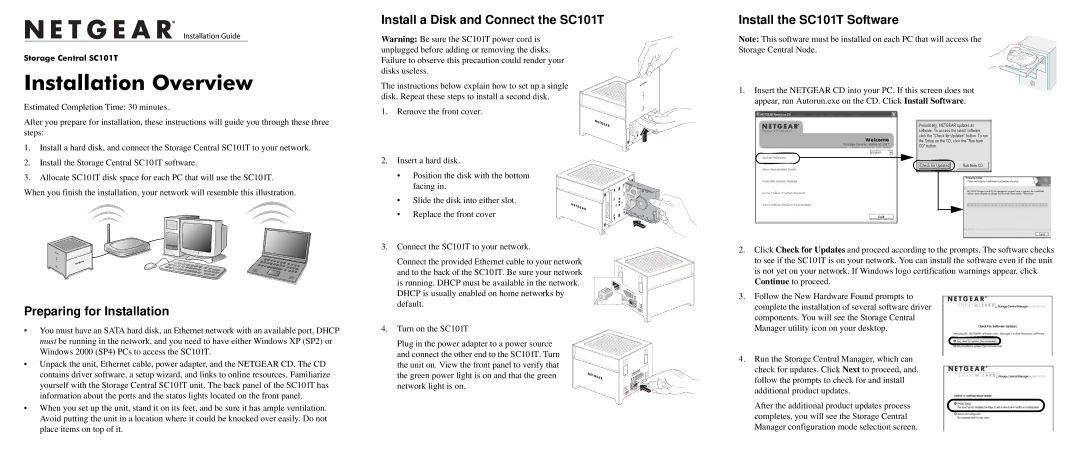
)NSTALLATION 'UIDE
Storage Central SC101T
Installation Overview
Estimated Completion Time: 30 minutes.
After you prepare for installation, these instructions will guide you through these three steps:
Install a Disk and Connect the SC101T
Warning: Be sure the SC101T power cord is unplugged before adding or removing the disks. Failure to observe this precaution could render your disks useless.
The instructions below explain how to set up a single disk. Repeat these steps to install a second disk.
1. Remove the front cover.
Install the SC101T Software
Note: This software must be installed on each PC that will access the Storage Central Node.
1.Insert the NETGEAR CD into your PC. If this screen does not appear, run Autorun.exe on the CD. Click Install Software.
1.Install a hard disk, and connect the Storage Central SC101T to your network.
2.Install the Storage Central SC101T software.
3.Allocate SC101T disk space for each PC that will use the SC101T.
When you finish the installation, your network will resemble this illustration.
2.Insert a hard disk.
•Position the disk with the bottom facing in.
•Slide the disk into either slot.
•Replace the front cover
power socket |
Preparing for Installation
•You must have an SATA hard disk, an Ethernet network with an available port, DHCP must be running in the network, and you need to have either Windows XP (SP2) or Windows 2000 (SP4) PCs to access the SC101T.
•Unpack the unit, Ethernet cable, power adapter, and the NETGEAR CD. The CD contains driver software, a setup wizard, and links to online resources. Familiarize yourself with the Storage Central SC101T unit. The back panel of the SC101T has information about the ports and the status lights located on the front panel.
•When you set up the unit, stand it on its feet, and be sure it has ample ventilation. Avoid putting the unit in a location where it could be knocked over easily. Do not place items on top of it.
3.Connect the SC101T to your network.
Connect the provided Ethernet cable to your network and to the back of the SC101T. Be sure your network is running. DHCP must be available in the network. DHCP is usually enabled on home networks by default.
4.Turn on the SC101T
Plug in the power adapter to a power source and connect the other end to the SC101T. Turn the unit on. View the front panel to verify that the green power light is on and that the green network light is on.
2.Click Check for Updates and proceed according to the prompts. The software checks to see if the SC101T is on your network. You can install the software even if the unit is not yet on your network. If Windows logo certification warnings appear, click Continue to proceed.
3.Follow the New Hardware Found prompts to complete the installation of several software driver components. You will see the Storage Central Manager utility icon on your desktop.
4.Run the Storage Central Manager, which can check for updates. Click Next to proceed, and. follow the prompts to check for and install additional product updates.
After the additional product updates process completes, you will see the Storage Central Manager configuration mode selection screen.
