Quick Set-Up Guide
We urge you to read this entire manual in the sequence it is presented. But, if you only read one part of this guide initially, read this page!
Listed below are seven easy steps for setting up your Nighthawk CO alarm. Please read the entire guide for complete information.
Setting up your CO alarm for first time operation:
Step 1
Determine the best location for your CO alarm(s). Usually this is in or near bedrooms. Refer to page
Step 2
Your CO alarm is equipped to be mounted as a corded unit, a direct plug unit or a table top unit. In the “as shipped” con- figuration, the unit can be plugged directly into a wall sock- et. (If your outlets are mounted horizontally, please refer to page
Step 3
A 9V battery is needed for backup in the event of a power outage. When installing the battery, use an Energizer 522, Duracell MN 1604 or, for extended life, use an Ultralife lithi- um power cell model U9VL. Any of these batteries can be purchased where you bought the alarm or at your local hard- ware store. To install the battery, open the back door and snap battery connector onto battery. You will hear the alarm sound briefly to indicate the unit is receiving power. Place battery into battery compartment and replace back door (refer to page
Step 4
Plug the alarm into a standard, unswitched 120 volt AC elec- tric outlet in one of the configurations listed in step 2.
Step 5
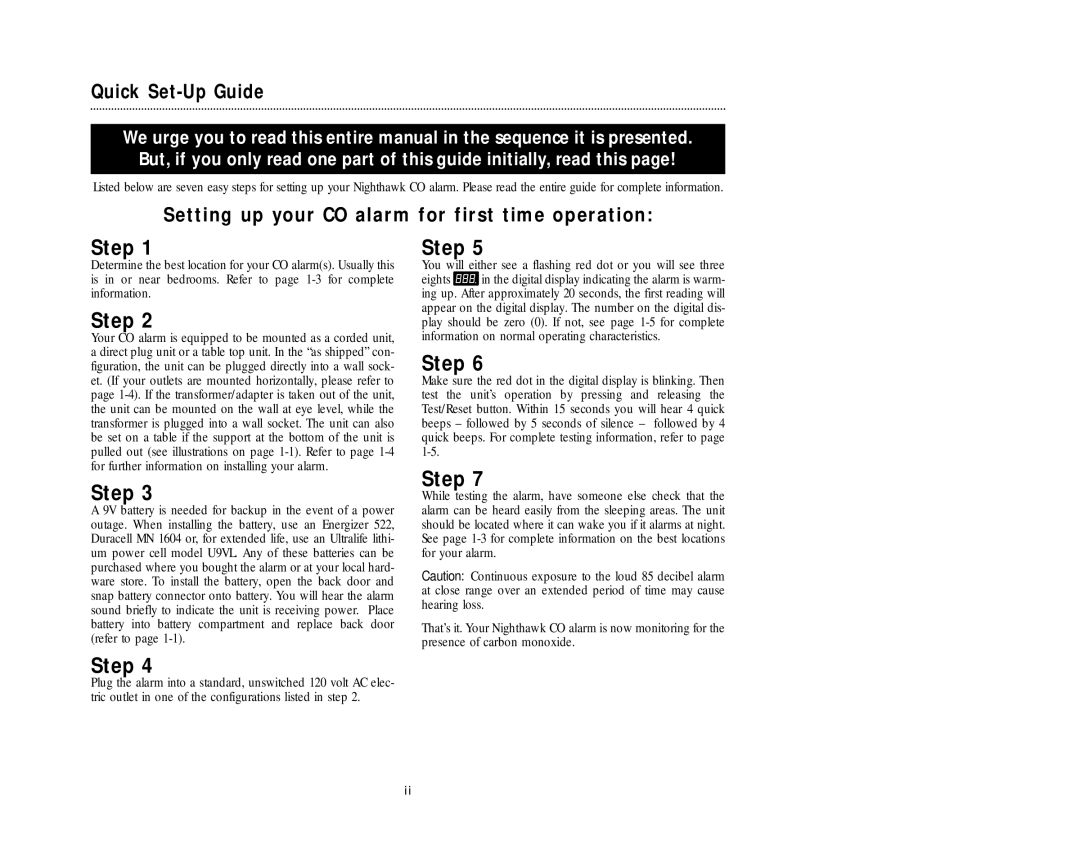
You will either see a flashing red dot or you will see three
eights ![]() in the digital display indicating the alarm is warm- ing up. After approximately 20 seconds, the first reading will appear on the digital display. The number on the digital dis- play should be zero (0). If not, see page
in the digital display indicating the alarm is warm- ing up. After approximately 20 seconds, the first reading will appear on the digital display. The number on the digital dis- play should be zero (0). If not, see page
Step 6
Make sure the red dot in the digital display is blinking. Then test the unit’s operation by pressing and releasing the Test/Reset button. Within 15 seconds you will hear 4 quick beeps – followed by 5 seconds of silence – followed by 4 quick beeps. For complete testing information, refer to page
Step 7
While testing the alarm, have someone else check that the alarm can be heard easily from the sleeping areas. The unit should be located where it can wake you if it alarms at night. See page
Caution: Continuous exposure to the loud 85 decibel alarm at close range over an extended period of time may cause hearing loss.
That’s it. Your Nighthawk CO alarm is now monitoring for the presence of carbon monoxide.
ii