EXISTING CONSTRUCTION:
INSTALLATION OF BRACKETS, FRAMES, AND GRILLES
PLANNING THE INSTALLATION
IMPORTANT: BEFORE YOU CUT INTO ANY WALL, REVIEW THE SECTIONS SPEAKER PLACMENT ON PAGE 6 AND RUNNING THE SPEAKER WIRE IN NEW CONSTRUCTION ON PAGE 10. BE SURE NOT TO DRILL OR CUT THROUGH EXISTING WIRES, PIPES, OR STRUCTURE. IF YOU FEEL ANY EXTRA RESISTANCE AS YOU ARE DRILLING OR SAWING, STOP!
1.Locate joists by using a stud sensor or by hand knocking. Keep in mind that the mounting “dogs” will extend 3/4 inch beyond the cutout. Make sure you do not place the edge of the cutout directly next to a ceiling joist.
2.At the planned cutout site, drill a
NOTE: IN MOST HOMES, THE CEILING THICKNESS IS 1/2 TO 5/8 INCH.
3.Cut a
3/4 inch to allow for the extra width of the mounting dogs. Poke the
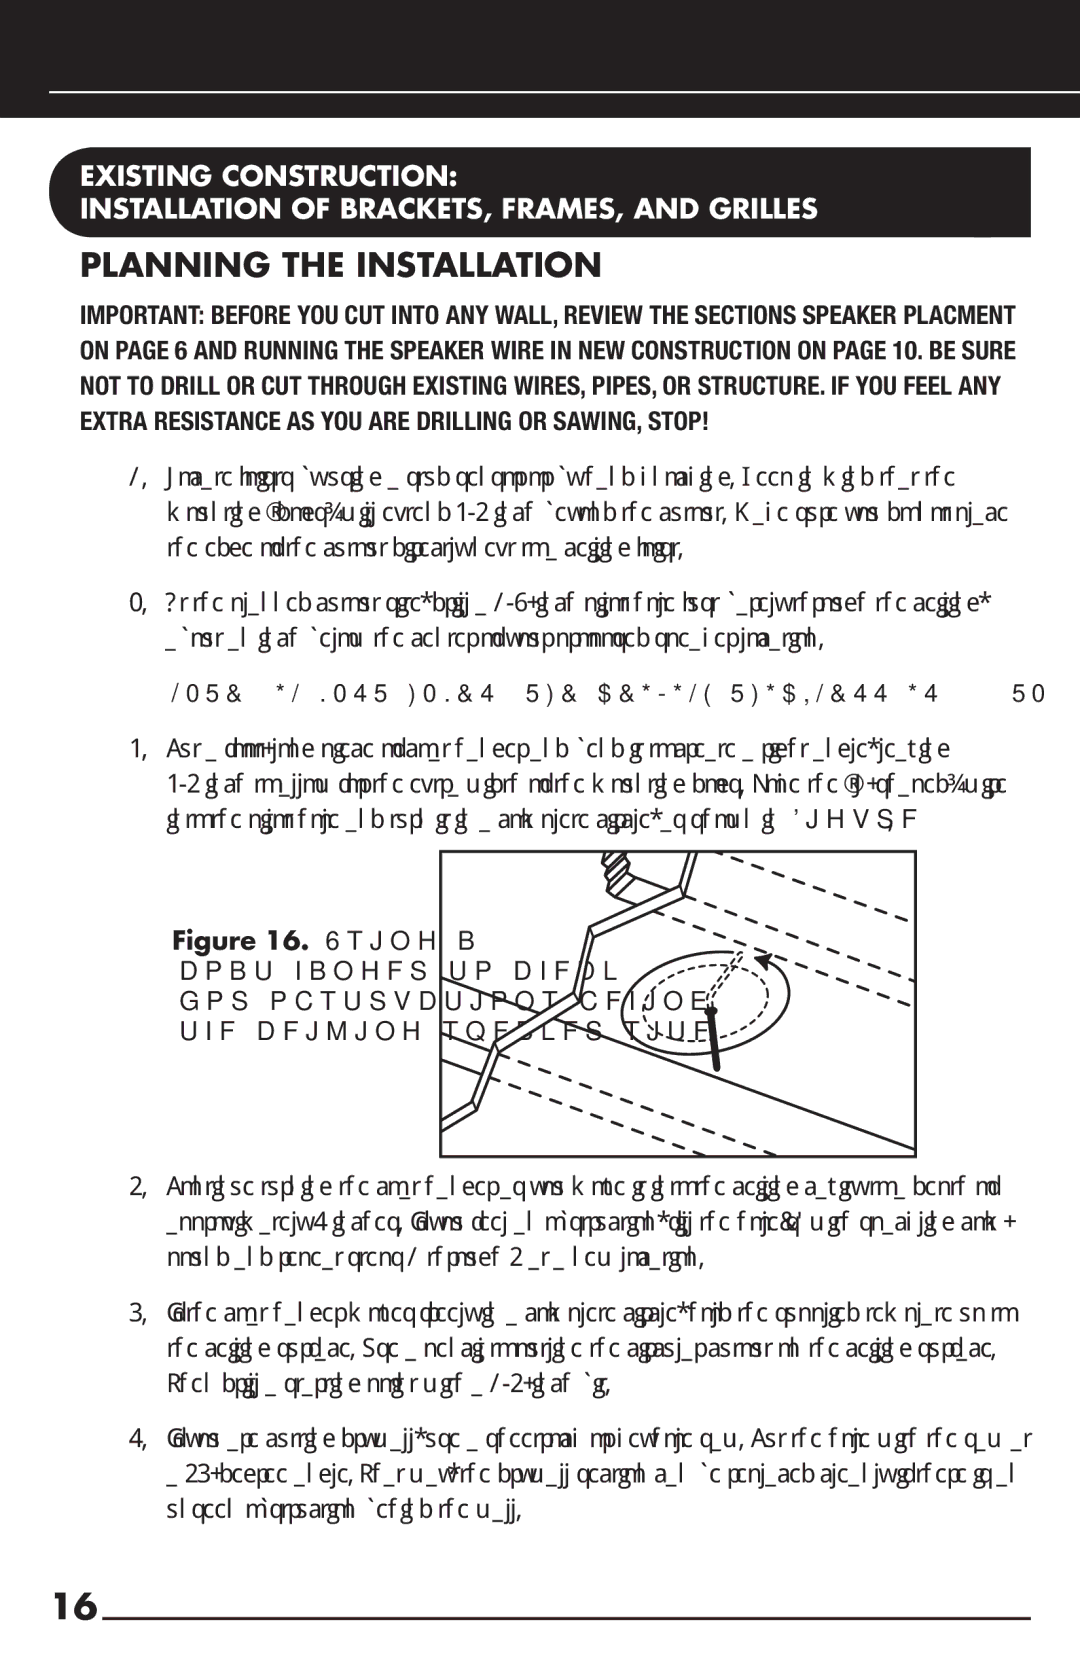
Figure 16. Using a coat hanger to check for obstructions behind the ceiling speaker site.
4.Continue turning the coat hanger as you move it into the ceiling cavity to a depth of approximately 6 inches. If you feel an obstruction, fill the hole(s) with spackling com- pound and repeat steps 1 through 4 at a new location.
5.If the coat hanger moves freely in a complete circle, hold the supplied template up to the ceiling surface. Use a pencil to outline the circular cutout on the ceiling surface. Then drill a starting point with a
6.If you are cutting drywall, use a sheetrock or keyhole saw. Cut the hole with the saw at a
16