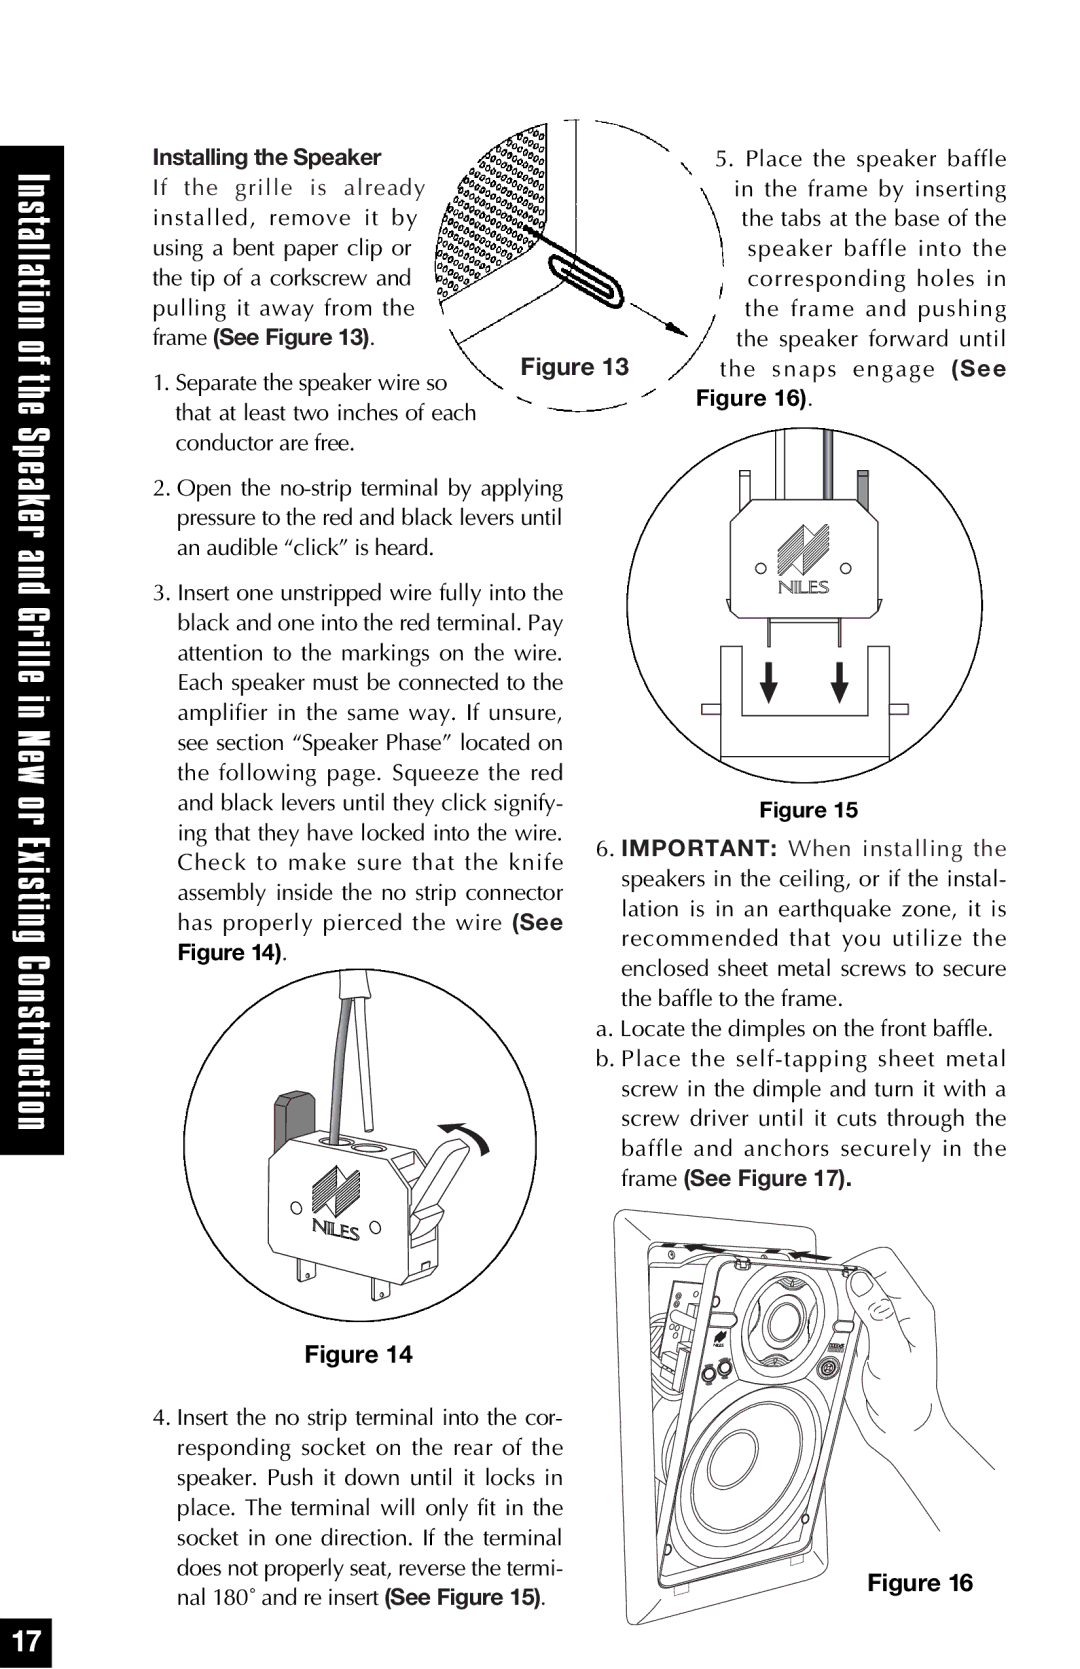
HD8, HD5, HD6, HD8.3 specifications
Niles Audio, a reputable name in the world of custom audio systems, offers an impressive lineup of speakers designed to deliver exceptional sound quality for both residential and commercial applications. Among their standout models, the HD8.3, HD6, HD5, and HD8 offer unique features and technologies that cater to different listening environments.Starting with the Niles Audio HD8.3, this model showcases a sophisticated 3-way design that includes an 8-inch woofer, a 4-inch midrange driver, and a 1-inch silk dome tweeter. This combination allows it to deliver deep bass, articulate mids, and crisp highs, making it ideal for large rooms where powerful sound is needed. The HD8.3 is engineered to integrate seamlessly with custom installations, featuring a low-profile design and paintable grilles.
The HD6 is a versatile option that excels in both performance and aesthetics. With a 6.5-inch woofer, a 4-inch midrange, and a 1-inch tweeter, the HD6 provides a balanced sound profile that works well in mid-sized spaces. One of its standout features is Niles’ proprietary Bass Reflex technology, which enhances low-frequency response without compromising overall clarity.
For those seeking a compact solution without sacrificing performance, the HD5 is an excellent choice. This model is equipped with a 5.25-inch woofer and a 1-inch tweeter, offering a surprisingly rich sound for its size. It is perfect for smaller rooms or areas where space is at a premium, yet still delivers robust audio that can fill a room.
Lastly, the HD8 combines advanced technology with superior craftsmanship. It features an 8-inch driver that provides potent bass while maintaining overall sonic balance. The HD8 is specifically designed for those who demand high fidelity in larger spaces and appreciate the depth of sound that it can provide. Like its counterparts, it also utilizes the same installation-friendly design, making it an ideal choice for custom home theaters.
All four models utilize Niles' high-quality materials and engineering techniques, ensuring durability and longevity. Each speaker is engineered to minimize distortion and deliver clear, true-to-life sound regardless of volume level. With their innovative designs and advanced audio technologies, the Niles Audio HD series continues to set a high standard for audio performance in custom installations. Whether you choose the HD8.3, HD6, HD5, or HD8, you can expect a premium listening experience that brings music and movies to life.

