PR6 specifications
Niles Audio PR6 is a high-performance in-ceiling speaker designed to deliver exceptional sound quality and seamless integration into home audio systems. Known for its innovative technologies and robust build, the PR6 stands out as a premium choice for audiophiles and casual listeners alike.One of the key features of the Niles Audio PR6 is its 6.5-inch polypropylene woofer, which is engineered to provide deep, rich bass response. This design allows for clear and powerful sound reproduction across a wide frequency range. Complementing the woofer is a 1-inch tweeter that utilizes a pivoting design, enabling users to direct sound where it is most needed. This feature is particularly beneficial in multi-room audio setups or home theaters where sound dispersion is critical for an immersive experience.
The PR6 incorporates Niles' proprietary Energy Star-rated amplifier technology, which not only enhances audio performance but also helps in energy efficiency. This is an essential feature for eco-conscious consumers who wish to minimize their carbon footprint without sacrificing sound quality.
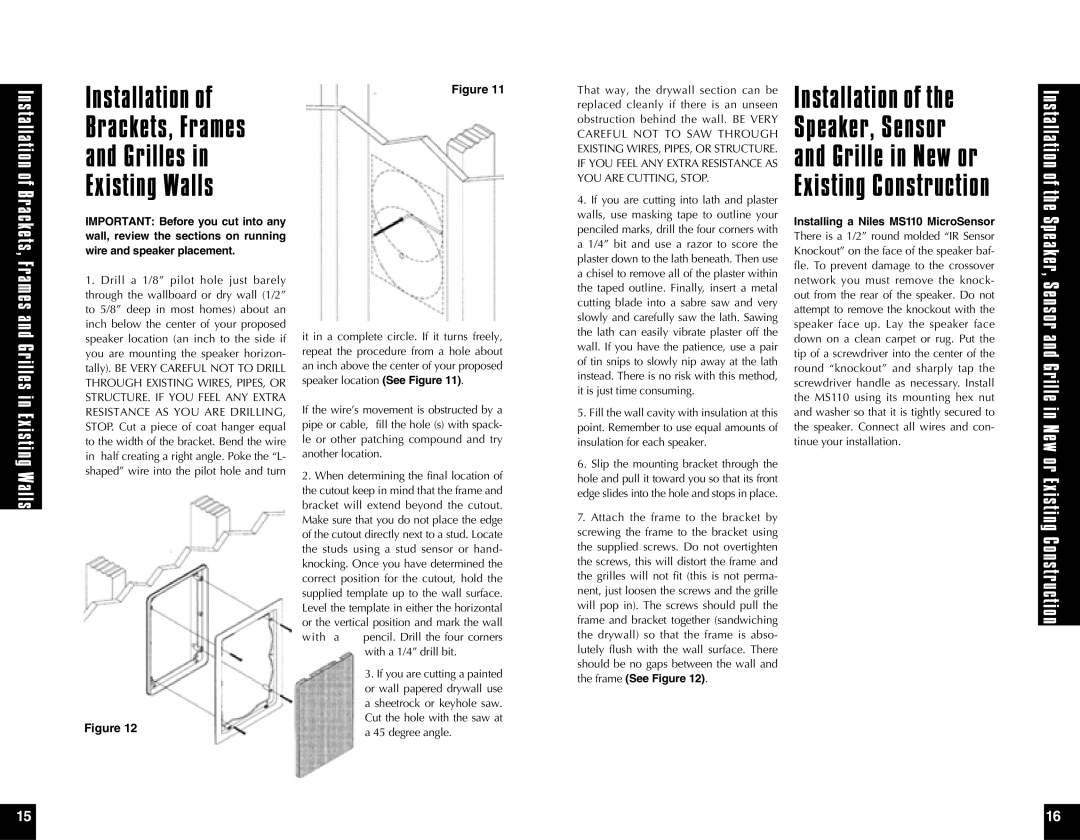
In terms of installation, the Niles Audio PR6 showcases an easy-to-mount design with a built-in mounting bracket. This feature simplifies the installation process, making it accessible for both professional installers and DIY enthusiasts. The speaker's low profile and sleek grille design allow it to blend seamlessly with a variety of interior decors, ensuring that it enhances rather than detracts from any room's aesthetic.
For those concerned about durability, the Niles Audio PR6 is built with high-quality materials that withstand the test of time. Its weather-resistant features make it suitable for both indoor and outdoor use, allowing homeowners to enjoy their favorite music in any setting.
Moreover, the speaker's compatibility with a wide range of receivers ensures that it can be easily integrated into existing audio systems. This flexibility makes the PR6 an ideal option for both new installations and upgrades to existing systems.
In conclusion, the Niles Audio PR6 is a sophisticated in-ceiling speaker that excels in sound quality, design, and versatility. Its combination of advanced technologies, durability, and aesthetic appeal makes it a standout option for anyone looking to enhance their auditory experience in their home environment. Whether for music or movies, the PR6 promises to deliver exceptional sound quality that will satisfy even the most discerning listeners.

