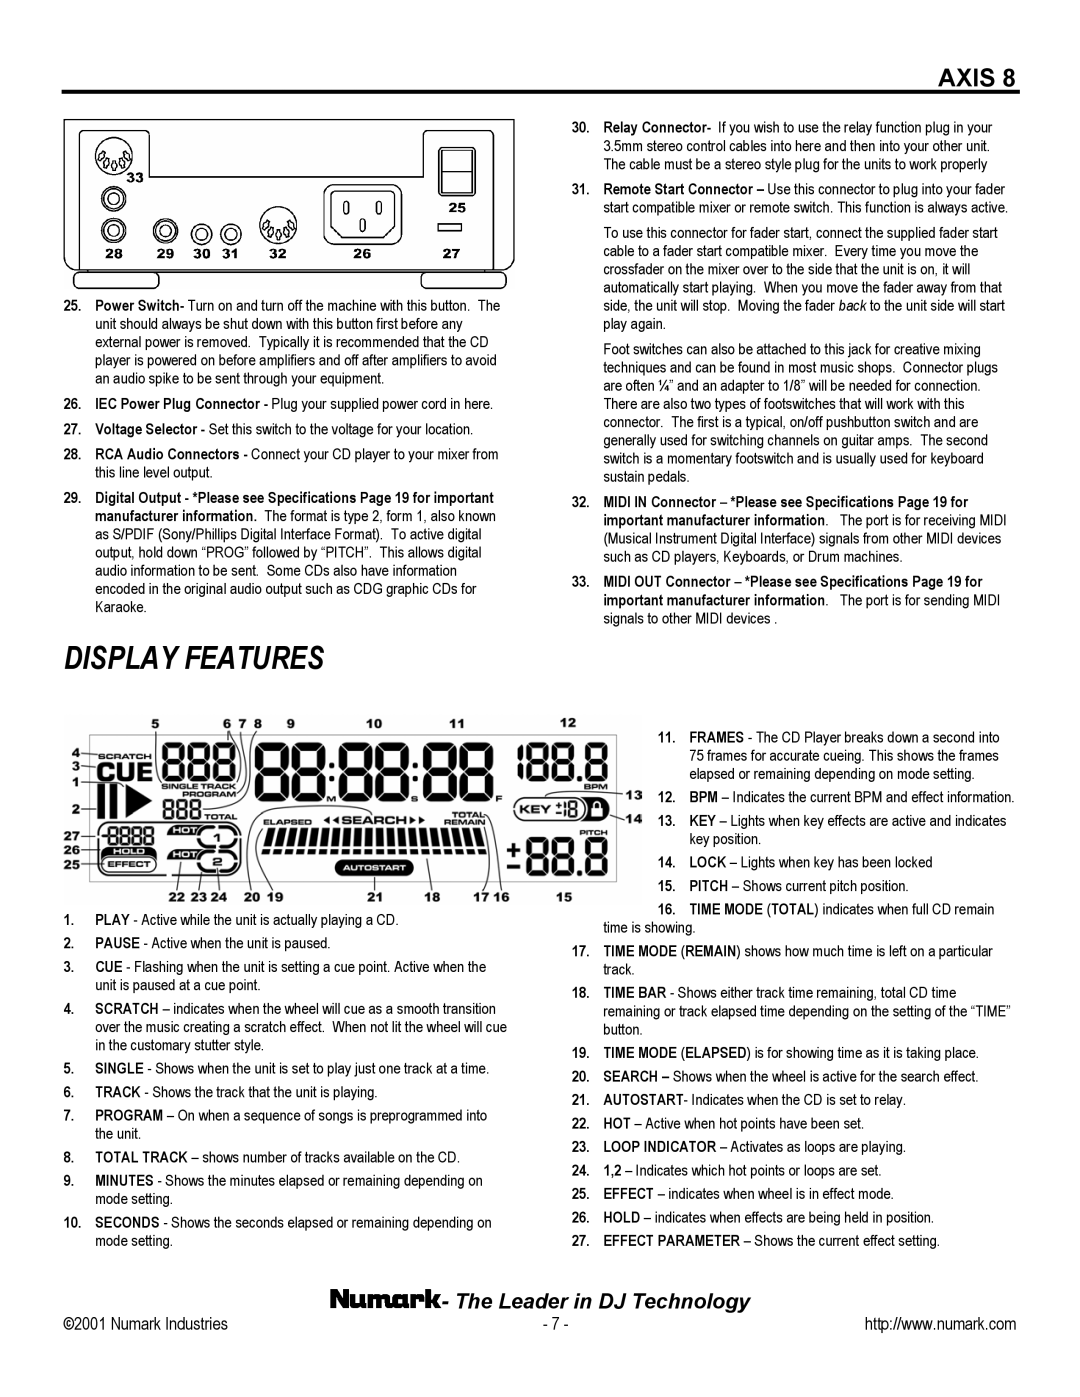
AXIS 8 Premium specifications
Numark Industries has long been renowned for producing high-quality DJ equipment, and the AXIS 8 Premium stands as a testament to their commitment to innovation and performance. This DJ controller is engineered for both aspiring DJs and seasoned professionals, providing a robust suite of features that enhance creativity and facilitate seamless mixing.One of the standout characteristics of the AXIS 8 Premium is its intuitive layout. The controller features eight performance pads that are vibrant and responsive, allowing DJs to trigger samples, loops, and hot cues with precision. These pads can be customized to suit individual playing styles, fostering a personalized performance environment. Additionally, the pads support various velocity levels, which lets users express themselves dynamically in their sets.
In terms of connectivity, the AXIS 8 Premium offers extensive options, including USB connectivity that ensures easy integration with any digital audio workstation (DAW) or DJ software. The controller is designed to be fully compatible with Serato DJ Lite, making it an excellent choice for those looking to start their DJing journey or professionals seeking a reliable backup controller.
The AXIS 8 Premium is also equipped with high-quality jog wheels that provide tactile feedback. These jog wheels are ideal for scratching and beat matching, which are essential skills in the DJing world. Additionally, the controller comes with dedicated volume and EQ controls, allowing for real-time adjustments that can enhance the overall sound quality of a mix.
Another significant technology featured in the AXIS 8 Premium is its built-in sound card. This allows DJs to connect directly to speakers without needing an external interface, simplifying setup and minimizing potential technical issues during live performances. The controller also supports several audio formats, ensuring that it can accommodate a wide range of music styles.
To top it all off, the AXIS 8 Premium boasts a sleek, durable design that is both aesthetically pleasing and built to withstand the rigors of frequent travel and live performances. Its portability and lightweight construction make it a favorite among mobile DJs who require reliable equipment that can easily be transported.
In conclusion, Numark Industries' AXIS 8 Premium is a feature-rich DJ controller that combines functionality, versatility, and portability. With its customizable performance pads, robust connectivity options, high-quality jog wheels, and built-in sound card, it stands out as an excellent choice for both novice and experienced DJs looking to elevate their craft.

