|
| |
Operations Manual & User Guide |
| |
Congratulations on your purchase of the | ||
technology to ensure unsurpassed performance without the need for system calibration. It | ||
has been designed and manufactured to the highest quality standards to provide | ||
consistent good performance and reliability. |
| |
This document has been prepared to guide you with the setup, operation, and user | ||
maintenance of your station. We recommend that you review it to optimize performance | ||
and operational consistency. |
| |
Table of Contents |
| |
1. | Packing / Spares Lists | 1 |
2. | Initial Setup | 2 |
3. | Smartheat® | 2 |
4. | Selecting Heater Tips | 3 |
5. | Replacing Heater Tips | 3 |
6. | Replacing the Coil Assembly | 4 |
7. | Troubleshooting | 4 |
8. | Specifications | 5 |
9. Warranty | 6 | |
10. Safety Information | 7 | |
| ||
a. | (Part Number: | |
b. | (Part Number: WS2) | |
c. | Sponge | (Part Number: |
d. | (Part Number: | |
e. | Cartridge Removal Pad | (Part Number: |
f.Power Cord
g.Instruction Manual
1-b. ADDITIONAL SPARE PART / CONSUMABLE ITEMS:
a. Coil assembly, | (Part Number: | |
b. | Handpiece / power cord. (NO Coil Assembly) | (Part Number: |
c. | (Part Number: WS2G) | |
d. | Heater Tips | (See section 4) |
e. Net Power Meter for | (part Number: | |
1
www.okinternational.com
2. INITIAL SETUP
The
1.Mount the power supply in a convenient location in your workspace, such as on the workbench.
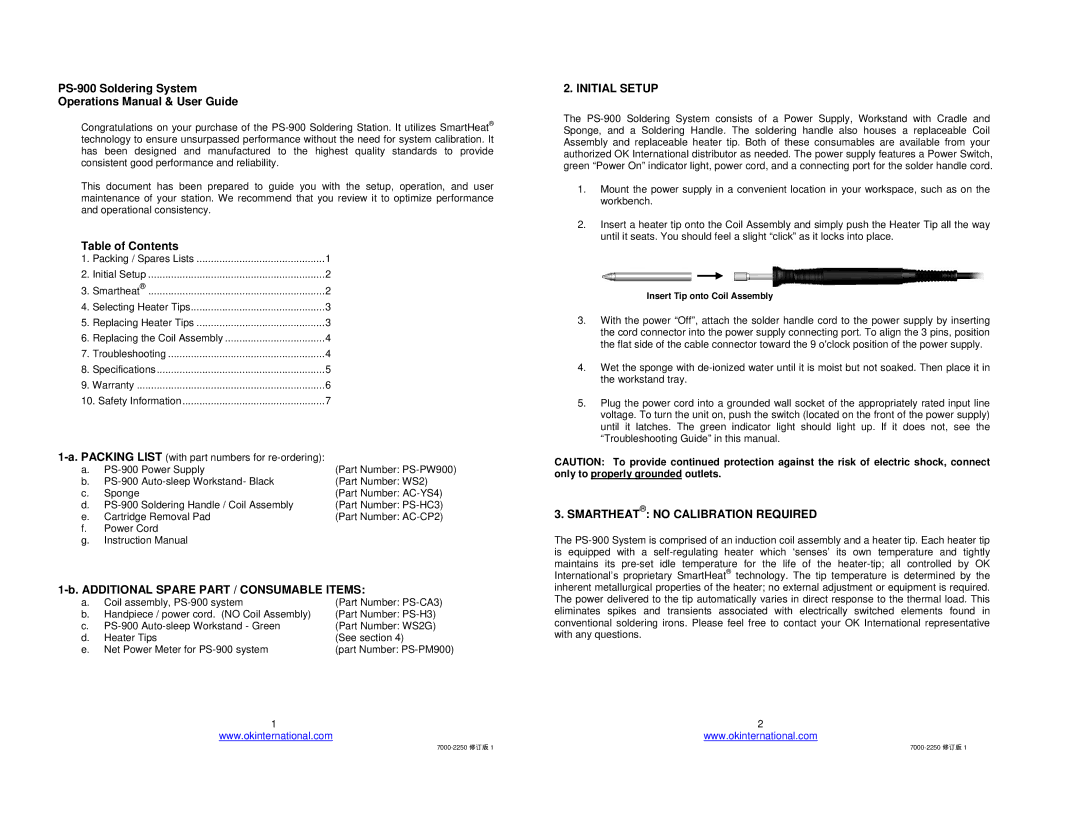
2.Insert a heater tip onto the Coil Assembly and simply push the Heater Tip all the way until it seats. You should feel a slight “click” as it locks into place.
Insert Tip onto Coil Assembly
3.With the power “Off”, attach the solder handle cord to the power supply by inserting the cord connector into the power supply connecting port. To align the 3 pins, position the flat side of the cable connector toward the 9 o'clock position of the power supply.
4.Wet the sponge with
5.Plug the power cord into a grounded wall socket of the appropriately rated input line voltage. To turn the unit on, push the switch (located on the front of the power supply) until it latches. The green indicator light should light up. If it does not, see the “Troubleshooting Guide” in this manual.
CAUTION: To provide continued protection against the risk of electric shock, connect only to properly grounded outlets.
3. SMARTHEAT®: NO CALIBRATION REQUIRED
The
2
www.okinternational.com
