16-634.fm Page 16 Tuesday, July 20, 1999 5:37 PM

When you set DST to ON, the VCR auto- matically adds 1 hour on the first Sunday in April, and subtracts 1 hour on the last Sun- day in October.

8.Press . SET COMPLETED appears.

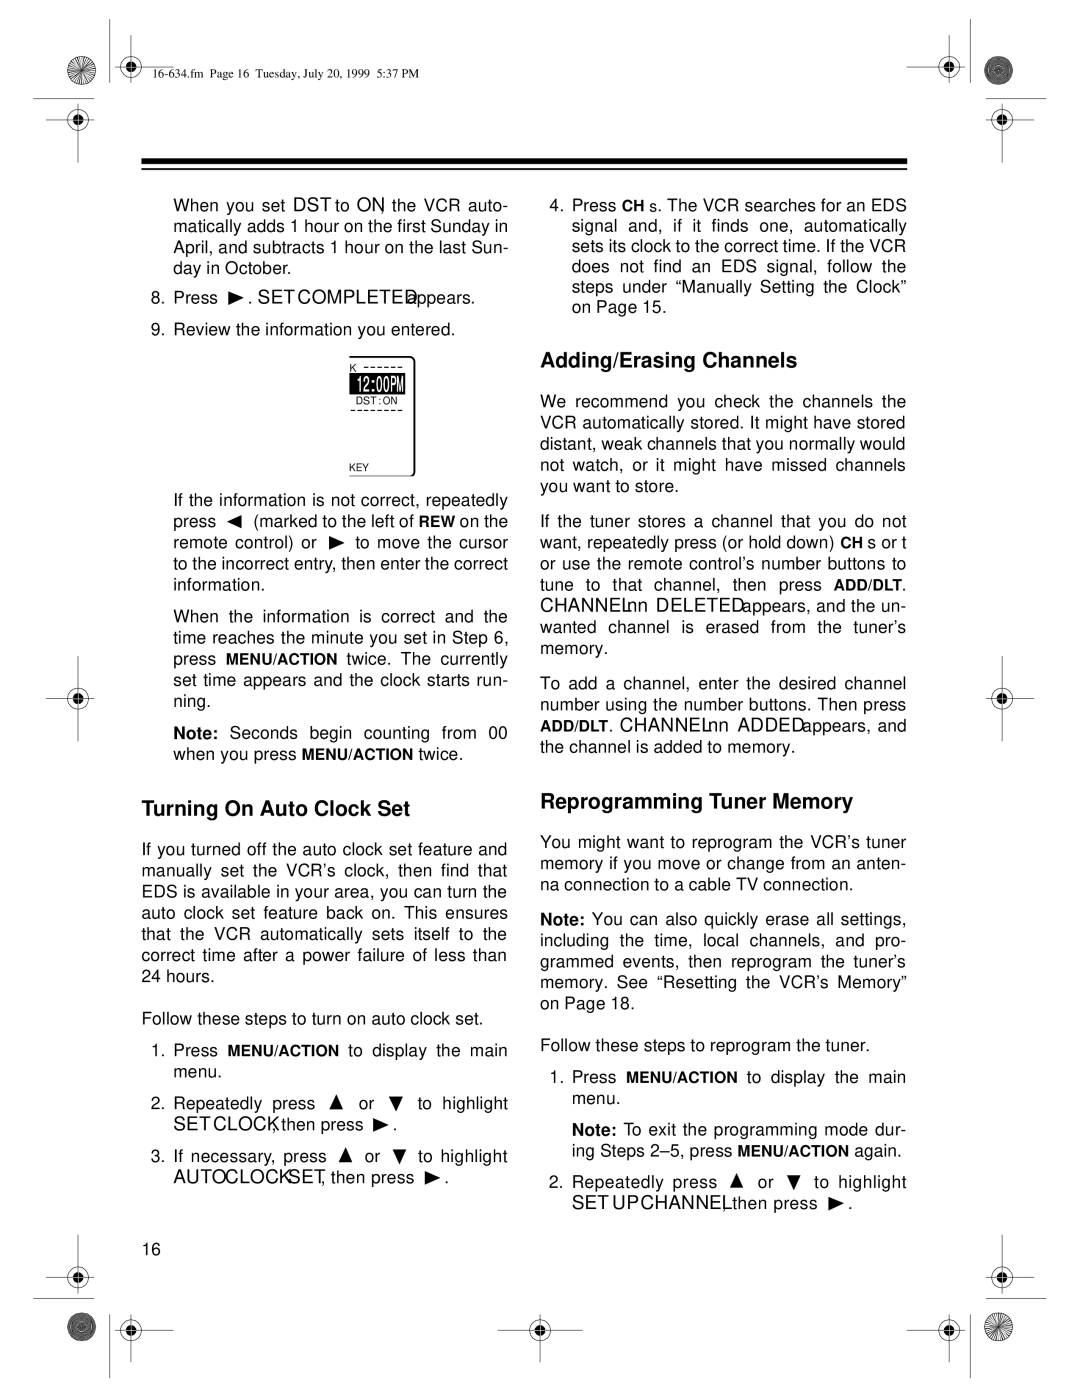
9.Review the information you entered.

K ------

12:00PM

DST : ON

--------

KEY

If the information is not correct, repeatedly

press (marked to the left of REW on the

remote control) or to move the cursor to the incorrect entry, then enter the correct information.

When the information is correct and the time reaches the minute you set in Step 6, press MENU/ACTION twice. The currently set time appears and the clock starts run- ning.

Note: Seconds begin counting from 00 when you press MENU/ACTION twice.

4.Press CH s. The VCR searches for an EDS signal and, if it finds one, automatically sets its clock to the correct time. If the VCR does not find an EDS signal, follow the steps under “Manually Setting the Clock” on Page 15.

Adding/Erasing Channels

We recommend you check the channels the VCR automatically stored. It might have stored distant, weak channels that you normally would not watch, or it might have missed channels you want to store.

If the tuner stores a channel that you do not want, repeatedly press (or hold down) CH s or t or use the remote control’s number buttons to tune to that channel, then press ADD/DLT. CHANNEL nn DELETED appears, and the un- wanted channel is erased from the tuner’s memory.

To add a channel, enter the desired channel number using the number buttons. Then press ADD/DLT. CHANNEL nn ADDED appears, and the channel is added to memory.

Turning On Auto Clock Set

If you turned off the auto clock set feature and manually set the VCR’s clock, then find that EDS is available in your area, you can turn the auto clock set feature back on. This ensures that the VCR automatically sets itself to the correct time after a power failure of less than 24 hours.

Follow these steps to turn on auto clock set.

1.Press MENU/ACTION to display the main menu.

2.Repeatedly press or to highlight SET CLOCK, then press .

3.If necessary, press or to highlight

AUTO CLOCK SET, then press .

16

Reprogramming Tuner Memory

You might want to reprogram the VCR’s tuner memory if you move or change from an anten- na connection to a cable TV connection.

Note: You can also quickly erase all settings, including the time, local channels, and pro- grammed events, then reprogram the tuner’s memory. See “Resetting the VCR’s Memory” on Page 18.

Follow these steps to reprogram the tuner.

1.Press MENU/ACTION to display the main menu.

Note: To exit the programming mode dur- ing Steps 2–5, press MENU/ACTION again.

2.Repeatedly press or to highlight

SET UP CHANNEL, then press .

Page 16
Image 16
Optimus 65, 64 owner manual Adding/Erasing Channels, Turning On Auto Clock Set, Reprogramming Tuner Memory

64, 65 specifications

The Optimus 65 and 64 are the latest advancements in robotic technology, designed to enhance productivity and streamline operations in various sectors. These robots embody cutting-edge features that cater to both industrial and commercial applications.

One of the main features of the Optimus 65 is its advanced AI-driven navigation system. Utilizing a combination of LiDAR and computer vision, the robot can map its environment in real-time, allowing for precise maneuvering even in complex settings. This intelligent navigation enables it to avoid obstacles and efficiently plan routes, significantly reducing downtime and increasing operational efficiency.

On the other hand, the Optimus 64 focuses on versatility. It is designed with modular components that can be easily swapped out, allowing for a range of applications from packaging to assembly line work. This adaptability makes it an excellent solution for businesses looking to optimize their processes without the need for extensive retraining or reconfiguration.

Both models are equipped with robust connectivity options, including Wi-Fi, Bluetooth, and option for 5G integration. This ensures real-time data transfer and remote monitoring capabilities, allowing operators to keep track of operations and make adjustments on the fly. The robots can seamlessly integrate with existing systems, enhancing their functionality without requiring a complete overhaul of current infrastructures.

In terms of performance, the Optimus series boasts impressive payload capacities, with the 65 handling heavier loads compared to its smaller counterpart. This makes it suitable for a wider range of industries, including manufacturing, logistics, and healthcare. Additionally, both robots come with advanced safety features, including emergency stop buttons and collision detection sensors, ensuring safe operations around human workers.

Another noteworthy characteristic is the energy efficiency of the Optimus models. They are designed with sustainability in mind, utilizing low-energy consumption motors and systems that promote minimal resource use while maintaining high performance levels.

In conclusion, the Optimus 65 and 64 represent a significant leap forward in robotic technology. Their advanced features, cutting-edge capabilities, and focus on safety and efficiency make them ideal solutions for a variety of industries looking to enhance their operational capabilities in the modern landscape. As businesses continue to adapt to the rapidly changing technological environment, these robots offer the flexibility, intelligence, and performance needed to thrive.