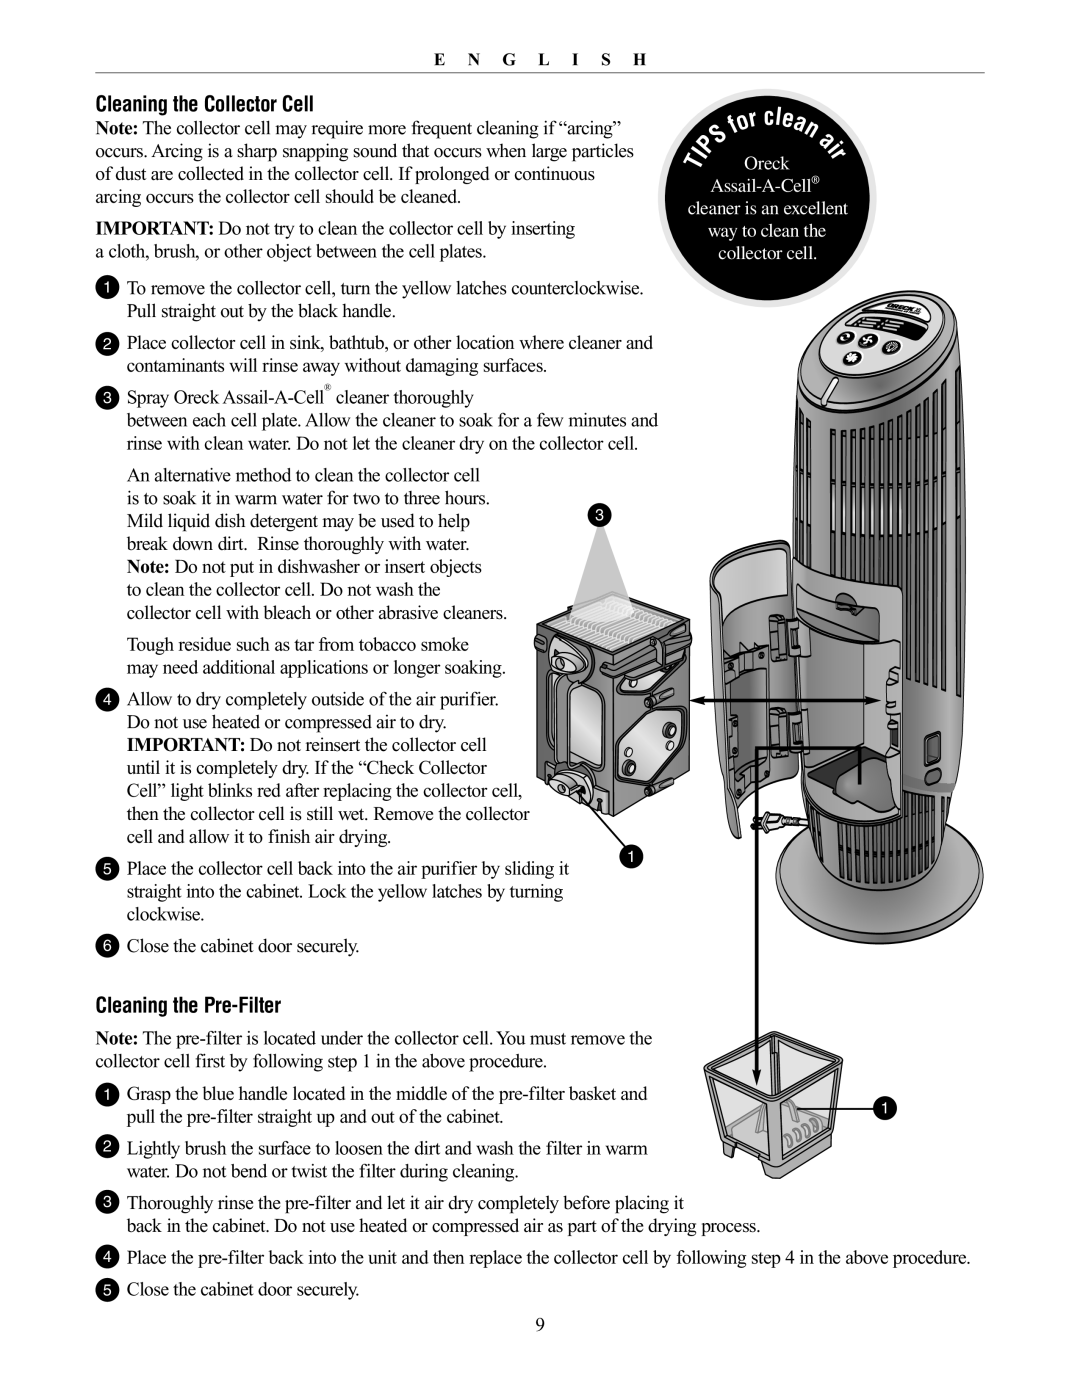
20061-01Rev.A specifications
The Oreck 20061-01 Rev.A is a sophisticated upright vacuum cleaner designed to simplify home cleaning while delivering outstanding performance. Renowned for its lightweight design and powerful suction, this model is ideal for those seeking an efficient and effective cleaning solution.One of the standout features of the Oreck 20061-01 is its impressive weight. At just around 8 pounds, it is one of the lightest vacuum cleaners available, making it incredibly easy to maneuver around the house. Users can carry it upstairs or transport it from room to room with minimal effort. This compact design does not compromise functionality, as it maintains strong suction power to tackle various messes.
The Oreck 20061-01 is equipped with a durable and powerful motor that provides consistent performance across different surfaces. Whether you're cleaning carpets, hardwood floors, or tile, this vacuum adapts to each surface type, ensuring thorough cleaning without damaging delicate flooring. The vacuum also includes a dual-speed roller brush, which allows users to adjust the brush speed depending on the floor type.
Another remarkable aspect of the Oreck 20061-01 is its filtration system. It features a top-mounted HEPA bag that captures over 99% of dust, allergens, and particles as small as 0.3 microns. This makes it a fantastic choice for allergy sufferers or those seeking a healthier indoor environment. Plus, the bags are easy to change, ensuring hassle-free maintenance.
The vacuum also highlights a variety of onboard tools, including a dusting brush, crevice tool, and upholstery tool. These attachments enhance the versatility of the vacuum, enabling users to clean intricate spaces and surfaces that might otherwise require separate cleaning devices.
One must-not overlook is the low-profile design of the Oreck 20061-01, allowing it to easily reach under furniture and along baseboards. This ensures that users can keep their homes cleaner without the need for strenuous bending or stretching.
Overall, the Oreck 20061-01 Rev.A combines lightweight convenience with powerful suction and versatile cleaning tools. Its HEPA filtration, dual-speed brush, and an array of attachments make it a well-rounded vacuum suitable for various cleaning tasks. This model exemplifies Oreck's commitment to quality and innovation, making it a reliable choice for consumers who value performance without the bulk.

