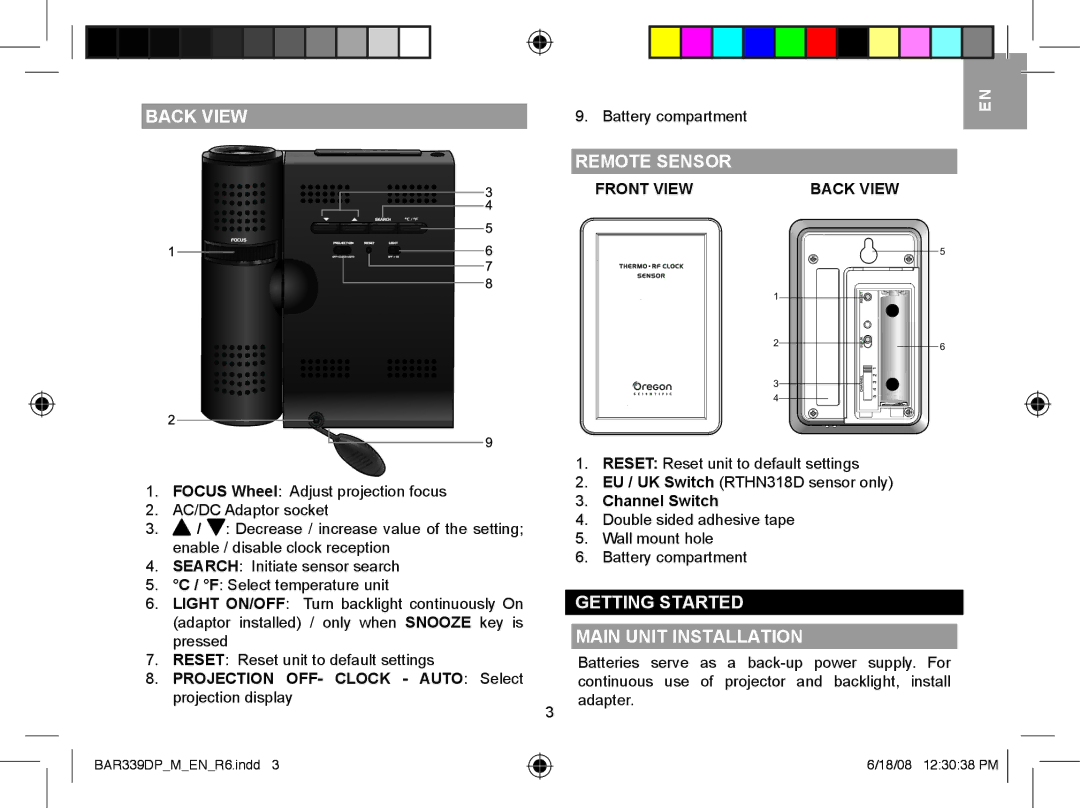
BAA339DPH, BAR339DP, BAR339DPA, BAR339DPU specifications
The Oregon Scientific BAA339DPH, BAR339DP, BAR339DPU, and BAR339DPA are advanced weather monitoring devices designed to offer users a comprehensive understanding of local climatic conditions. These models are distinguished by their innovative technologies, user-friendly interfaces, and robust features, making them suitable for both casual users and serious weather enthusiasts.One of the standout features of these devices is their ability to provide accurate and real-time weather readings. Equipped with high-precision sensors, they measure temperature, humidity, barometric pressure, and even forecast future weather patterns based on current conditions. The included wireless technology allows users to monitor weather data from remote sensors, providing a more extensive view of their environment.
The BAA339DPH model takes a step further by incorporating a digital display that shows not only temperature and humidity but also enhanced weather data, including dew point and wind chill factors. This comprehensive information aids users in making informed decisions, whether planning outdoor activities or managing indoor climates.
Another notable aspect is the built-in forecasting feature that utilizes advanced algorithms to predict weather changes accurately. This function analyzes historical data and current metrics, providing forecasts that help users anticipate shifts in weather conditions. With an easy-to-user interface, these devices allow quick access to real-time information without overwhelming the user with technical jargon.
The BAR339DP, BAR339DPU, and BAR339DPA also share robust design characteristics that enhance their usability. They feature a durable construction designed to withstand outdoor conditions, ensuring reliability over time. Additionally, portability is a key aspect, as these devices are lightweight and compact, making them easy to store or transport.
Power efficiency is another significant feature across these models, with many options for battery usage that support prolonged operation. Users can expect long battery life without the need for frequent replacements, making them convenient for everyday use.
In summary, the Oregon Scientific BAA339DPH, BAR339DP, BAR339DPU, and BAR339DPA models present a blend of sophisticated technology and practicality. Their accurate readings, predictive capabilities, and robust design tailor well to a variety of users, from families wanting to stay informed about local weather conditions to outdoor enthusiasts needing precise data for planning. With these devices, staying abreast of changing weather becomes an effortless task.

