Battery Installation:
1.Remove the battery compartment door by rotating it to the direction of “ ![]() ” as shown
” as shown
2.Insert four pieces of
GB
FEATURES
Section I — Radio-Controlled Calendar
Clock
3.Press [RESET].
4.Replace the battery compartment door by rotating it back onto the unit by following the direction of “ ![]() ”.
”.
When the battery power level is low, the respective low battery
indicator [ ![]() ] will light up. Replace the batteries or connect it with AC power adapter.
] will light up. Replace the batteries or connect it with AC power adapter.
Please note if only AC adapter is connected and no battery is installed,
low battery indicator [ ![]() ] for clock will also light up.
] for clock will also light up.
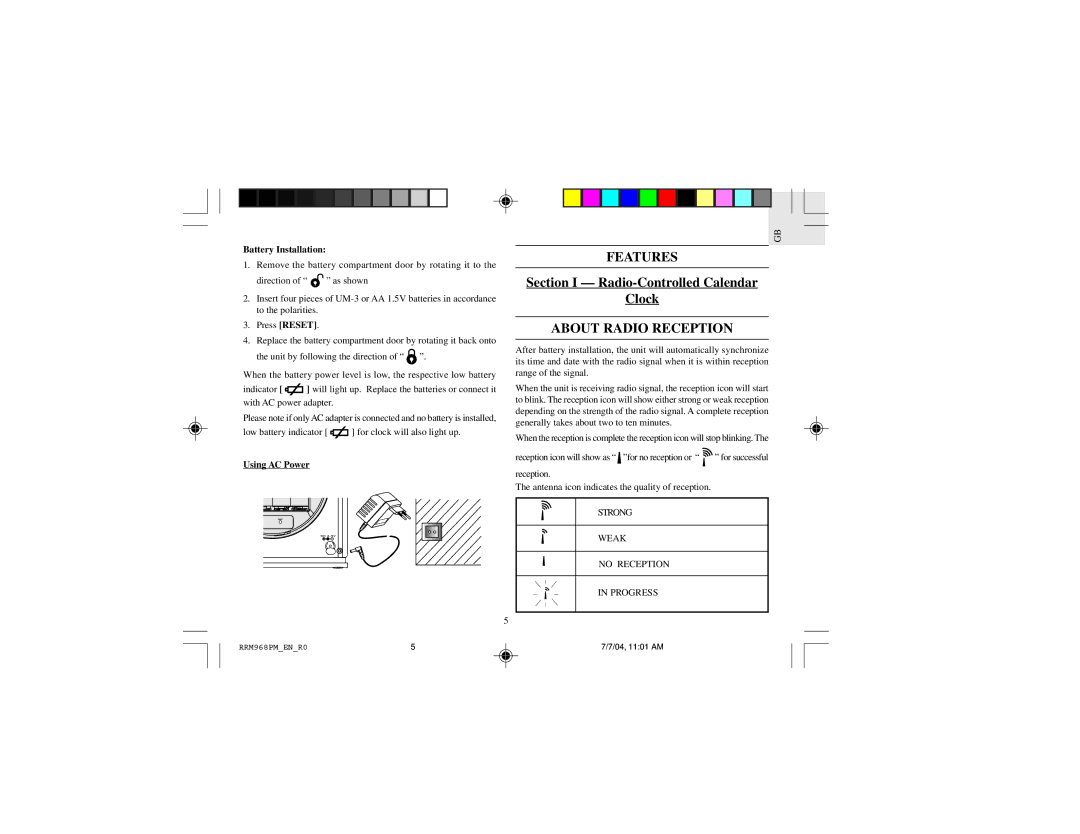
Using AC Power
5
ABOUT RADIO RECEPTION
After battery installation, the unit will automatically synchronize its time and date with the radio signal when it is within reception range of the signal.
When the unit is receiving radio signal, the reception icon will start to blink. The reception icon will show either strong or weak reception depending on the strength of the radio signal. A complete reception generally takes about two to ten minutes.
When the reception is complete the reception icon will stop blinking. The
reception icon will show as “ ”for no reception or “ | ” for successful |
reception. |
|
The antenna icon indicates the quality of reception.
STRONG
WEAK
NO RECEPTION
IN PROGRESS
RRM968PM_EN_R0 | 5 | 7/7/04, 11:01 AM |