Manuals
/
Orion
/
Lawn and Garden
/
Telescope
Orion
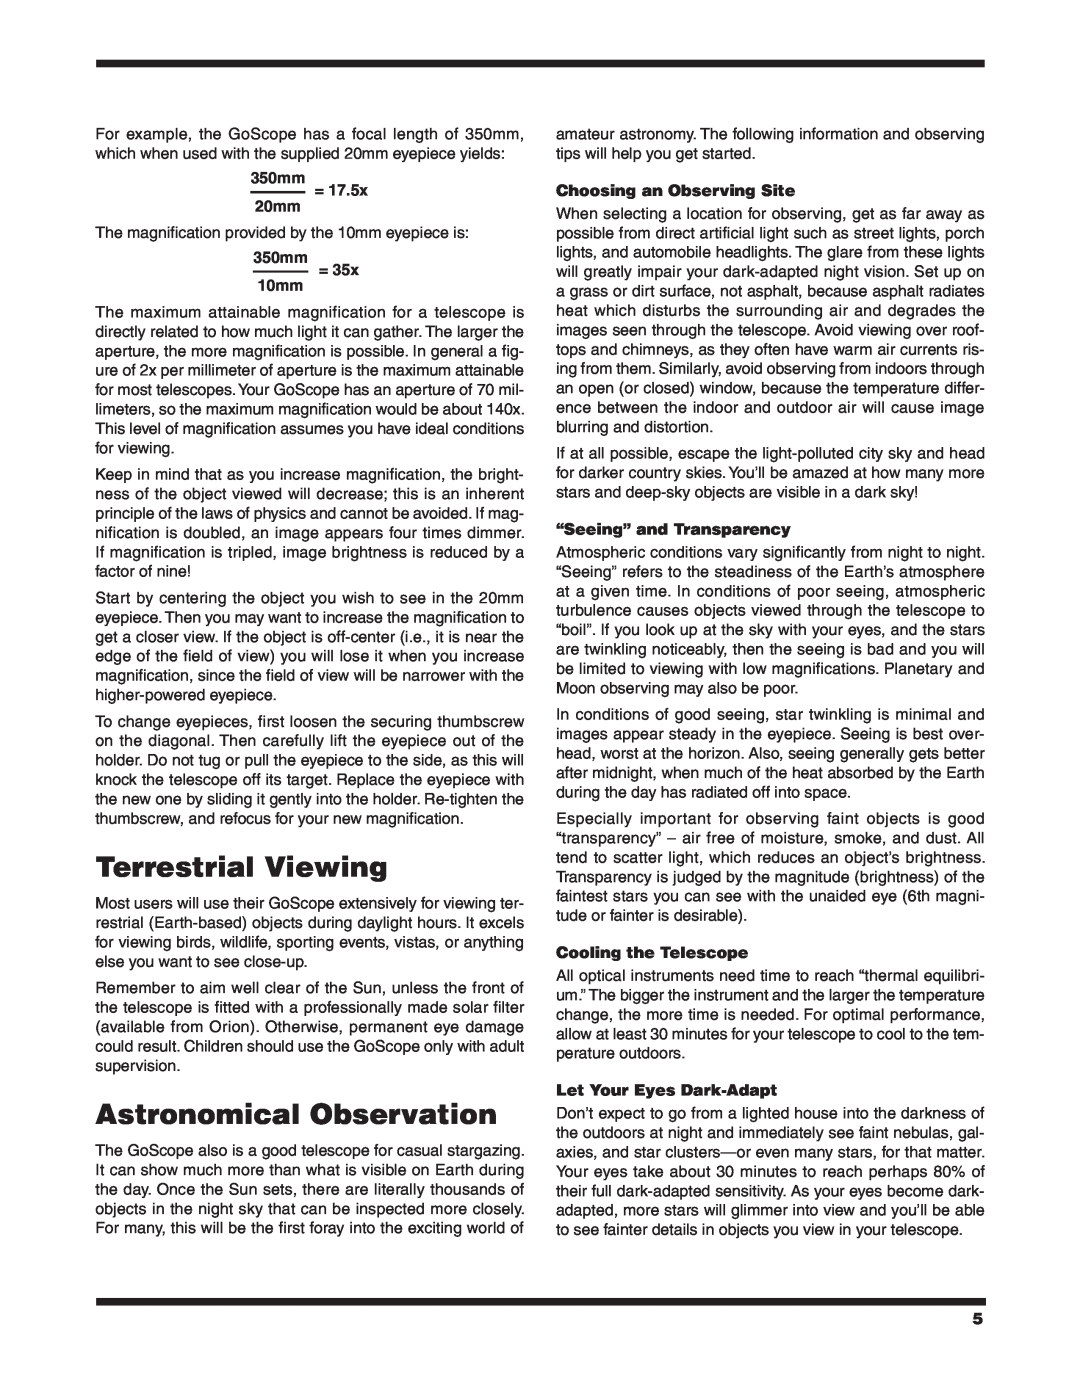
70 Terrestrial Viewing, Astronomical Observation, 350mm 20mm, Choosing an Observing Site
Models:
70
1
5
8
8
Download
8 pages
13.17 Kb
1
2
3
4
5
6
7
8
Specifications
Parts list
Warranty
Replacing the Battery
Using the Tripod
Page 5
Image 5
Page 4
Page 6
Page 5
Image 5
Page 4
Page 6
Contents
Customer Support 800‑676-1343
#9794Portable Altazimuth Refractor Telescope
E-mail support@telescope.com
Orion
Assembly
Parts List
Using the Tripod
Operating the EZ Finder II Reflex Sight
Focusing the Telescope
Magnification & Eyepieces
Replacing the Battery
Astronomical Observation
Terrestrial Viewing
350mm 20mm
Choosing an Observing Site
A. The Moon
Transporting the Telescope
B. The Planets
C. The Stars
Specifications
Care and Maintenance
Cleaning Lenses
Orion Telescopes & Binoculars
89 Hangar Way, Watsonville, CA
One-YearLimited Warranty
Top
Page
Image
Contents