View through finder scope and telescope
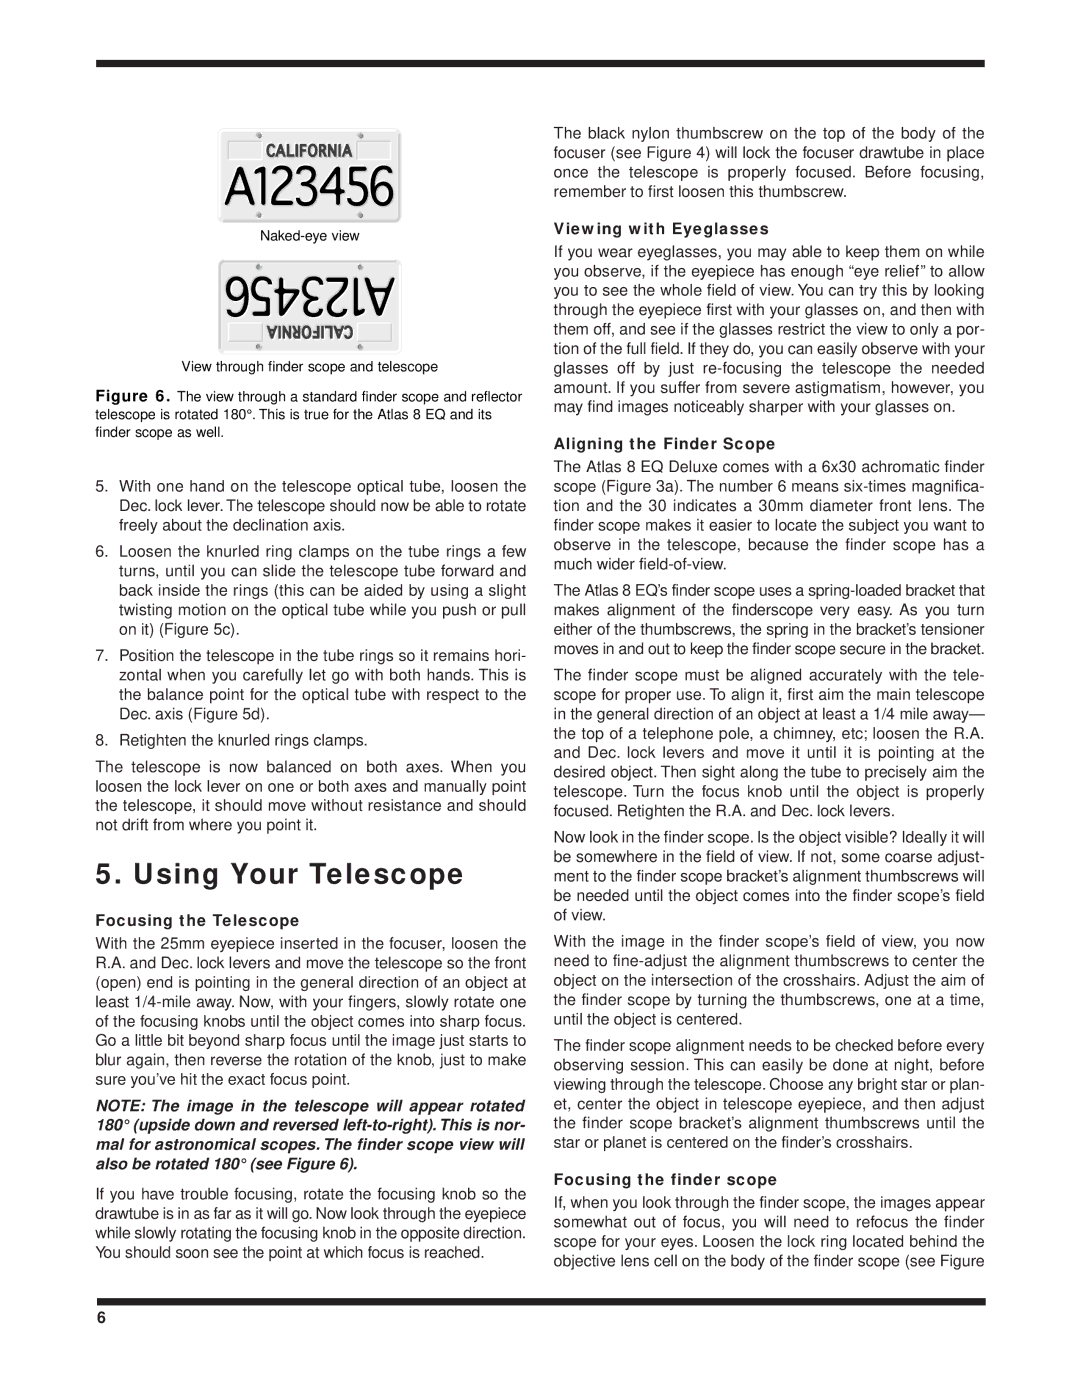
Figure 6. The view through a standard finder scope and reflector telescope is rotated 180°. This is true for the Atlas 8 EQ and its finder scope as well.
5.With one hand on the telescope optical tube, loosen the Dec. lock lever. The telescope should now be able to rotate freely about the declination axis.
6.Loosen the knurled ring clamps on the tube rings a few turns, until you can slide the telescope tube forward and back inside the rings (this can be aided by using a slight twisting motion on the optical tube while you push or pull on it) (Figure 5c).
7.Position the telescope in the tube rings so it remains hori- zontal when you carefully let go with both hands. This is the balance point for the optical tube with respect to the Dec. axis (Figure 5d).
8.Retighten the knurled rings clamps.
The telescope is now balanced on both axes. When you loosen the lock lever on one or both axes and manually point the telescope, it should move without resistance and should not drift from where you point it.
5. Using Your Telescope
Focusing the Telescope
With the 25mm eyepiece inserted in the focuser, loosen the R.A. and Dec. lock levers and move the telescope so the front (open) end is pointing in the general direction of an object at least
NOTE: The image in the telescope will appear rotated 180° (upside down and reversed
If you have trouble focusing, rotate the focusing knob so the drawtube is in as far as it will go. Now look through the eyepiece while slowly rotating the focusing knob in the opposite direction. You should soon see the point at which focus is reached.
The black nylon thumbscrew on the top of the body of the focuser (see Figure 4) will lock the focuser drawtube in place once the telescope is properly focused. Before focusing, remember to first loosen this thumbscrew.
Viewing with Eyeglasses
If you wear eyeglasses, you may able to keep them on while you observe, if the eyepiece has enough “eye relief” to allow you to see the whole field of view. You can try this by looking through the eyepiece first with your glasses on, and then with them off, and see if the glasses restrict the view to only a por- tion of the full field. If they do, you can easily observe with your glasses off by just
Aligning the Finder Scope
The Atlas 8 EQ Deluxe comes with a 6x30 achromatic finder scope (Figure 3a). The number 6 means
The Atlas 8 EQ’s finder scope uses a
The finder scope must be aligned accurately with the tele- scope for proper use. To align it, first aim the main telescope in the general direction of an object at least a 1/4 mile away— the top of a telephone pole, a chimney, etc; loosen the R.A. and Dec. lock levers and move it until it is pointing at the desired object. Then sight along the tube to precisely aim the telescope. Turn the focus knob until the object is properly focused. Retighten the R.A. and Dec. lock levers.
Now look in the finder scope. Is the object visible? Ideally it will be somewhere in the field of view. If not, some coarse adjust- ment to the finder scope bracket’s alignment thumbscrews will be needed until the object comes into the finder scope’s field of view.
With the image in the finder scope’s field of view, you now need to
The finder scope alignment needs to be checked before every observing session. This can easily be done at night, before viewing through the telescope. Choose any bright star or plan- et, center the object in telescope eyepiece, and then adjust the finder scope bracket’s alignment thumbscrews until the star or planet is centered on the finder’s crosshairs.
Focusing the finder scope
If, when you look through the finder scope, the images appear somewhat out of focus, you will need to refocus the finder scope for your eyes. Loosen the lock ring located behind the objective lens cell on the body of the finder scope (see Figure
6