is, when the Moon is not full. During partial phases, shadows cast by crater walls and mountain peaks along the border between the dark and light portions of the lunar disk highlight the surface relief. A full Moon is too bright and devoid of surface shadows to yield a pleasing view. Try using a Moon filter to dim the Moon when it is too bright; it simply threads onto the bottom of the eyepiece.
B. The Planets
The planets don’t stay put like stars do (planets don’t have fixed R.A. and Dec. coordinates), so you will have to refer to charts published monthly on our website, www.telescope.com, or in Astronomy, Sky & Telescope, or other astronomy references to locate them. Venus, Mars, Jupiter, and Saturn are the brightest objects in the sky after the Sun and the Moon. All four of these planets are not normally visible in the sky at one time, but chances are one or two of them will be.
JUPITER The largest planet, Jupiter, is a great subject to observe. You can see the disk of the giant planet and watch the
SATURN The ringed planet is a breathtaking sight when it is well positioned. The tilt angle of the rings varies over a period of many years; sometimes they are seen
VENUS At its brightest, Venus is the most luminous object in the sky, excluding the Sun and the Moon. It is so bright that sometimes it is visible to the naked eye during full daylight! Ironically, Venus appears as a thin crescent, not a full disk, when at its peak brightness. Because it is so close to the Sun, it never wanders too far from the morning or evening horizon. No surface markings can be seen on Venus, which is always shrouded in dense clouds.
MARS If atmospheric conditions are good, you may be able to see some subtle surface detail on the Red Planet, possibly even the polar ice cap. Mars makes a close approach to Earth every two years; during those approaches its disk is larger and thus more favorable for viewing.
C. Stars
Stars will appear like twinkling points of light in the telescope. Even the largest telescopes cannot magnify stars to appear as anything more than points of light! You can, however, enjoy the different colors of the stars and locate many pretty double and multiple stars. The famous
D. Deep-Sky Objects
Under dark skies, you can observe a number of brighter
Do You Wear Eyeglasses?
If you wear eyeglasses, you may be able to keep them on while you observe, if your eyepieces have enough “eye relief” to allow you to
see the whole field of view. You can find out by looking through the eyepiece first with your glasses on and then with them off, and see if the glasses restrict the view to only a portion of the full field. If they do, you can easily observe with your glasses off by just refocusing the telescope the needed amount.
Calculating Magnification (Power)
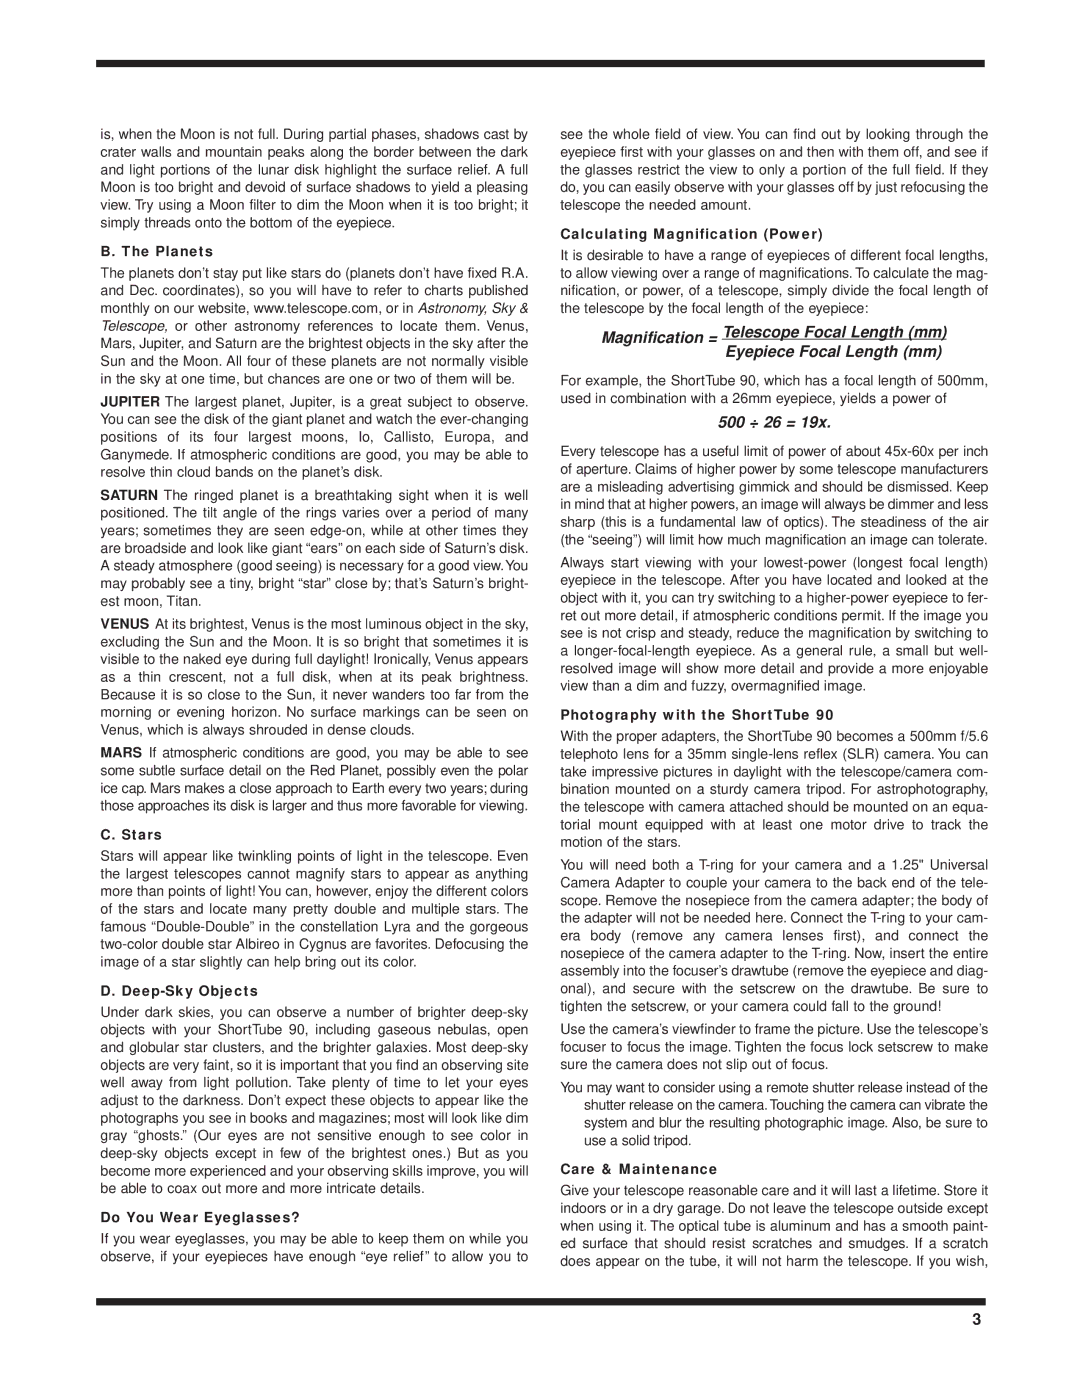
It is desirable to have a range of eyepieces of different focal lengths, to allow viewing over a range of magnifications. To calculate the mag- nification, or power, of a telescope, simply divide the focal length of the telescope by the focal length of the eyepiece:
Magnification = Telescope Focal Length (mm)
Eyepiece Focal Length (mm)
For example, the ShortTube 90, which has a focal length of 500mm, used in combination with a 26mm eyepiece, yields a power of
500 ÷ 26 = 19x.
Every telescope has a useful limit of power of about
Always start viewing with your
Photography with the ShortTube 90
With the proper adapters, the ShortTube 90 becomes a 500mm f/5.6 telephoto lens for a 35mm
You will need both a
Use the camera’s viewfinder to frame the picture. Use the telescope’s focuser to focus the image. Tighten the focus lock setscrew to make sure the camera does not slip out of focus.
You may want to consider using a remote shutter release instead of the shutter release on the camera. Touching the camera can vibrate the system and blur the resulting photographic image. Also, be sure to use a solid tripod.
Care & Maintenance
Give your telescope reasonable care and it will last a lifetime. Store it indoors or in a dry garage. Do not leave the telescope outside except when using it. The optical tube is aluminum and has a smooth paint- ed surface that should resist scratches and smudges. If a scratch does appear on the tube, it will not harm the telescope. If you wish,
3
