OMW991 specifications
The Oster OMW991 is a versatile multi-cooker that has garnered attention for its innovative features, efficient performance, and user-friendly design. This kitchen appliance combines several cooking functions into one compact design, making it a valuable addition to any home.One of the standout features of the OMW991 is its multifunctionality. It can perform a variety of cooking tasks, including steaming, sautéing, slow cooking, and rice cooking. With its ability to switch between these functions seamlessly, the OMW991 allows users to prepare a wide range of dishes with minimal effort. This all-in-one capability not only saves time but also reduces the need for multiple kitchen gadgets.
Another notable characteristic of the Oster OMW991 is its advanced technology that ensures consistent cooking results. The appliance is equipped with a powerful heating element that provides even heat distribution, which is crucial for achieving optimal cooking outcomes. Additionally, the adjustable temperature settings allow users to customize the cooking process according to their specific needs, whether they are preparing delicate sauces or robust stews.
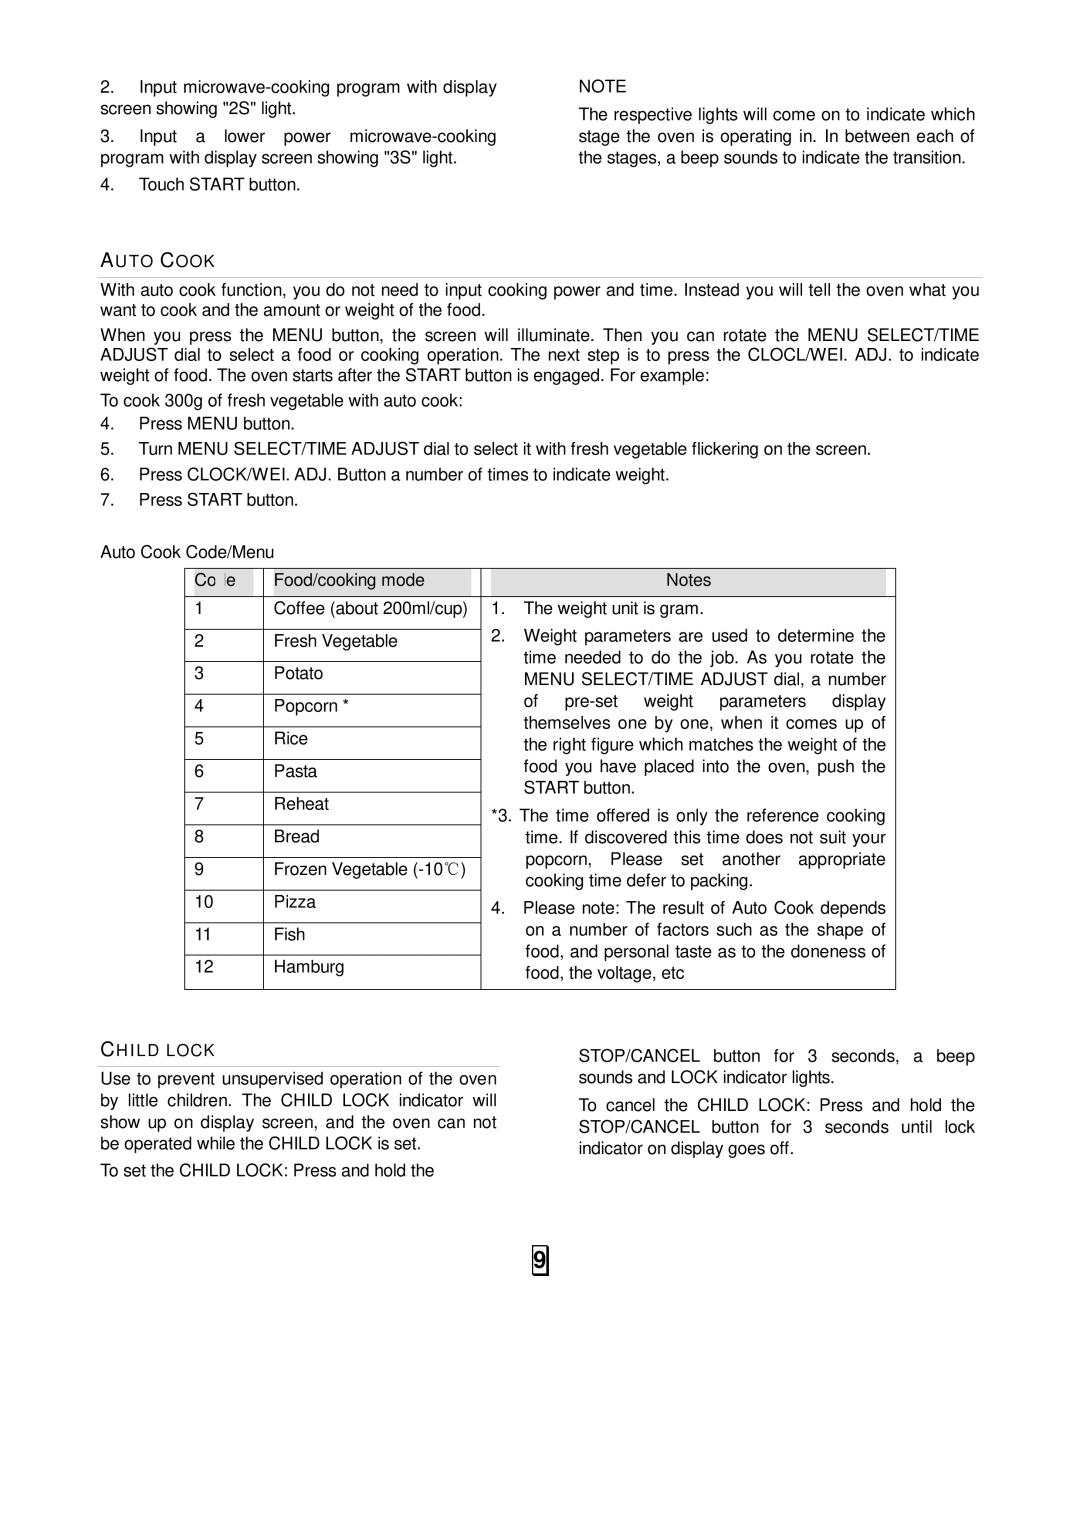
The OMW991 also features a large, easy-to-read digital display that simplifies the cooking process. The intuitive interface allows users to select their desired cooking function and adjust settings with ease. With pre-programmed settings for popular dishes, users can simply choose a function and let the cooker do the rest, making it perfect for those who may not have extensive culinary experience.
Safety is another key aspect of the Oster OMW991. The device is designed with a locking lid and safety steam release valve, which allows for safe pressure cooking, minimizing the risk of accidents in the kitchen. Moreover, the non-stick interior ensures hassle-free cleaning, as food doesn’t easily stick to the surface.
In terms of capacity, the OMW991 can efficiently handle meals for families, making it ideal for everyday cooking or entertaining guests. Its compact design also makes it easy to store without taking up too much counter space.
Overall, the Oster OMW991 is a feature-rich multi-cooker that combines versatility, technology, and ease of use, making it a practical choice for those looking to streamline their cooking experience. With its robust set of features, it stands out as an invaluable kitchen companion that can help users prepare delicious meals effortlessly.

