ASSEMBLY INSTRUCTIONS
THIS RECREATIONAL PRODUCT REQUIRES TWO PEOPLE TO ASSEMBLE.
*Unless otherwise specified all instructions will be given assuming the assembler is facing the front opening of the tent.
*Carefully fold out your poles, using caution to prevent snapping the
*Do not drop tent bag or pole bag. Do not bounce tent bag on its end to remove tent, as these actions may damage the
STEP 1: Verify Package Contents
Verify package contents by emptying contents of bag(s) and confirming all parts are included and
undamaged. ![]() Tip: Do this at home before you leave on your trip.
Tip: Do this at home before you leave on your trip.
STEP 2: Set Up the Tent
A)Select a smooth level site and spread out your tent.
B)Extend the tent poles and place
in position ready for installation. Push each of the three tent poles through pole sleeves, orange pole will go to the orange pole sleeve.
C)After sliding poles through sleeves, gently flex poles into an arch and insert ends onto
D)Snap Quick Clips (attached to tent body) onto tent poles to shape tent.
STEP 3: Attach the Rainfly
A)Extend rainfly pole and place in position ready for installation.
B)Insert one end of rainfly pole into pole pocket on underside of rainfly. Gently flex pole and insert oppo- site end into other pole pocket.
C)Align rainfly front to front of tent and drape rainfly over tent.
D)Attach the
Step 4: Stake Tent
Stake tent by driving stakes through the
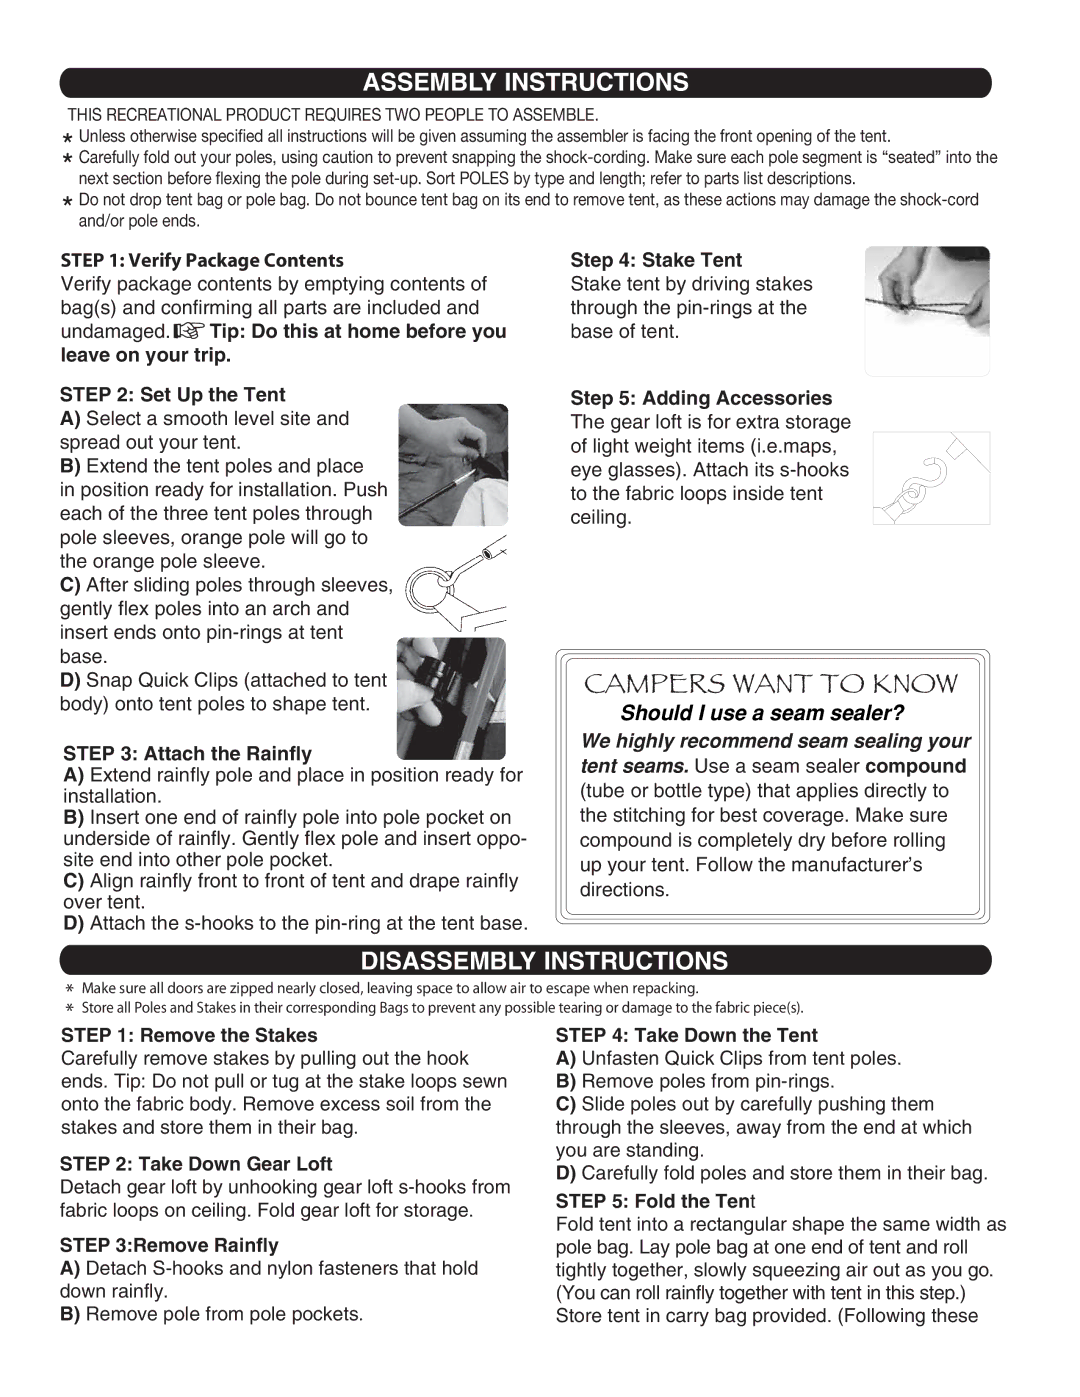
Step 5: Adding Accessories The gear loft is for extra storage of light weight items (i.e.maps, eye glasses). Attach its
CAMPERS WANT TO KNOW
Should I use a seam sealer?
We highly recommend seam sealing your
tent seams. Use a seam sealer compound (tube or bottle type) that applies directly to the stitching for best coverage. Make sure compound is completely dry before rolling up your tent. Follow the manufacturer’s directions.
DISASSEMBLY INSTRUCTIONS
*Make sure all doors are zipped nearly closed, leaving space to allow air to escape when repacking.
*Store all Poles and Stakes in their corresponding Bags to prevent any possible tearing or damage to the fabric piece(s).
STEP 1: Remove the Stakes
Carefully remove stakes by pulling out the hook ends. Tip: Do not pull or tug at the stake loops sewn onto the fabric body. Remove excess soil from the stakes and store them in their bag.
STEP 2: Take Down Gear Loft
Detach gear loft by unhooking gear loft
STEP 3:Remove Rainfly
A)Detach
B)Remove pole from pole pockets.
STEP 4: Take Down the Tent
A)Unfasten Quick Clips from tent poles.
B)Remove poles from
C)Slide poles out by carefully pushing them through the sleeves, away from the end at which you are standing.
D)Carefully fold poles and store them in their bag.
STEP 5: Fold the Tent
Fold tent into a rectangular shape the same width as pole bag. Lay pole bag at one end of tent and roll tightly together, slowly squeezing air out as you go. (You can roll rainfly together with tent in this step.) Store tent in carry bag provided. (Following these