PREPARATIONS
Video Channel Setting
This setting is necessary for RF connections (when the SCART cable is not used to connect this unit and the TV). This setting is not necessary for AV connections using the SCART cable. Start from the initial Settings in the next section.
1.Switch on the test signal switch on the rear panel of the main unit.
2.Press the OPERATE/TIMER button and switch on the power for the VCR.
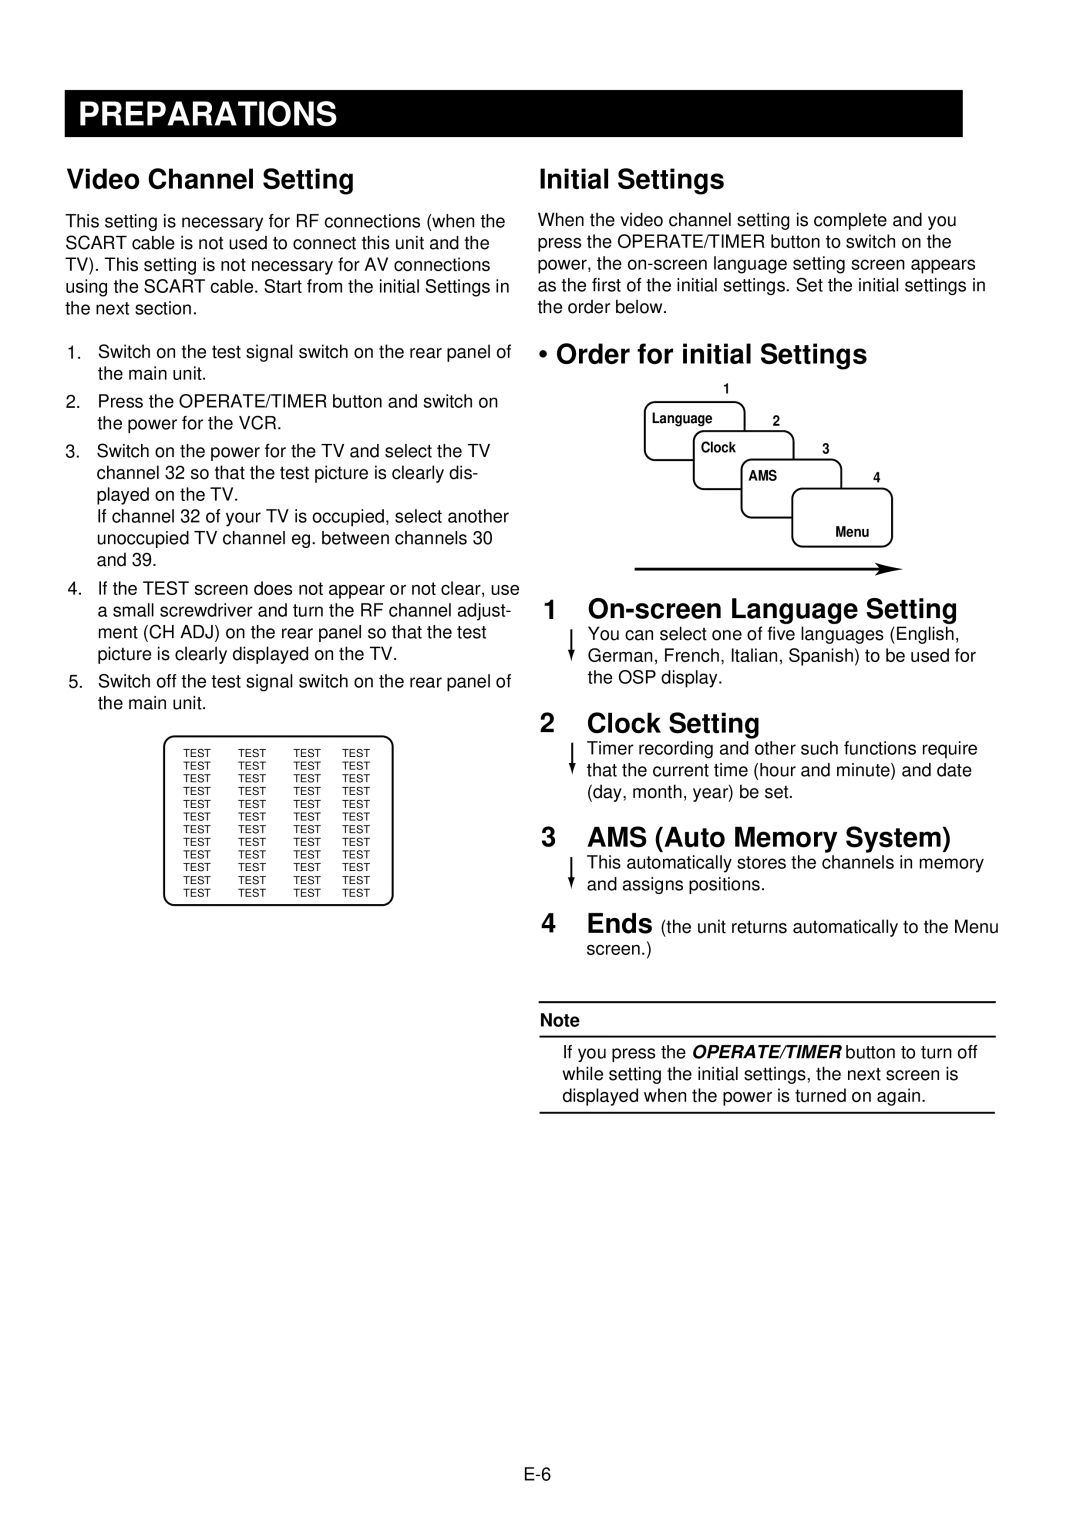
3.Switch on the power for the TV and select the TV channel 32 so that the test picture is clearly dis- played on the TV.
If channel 32 of your TV is occupied, select another unoccupied TV channel eg. between channels 30 and 39.
4.If the TEST screen does not appear or not clear, use a small screwdriver and turn the RF channel adjust- ment (CH ADJ) on the rear panel so that the test picture is clearly displayed on the TV.
5.Switch off the test signal switch on the rear panel of the main unit.
TEST TEST TEST TEST
TEST TEST TEST TEST
TEST TEST TEST TEST
TEST TEST TEST TEST
TEST TEST TEST TEST
TEST TEST TEST TEST
TEST TEST TEST TEST
TEST TEST TEST TEST
TEST TEST TEST TEST
TEST TEST TEST TEST
TEST TEST TEST TEST
TEST TEST TEST TEST
Initial Settings
When the video channel setting is complete and you press the OPERATE/TIMER button to switch on the power, the
. Order for initial Settings
1
Language 2
Clock3
AMS4
Menu
1 On-screen Language Setting
You can select one of five languages (English, German, French, Italian, Spanish) to be used for the OSP display.
2 Clock Setting
Timer recording and other such functions require that the current time (hour and minute) and date (day, month, year) be set.
3 AMS (Auto Memory System)
This automatically stores the channels in memory and assigns positions.
4Ends (the unit returns automatically to the Menu screen.)
Note
If you press the OPERATE/TIMER button to turn off while setting the initial settings, the next screen is displayed when the power is turned on again.
