CD Player/Receiver | English |
| |
|
|
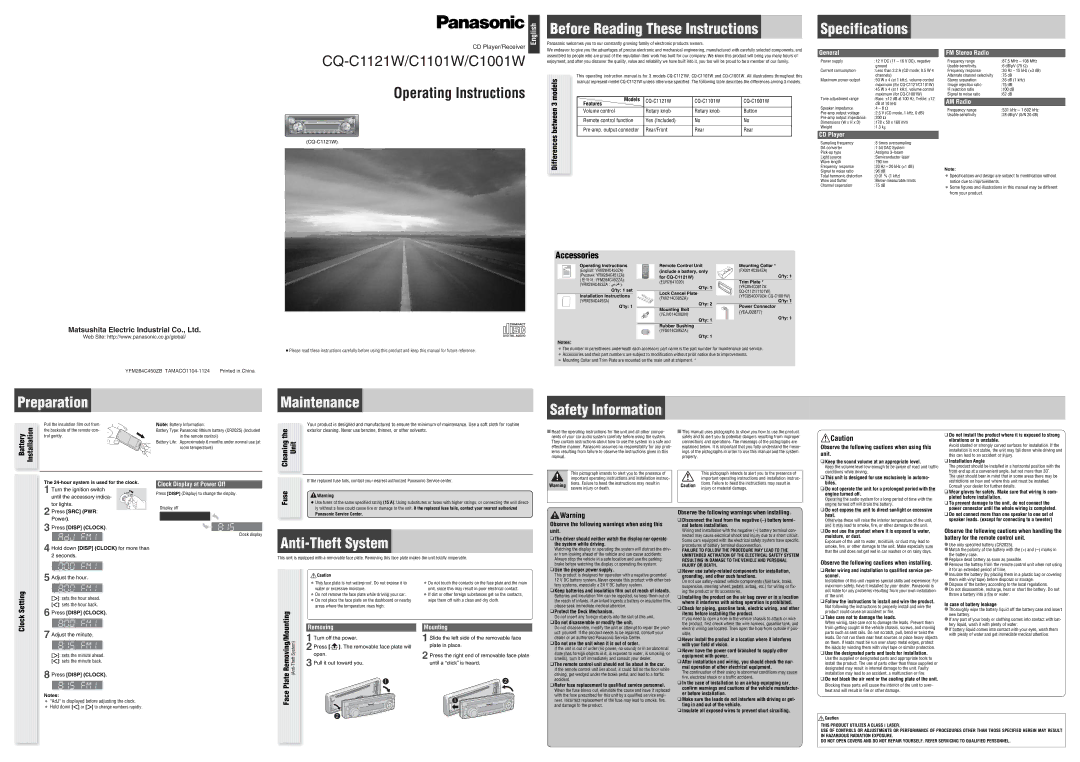
Operating Instructions
| V |
|
|
|
|
|
|
|
|
|
BAND | OL |
|
|
|
|
|
| · | ||
| P |
|
|
|
|
|
| AC | K | D M |
APM | U |
|
|
|
|
|
|
|
| |
S |
|
|
|
|
|
| TR |
|
| |
| H |
|
|
|
|
|
| / |
|
|
| S |
|
|
|
|
|
| E |
|
|
|
|
|
|
|
|
| N |
|
| |
PWR | E |
|
|
|
|
|
| U |
| CLOCK |
L |
|
|
|
|
|
| T | |||
|
|
|
|
|
|
|
|
| A | R EP |
| MUTE | 7 | 8 | 9 | 10 | 11 | 12 | R |
| |
SRC | SQ/SCAN | N | DISP | |||||||
| 1 | 2 | 3 | 4 | 5 | 6 |
| DO | ||
|
|
| M |
| ||||||
Before Reading These Instructions
Panasonic welcomes you to our constantly growing family of electronic products owners.
We endeavor to give you the advantages of precise electronic and mechanical engineering, manufactured with carefully selected components, and assembled by people who are proud of the reputation their work has built for our company. We know this product will bring you many hours of enjoyment, and after you discover the quality, value and reliability we have built into it, you too will be proud to be a member of our family.
|
| models3 |
|
| This operating instruction manual is for 3 models | |||||
|
|
|
| |||||||
|
|
|
|
| Features |
|
|
| ||
|
|
|
|
| manual represent model | |||||
|
|
|
|
|
| Models |
|
|
|
|
|
| between |
|
|
|
|
|
|
|
|
|
|
|
|
| Rear/Front | Rear | Rear |
| ||
|
|
|
|
|
| Volume control | Rotary knob | Rotary knob | Button |
|
|
|
|
|
|
| Remote control function | Yes (Included) | No | No |
|
|
| Differences |
|
|
|
|
|
|
|
|
|
|
|
|
|
|
|
|
|
| |
|
|
|
|
|
|
|
|
|
|
|
|
|
|
|
|
|
|
|
|
|
|
Specifications
General
Power supply | : 12 V DC (11 – 16 V DC), negative |
| ground |
Current consumption | : Less than 2.2 A (CD mode; 0.5 W 4 |
| channels) |
Maximum power output | : 50 W x 4 (at 1 kHz), volume control |
| maximum (for |
| : 45 W x 4 (at 1 kHz), volume control |
| maximum (for |
Tone adjustment range | : Bass: ±12 dB at 100 Hz, Treble: ±12 |
| dB at 10 kHz |
Speaker impedance | : 4 – 8 Ω |
: 2.5 V (CD mode, 1 kHz, 0 dB) | |
: 200 Ω | |
Dimensions (W x H x D) | : 178 x 50 x 160 mm |
Weight | : 1.3 kg |
|
|
CD Player |
|
Sampling frequency | : 8 times oversampling |
DA converter | : 1 bit DAC System |
: Astigma | |
Light source | : Semiconductor laser |
Wave length | : 790 nm |
Frequency response | : 20 Hz – 20 kHz (±1 dB) |
Signal to noise ratio | : 96 dB |
Total harmonic distortion | : 0.01 % (1 kHz) |
Wow and flutter | : Below measurable limits |
Channel separation | : 75 dB |
FM Stereo Radio
Frequency range | : 87.5 MHz – 108 MHz |
Usable sensitivity | : 6 dB/µV (75 Ω) |
Frequency response | : 30 Hz – 15 kHz (±3 dB) |
Alternate channel selectivity | : 75 dB |
Stereo separation | : 35 dB (1 kHz) |
Image rejection ratio | : 75 dB |
IF rejection ratio | : 100 dB |
Signal to noise ratio | : 62 dB |
|
|
AM Radio |
|
Frequency range | :531 kHz – 1 602 kHz |
Usable sensitivity | : 28 dB/µV (S/N 20 dB) |
Note:
¡Specifications and design are subject to modification without notice due to improvements.
¡Some figures and illustrations in this manual may be different from your product.
Matsushita Electric Industrial Co., Ltd.
Web Site: http://www.panasonic.co.jp/global/
Accessories
Operating Instructions
(English: YFM284C450ZA)
(êÛÒÒÍËÈ: YFM284C451ZA)
(![]()
![]()
![]() : YFM284C452ZA)
: YFM284C452ZA)
(YFM284C453ZA : ![]() )
)
Q'ty: 1 set
Installation Instructions
(YFM284C449ZA)
Q'ty: 1
Notes:
| Remote Control Unit |
TUNE | (include a battery, only |
TRACK |
|
| for |
| (EUR7641020) |
| Q'ty: 1 |
| Lock Cancel Plate |
| (FX0214C385ZA) |
| Q'ty: 2 |
| Mounting Bolt |
| (YEJV014C002N) |
| Q'ty: 1 |
| Rubber Bushing |
| (YFS014C095ZA) |
| Q'ty: 1 |
Mounting Collar *
(FX0214C384ZA)
Q'ty: 1
Trim Plate * (YFC054C081ZA:
Q'ty: 1
Power Connector
(YEAJ02877)
Q'ty: 1
¡Please read these instructions carefully before using this product and keep this manual for future reference.
YFM284C450ZB
¡The number in parentheses underneath each accessory part name is the part number for maintenance and service.
¡Accessories and their part numbers are subject to modification without prior notice due to improvements.
¡Mounting Collar and Trim Plate are mounted on the main unit at shipment. *
Preparation
Battery Installation | Pull the insulation film out from | Note: Battery Information: |
the backside of the remote con- | Battery Type: Panasonic lithium battery (CR2025) (Included | |
| trol gently.nly | in the remote control) |
|
| Battery Life: Approximately 6 months under normal use (at |
|
| room temperature) |
Maintenance
Cleaning the | Your product is designed and manufactured to ensure the minimum of maintenance. Use a soft cloth for routine |
exterior cleaning. Never use benzine, thinner, or other solvents. | |
Unit |
Safety Information
■ Read the operating instructions for the unit and all other compo- | ■ This manual uses pictographs to show you how to use the product | |
nents of your car audio system carefully before using the system. | safely and to alert you to potential dangers resulting from improper | |
They contain instructions about how to use the system in a safe and | connections and operations. The meanings of the pictographs are | |
effective manner. Panasonic assumes no responsibility for any prob- | explained below. It is important that you fully understand the mean- | |
lems resulting from failure to observe the instructions given in this | ings of the pictographs in order to use this manual and the system | |
manual. | properly. | |
|
|
|
This pictograph intends to alert you to the presence of | This pictograph intends to alert you to the presence of | |
important operating instructions and installation instruc- | important operating instructions and installation instruc- | |
![]() Caution
Caution
Observe the following cautions when using this unit.
❑Keep the sound volume at an appropriate level. |
Keep the volume level low enough to be aware of road and traffic |
conditions while driving. |
❑This unit is designed for use exclusively in automo- |
❑Do not install the product where it is exposed to strong |
vibrations or is unstable. |
Avoid slanted or strongly curved surfaces for installation. If the |
installation is not stable, the unit may fall down while driving and |
this can lead to an accident or injury. |
❑Installation Angle |
The product should be installed in a horizontal position with the |
front end up at a convenient angle, but not more than 30˚. |
The user should bear in mind that in some areas there may be |
The
1 Turn the ignition switch | ACCON |
until the accessory indica- |
|
tor lights. |
|
Clock Display at Power Off
Press [DISP] (Display) to change the display.
Display off
If the replaced fuse fails, contact your nearest authorized Panasonic Service center.
Fuse | Warning |
¡Use fuses of the same specified rating (15 A). Using substitutes or fuses with higher ratings, or connecting the unit direct- | |
| ly without a fuse could cause fire or damage to the unit. If the replaced fuse fails, contact your nearest authorized |
Warning | tions. Failure to heed the instructions may result in | Caution | tions. Failure to heed the instructions may result in | |
severe injury or death. | injury or material damage. | |||
|
|
biles. |
❑Do not operate the unit for a prolonged period with the |
engine turned off. |
Operating the audio system for a long period of time with the |
engine turned off will drain the battery. |
❑Do not expose the unit to direct sunlight or excessive |
restrictions on how and where this unit must be installed. |
Consult your dealer for further details. |
❑Wear gloves for safety. Make sure that wiring is com- |
pleted before installation. |
❑To prevent damage to the unit, do not connect the |
power connector until the whole wiring is completed. |
2 Press [SRC] (PWR: |
Power). |
3Press [DISP] (CLOCK).
4Hold down [DISP] (CLOCK) for more than 2 seconds.
Clock display
Panasonic Service Center. |
Anti-Theft System
This unit is equipped with a removable face plate. Removing this face plate makes the unit totally inoperable.
![]() Warning
Warning
Observe the following warnings when using this unit.
❑The driver should neither watch the display nor operate |
the system while driving. |
Watching the display or operating the system will distract the driv- |
er from looking ahead of the vehicle and can cause accidents. |
Always stop the vehicle in a safe location and use the parking |
brake before watching the display or operating the system. |
Observe the following warnings when installing.
❑Disconnect the lead from the negative |
nal before installation. |
Wiring and installation with the negative |
nected may cause electrical shock and injury due to a short circuit. |
Some cars equipped with the electrical safety system have specific |
procedures of battery terminal disconnection. |
FAILURE TO FOLLOW THE PROCEDURE MAY LEAD TO THE |
UNINTENDED ACTIVATION OF THE ELECTRICAL SAFETY SYSTEM |
RESULTING IN DAMAGE TO THE VEHICLE AND PERSONAL |
INJURY OR DEATH. |
heat. |
Otherwise these will raise the interior temperature of the unit, |
and it may lead to smoke, fire, or other damage to the unit. |
❑Do not use the product where it is exposed to water, |
moisture, or dust. |
Exposure of the unit to water, moisture, or dust may lead to |
smoke, fire, or other damage to the unit. Make especially sure |
that the unit does not get wet in car washes or on rainy days. |
Observe the following cautions when installing.
❑Do not connect more than one speaker to one set of |
speaker leads. (except for connecting to a tweeter) |
Observe the following cautions when handling the battery for the remote control unit.
●Use only specified battery (CR2025). |
●Match the polarity of the battery with the (+) and |
the battery case. |
●Replace dead battery as soon as possible. |
●Remove the battery from the remote control unit when not using |
Clock Setting
5Adjust the hour.
[[]: sets the hour ahead.
[]]: sets the hour back.
6Press [DISP] (CLOCK).
7Adjust the minute.
Removing/Mounting
System)
![]() Caution
Caution
¡This face plate is not waterproof. Do not expose it to water or excessive moisture.
¡Do not remove the face plate while driving your car.
¡Do not place the face plate on the dashboard or nearby areas where the temperature rises high.
Removing
1Turn off the power.
2 Press [ ]. The removable face plate will |
¡Do not touch the contacts on the face plate and the main unit, since this may result in poor electrical contact.
¡If dirt or other foreign substances get on the contacts, wipe them off with a clean and dry cloth.
Mounting
1Slide the left side of the removable face plate in place.
❑Use the proper power supply. |
This product is designed for operation with a negative grounded |
12 V DC battery system. Never operate this product with other bat- |
tery systems, especially a 24 V DC battery system. |
❑Keep batteries and insulation film out of reach of infants. |
Batteries and insulation film can be ingested, so keep them out of |
the reach of infants. If an infant ingests a battery or insulation film, |
please seek immediate medical attention. |
❑Protect the Deck Mechanism. |
Do not insert any foreign objects into the slot of this unit. |
❑Do not disassemble or modify the unit. |
Do not disassemble, modify the unit or attempt to repair the prod- |
uct yourself. If the product needs to be repaired, consult your |
dealer or an authorized Panasonic Service Center. |
❑Do not use the unit when it is out of order. |
If the unit is out of order (no power, no sound) or in an abnormal |
❑Never use |
grounding, and other such functions. |
Do not use |
suspension, steering wheel, pedals, airbag, etc.) for wiring or fix- |
ing the product or its accessories. |
❑Installing the product on the air bag cover or in a location |
where it interferes with airbag operation is prohibited. |
❑Check for piping, gasoline tank, electric wiring, and other |
items before installing the product. |
If you need to open a hole in the vehicle chassis to attach or wire |
the product, first check where the wire harness, gasoline tank, and |
electric wiring are located. Then open the hole from outside if pos- |
sible. |
❑Never install the product in a location where it interferes |
with your field of vision. |
❑Never have the power cord branched to supply other |
❑Refer wiring and installation to qualified service per- sonnel.
Installation of this unit requires special skills and experience. For maximum safety, have it installed by your dealer. Panasonic is not liable for any problems resulting from your own installation of the unit.
❑Follow the instructions to install and wire the product.
Not following the instructions to properly install and wire the product could cause an accident or fire.
❑Take care not to damage the leads.
When wiring, take care not to damage the leads. Prevent them from getting caught in the vehicle chassis, screws, and moving parts such as seat rails. Do not scratch, pull, bend or twist the leads. Do not run them near heat sources or place heavy objects on them. If leads must be run over sharp metal edges, protect the leads by winding them with vinyl tape or similar protection.
it for an extended period of time. |
●Insulate the battery (by placing them in a plastic bag or covering |
them with vinyl tape) before disposal or storage. |
●Dispose of the battery according to the local regulations. |
●Do not disassemble, recharge, heat or short the battery. Do not |
throw a battery into a fire or water. |
In case of battery leakage
●Thoroughly wipe the battery liquid off the battery case and insert new battery.
●If any part of your body or clothing comes into contact with bat- tery liquid, wash it with plenty of water.
●If battery liquid comes into contact with your eyes, wash them with plenty of water and get immediate medical attention.
[[]: sets the minute ahead.
[]]: sets the minute back.
8Press [DISP] (CLOCK).
Notes:
¡“AdJ” is displayed before adjusting the clock.
¡Hold down []] or [[] to change numbers rapidly.
Face Plate
open. |
3Pull it out toward you.
![]() 1
1
2
2Press the right end of removable face plate until a “click” is heard.
2
![]()
![]() 1
1
state (has foreign objects in it, is exposed to water, is smoking, or |
smells), turn it off immediately and consult your dealer. |
❑The remote control unit should not lie about in the car. |
If the remote control unit lies about, it could fall on the floor while |
driving, get wedged under the brake pedal, and lead to a traffic |
accident. |
❑Refer fuse replacement to qualified service personnel. |
When the fuse blows out, eliminate the cause and have it replaced |
with the fuse prescribed for this unit by a qualified service engi- |
neer. Incorrect replacement of the fuse may lead to smoke, fire, |
and damage to the product. |
equipment with power. |
❑After installation and wiring, you should check the nor- |
mal operation of other electrical equipment. |
The continuation of their using in abnormal conditions may cause |
fire, electrical shock or a traffic accident. |
❑In the case of installation to an |
confirm warnings and cautions of the vehicle manufactur- |
er before installation. |
❑Make sure the leads do not interfere with driving or get- |
ting in and out of the vehicle. |
❑Insulate all exposed wires to prevent short circuiting. |
❑Use the designated parts and tools for installation.
Use the supplied or designated parts and appropriate tools to install the product. The use of parts other than those supplied or designated may result in internal damage to the unit. Faulty installation may lead to an accident, a malfunction or fire.
❑Do not block the air vent or the cooling plate of the unit.
Blocking these parts will cause the interior of the unit to over- heat and will result in fire or other damage.
![]() Caution
Caution
THIS PRODUCT UTILIZES A CLASS I LASER.
USE OF CONTROLS OR ADJUSTMENTS OR PERFORMANCE OF PROCEDURES OTHER THAN THOSE SPECIFIED HEREIN MAY RESULT IN HAZARDOUS RADIATION EXPOSURE.
DO NOT OPEN COVERS AND DO NOT REPAIR YOURSELF. REFER SERVICING TO QUALIFIED PERSONNEL.