Setting the Menu
The camera comes with menus that allow you to set the settings for taking pictures and playing them back just as you like and menus that enable you to have more fun with the camera and use it more easily.
In particular, the [SETUP] menu contains some important settings relating to the camera’s clock and power. Check the settings of this menu before proceeding to use the camera.
Setting menu items
This section describes how to select the Normal picture mode settings, and the same setting can be used for the [PLAYBACK] menu and [SETUP] menu as well. Example: Setting [AF MODE] from [Ø] to [š] in the Normal picture mode
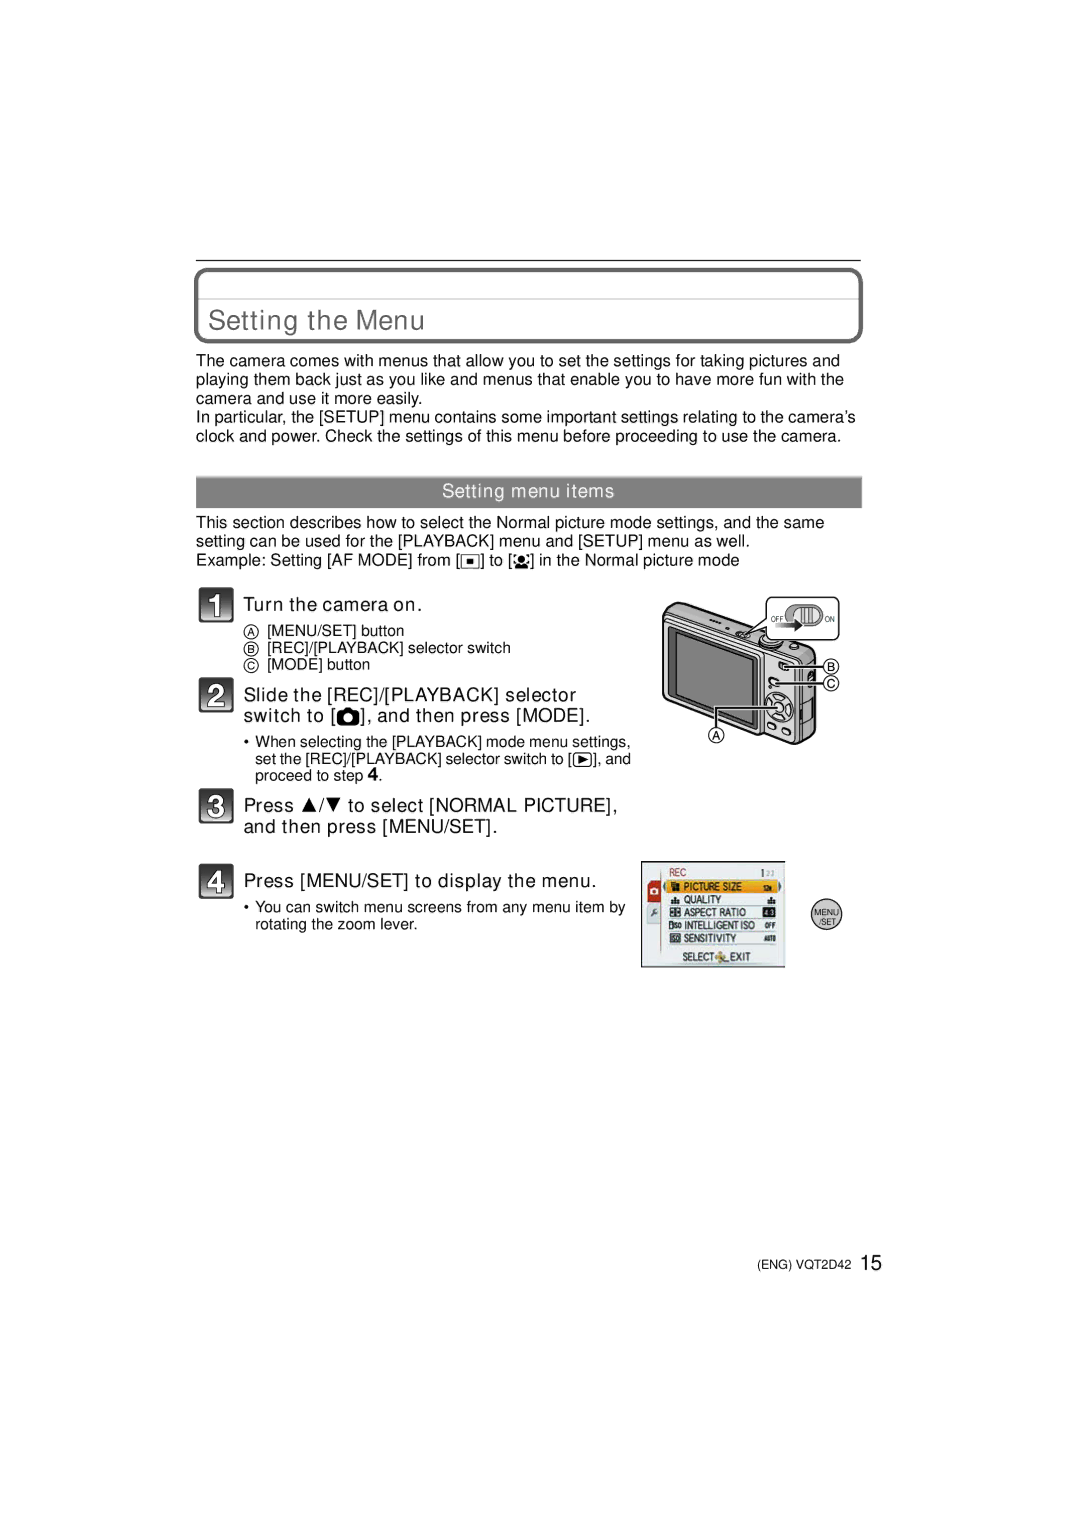
Turn the camera on.
A[MENU/SET] button
B[REC]/[PLAYBACK] selector switch C [MODE] button
Slide the [REC]/[PLAYBACK] selector switch to [!], and then press [MODE].
•When selecting the [PLAYBACK] mode menu settings, set the [REC]/[PLAYBACK] selector switch to [(], and proceed to step 4.
Press 3/4 to select [NORMAL PICTURE], and then press [MENU/SET].
Press [MENU/SET] to display the menu.
•You can switch menu screens from any menu item by rotating the zoom lever.
OFF ![]() ON
ON
MENU /SET
(ENG) VQT2D42 15
