[2]The remote control
∫Batteries
R6, AA, UM-3
≥Insert so the poles (i and j) match those in the remote control. ≥Do not use rechargeable type batteries.
Do not:
≥mix old and new batteries.
≥use different types at the same time. ≥heat or expose to flame.
≥take apart or short circuit.
≥attempt to recharge alkaline or manganese batteries. ≥use batteries if the covering has been peeled off.
Mishandling of batteries can cause electrolyte leakage which can damage items the fluid contacts and may cause a fire.
Remove if the remote control is not going to be used for a long period of time. Store in a cool, dark place.
∫Use
Aim at the sensor, avoiding obstacles, at a maximum range of 7 m (23 feet) directly in front of the unit.
Getting started
[3]Quick Setup
1 | POWER |
|
|
| 2·6 |
| SLEEP | SETUP | OPEN/CLOSE | ||
SKIP |
| SLOW/SEARCH | |||
| STOP | PAUSE | PLAY |
| |
| TOP MENU |
|
| MENU |
|
3·4·5·6 
 ENTER
ENTER 
RETURN
DISPLAY |
|
|
|
|
|
|
| RETURN | ||||
SUBTITLE | AUDIO |
| ANGLE | QUICK REPLAY | ||||||||
PROGRAM |
|
|
|
|
|
|
|
|
|
| ||
|
|
| 1 |
| 2 |
| 3 |
| ||||
RANDOM |
|
|
|
|
|
|
|
|
|
| ||
|
|
| 4 |
| 5 |
| 6 |
| ||||
REPEAT |
|
|
|
|
|
|
|
|
|
| ||
|
|
| 7 |
| 8 |
| 9 |
| ||||
CANCEL |
|
|
|
|
|
|
| |||||
|
|
|
|
|
| 0 |
| 10 | ||||
A.SRD | BASS |
| CINEMA | D.ENH | ||||||||
| A |
|
| B |
|
|
| C |
|
| D |
|
|
|
|
|
|
|
|
|
| ||||
|
|
|
|
|
|
|
|
|
|
|
|
|
|
|
|
|
|
|
| ZOOM | POSITION | ||||
|
|
|
|
|
|
| MEMORY | |||||
ONE TOUCH |
|
|
|
|
|
|
|
|
|
| ||
MEMORY |
|
|
|
|
|
|
|
|
|
| ||
Remote control only
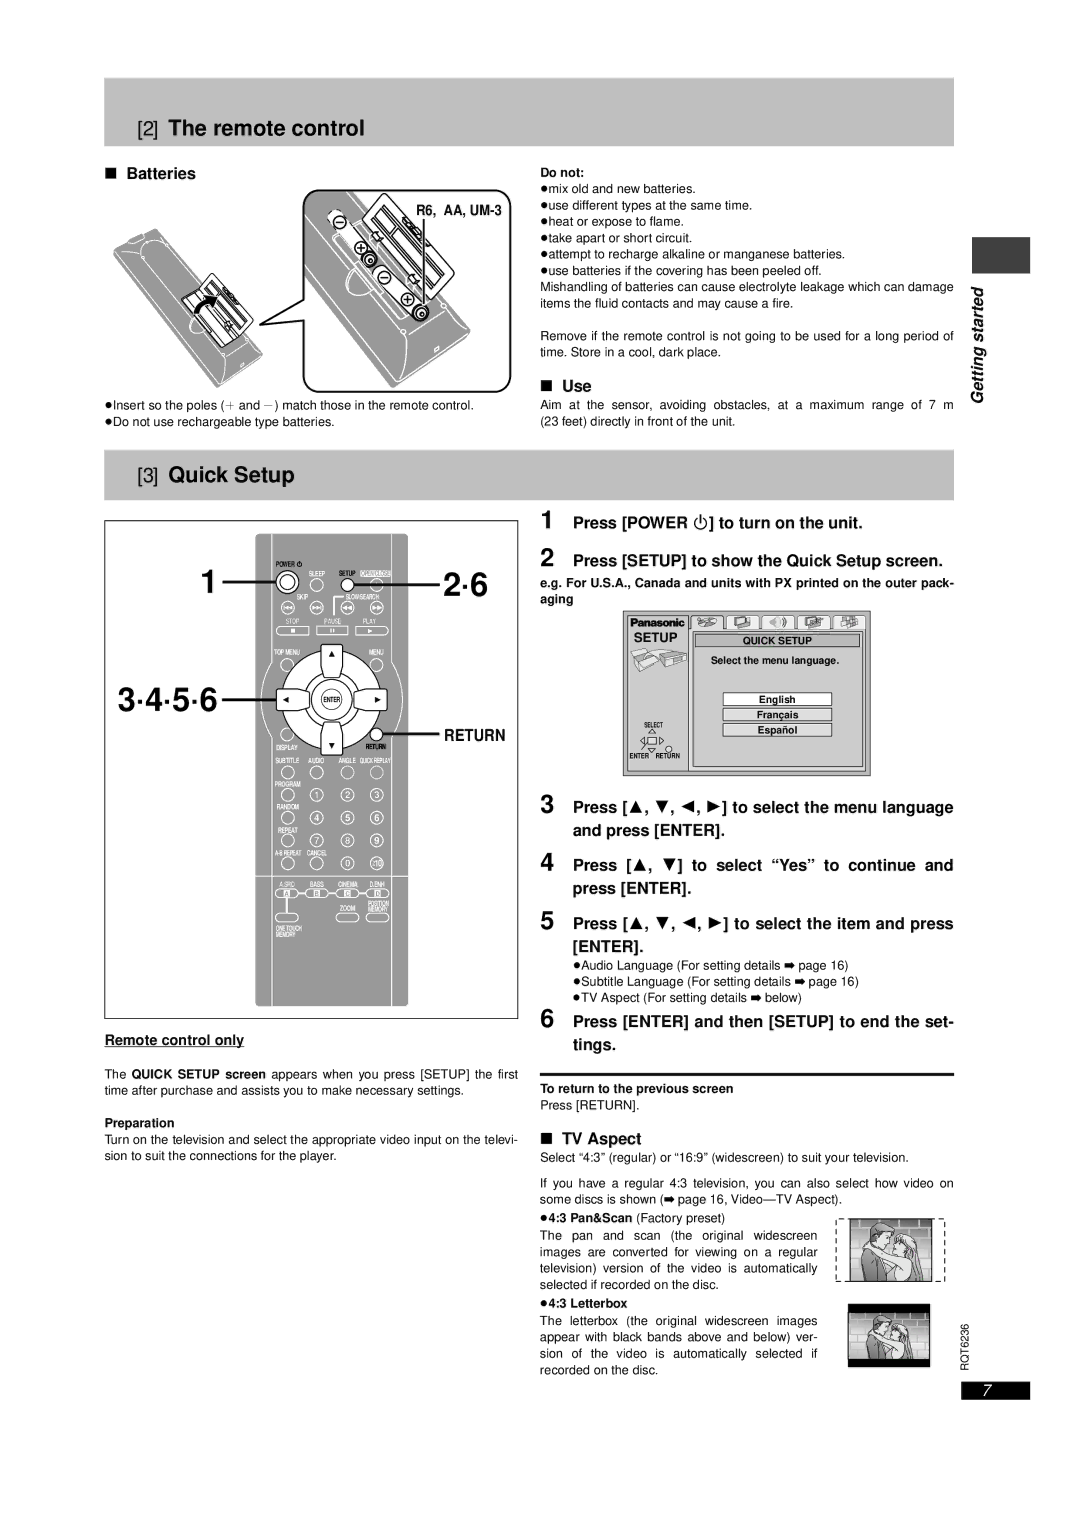
1 Press [POWER Í] to turn on the unit.
2 Press [SETUP] to show the Quick Setup screen.
e.g. For U.S.A., Canada and units with PX printed on the outer pack- aging
SETUP | QUICK SETUP |
| Select the menu language. |
| English |
| Franç ais |
SELECT | Españ ol |
| |
ENTER RETURN |
|
3 Press [3, 4, 2, 1] to select the menu language and press [ENTER].
4 Press [3, 4] to select “Yes” to continue and press [ENTER].
5 Press [3, 4, 2, 1] to select the item and press [ENTER].
≥Audio Language (For setting details ➡ page 16) ≥Subtitle Language (For setting details ➡ page 16) ≥TV Aspect (For setting details ➡ below)
6 Press [ENTER] and then [SETUP] to end the set- tings.
The QUICK SETUP screen appears when you press [SETUP] the first time after purchase and assists you to make necessary settings.
Preparation
Turn on the television and select the appropriate video input on the televi- sion to suit the connections for the player.
To return to the previous screen
Press [RETURN].
∫TV Aspect
Select “4:3” (regular) or “16:9” (widescreen) to suit your television.
If you have a regular 4:3 television, you can also select how video on |
| |
some discs is shown (➡ page 16, Video— TV Aspect). |
| |
≥4:3 Pan&Scan (Factory preset) |
| |
The pan and scan (the original widescreen |
| |
images are converted for viewing on a regular |
| |
television) version of the video is automatically |
| |
selected if recorded on the disc. |
| |
≥4:3 Letterbox |
| |
The letterbox (the original widescreen images | RQT6236 | |
appear with black bands above and below) ver- | ||
| ||
sion of the video is automatically selected if |
| |
recorded on the disc. |
|
7