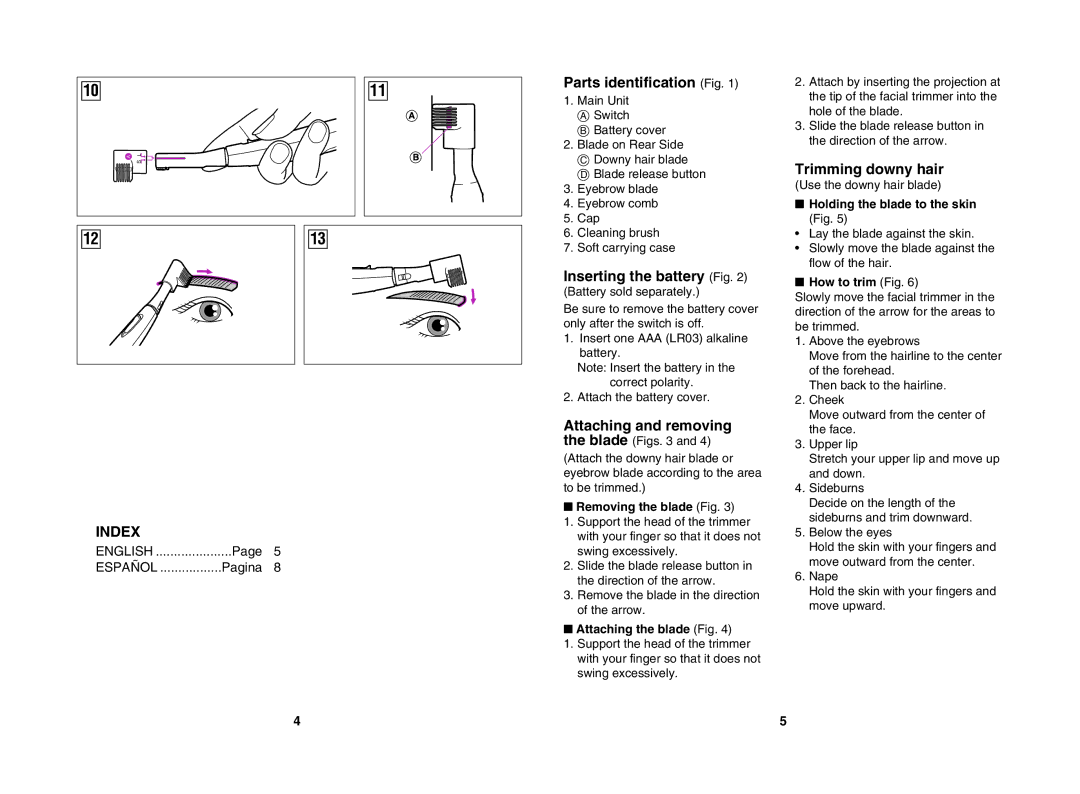
10 | 11 |
| L |
| S |
12 | 13 |
INDEX |
|
|
ENGLISH | Page | 5 |
ESPAÑOL | Pagina | 8 |
Parts identification (Fig. 1)
1.Main Unit FA Switch
FB Battery cover
2.Blade on Rear Side FC Downy hair blade FD Blade release button
3.Eyebrow blade
4.Eyebrow comb
5.Cap
6.Cleaning brush
7.Soft carrying case
Inserting the battery (Fig. 2) (Battery sold separately.)
Be sure to remove the battery cover only after the switch is off.
1.Insert one AAA (LR03) alkaline battery.
Note: Insert the battery in the correct polarity.
2.Attach the battery cover.
Attaching and removing the blade (Figs. 3 and 4)
(Attach the downy hair blade or eyebrow blade according to the area to be trimmed.)
■Removing the blade (Fig. 3)
1.Support the head of the trimmer with your finger so that it does not swing excessively.
2.Slide the blade release button in the direction of the arrow.
3.Remove the blade in the direction of the arrow.
■Attaching the blade (Fig. 4)
1.Support the head of the trimmer with your finger so that it does not swing excessively.
2.Attach by inserting the projection at the tip of the facial trimmer into the hole of the blade.
3.Slide the blade release button in the direction of the arrow.
Trimming downy hair
(Use the downy hair blade)
■Holding the blade to the skin (Fig. 5)
•Lay the blade against the skin.
•Slowly move the blade against the flow of the hair.
■How to trim (Fig. 6)
Slowly move the facial trimmer in the direction of the arrow for the areas to be trimmed.
1.Above the eyebrows
Move from the hairline to the center of the forehead.
Then back to the hairline.
2.Cheek
Move outward from the center of the face.
3.Upper lip
Stretch your upper lip and move up and down.
4.Sideburns
Decide on the length of the sideburns and trim downward.
5.Below the eyes
Hold the skin with your fingers and move outward from the center.
6.Nape
Hold the skin with your fingers and move upward.
4 | 5 |
