TGA930BX(e).fm Page 3 Thursday, March 13, 2008 6:25 PM
Battery installation and battery charge
Important:
LUse the supplied rechargeable batteries (Part No.
–Wipe the battery ends (S, T) with a dry cloth.
–Avoid touching the battery ends (S, T) or the unit contacts.
–Ensure correct polarities (S, T).
LWhen replacing the batteries:
–USE ONLY rechargeable
–Do NOT use
–We recommend using the Panasonic rechargeable batteries noted in the base unit’s operating instructions for replacement battery information.
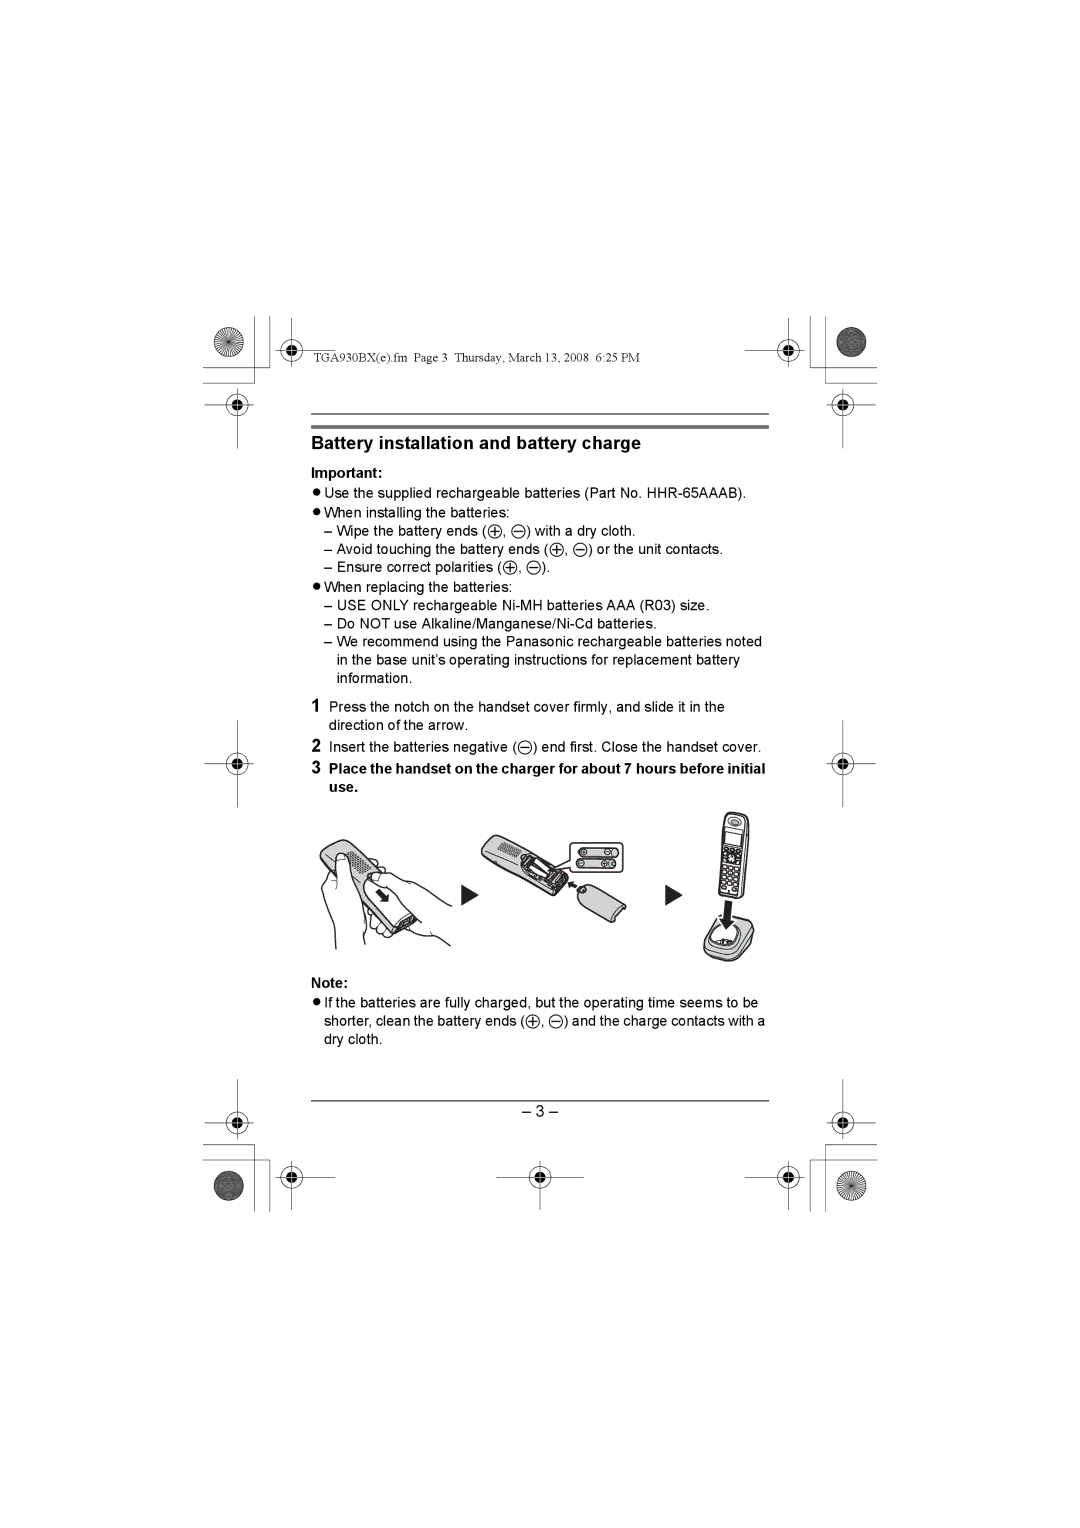
1Press the notch on the handset cover firmly, and slide it in the direction of the arrow.
2Insert the batteries negative (T) end first. Close the handset cover.
3Place the handset on the charger for about 7 hours before initial use.
Note:
LIf the batteries are fully charged, but the operating time seems to be shorter, clean the battery ends (S, T) and the charge contacts with a dry cloth.
– 3 –