PV-GS150 specifications
The Panasonic PV-GS150 is a camcorder that emerged as a popular model in the early 2000s, showcasing advanced features tailored for both amateur and semi-professional videographers. This compact, lightweight camcorder is designed with versatility and user-friendliness in mind, making it an ideal choice for capturing cherished memories or producing creative video projects.One of the standout features of the PV-GS150 is its 3CCD image sensor system. Unlike traditional single-sensor designs, the 3CCD technology uses three separate sensors to capture red, green, and blue colors independently. This results in vibrant, accurate color reproduction and enhanced image quality, especially in challenging lighting conditions. The camcorder supports a maximum resolution of 690,000 pixels, allowing users to record in various formats including 16:9 widescreen for cinematic-style videos.
The PV-GS150 is equipped with a Leica Dicomar lens that boasts a 10x optical zoom. This lens not only provides sharp and clear images but also has effective manual focus capabilities, allowing creators to achieve professional-looking shots. Additionally, the 700x digital zoom feature enables users to capture distant subjects without sacrificing image clarity.
Another notable characteristic of this camcorder is its digital image stabilization technology, which helps reduce the effects of camera shake. This feature is particularly beneficial when recording while in motion, resulting in smoother footage that enhances the overall viewing experience. The integration of advanced autofocus technology ensures that subjects are kept in focus, even as they move within the frame.
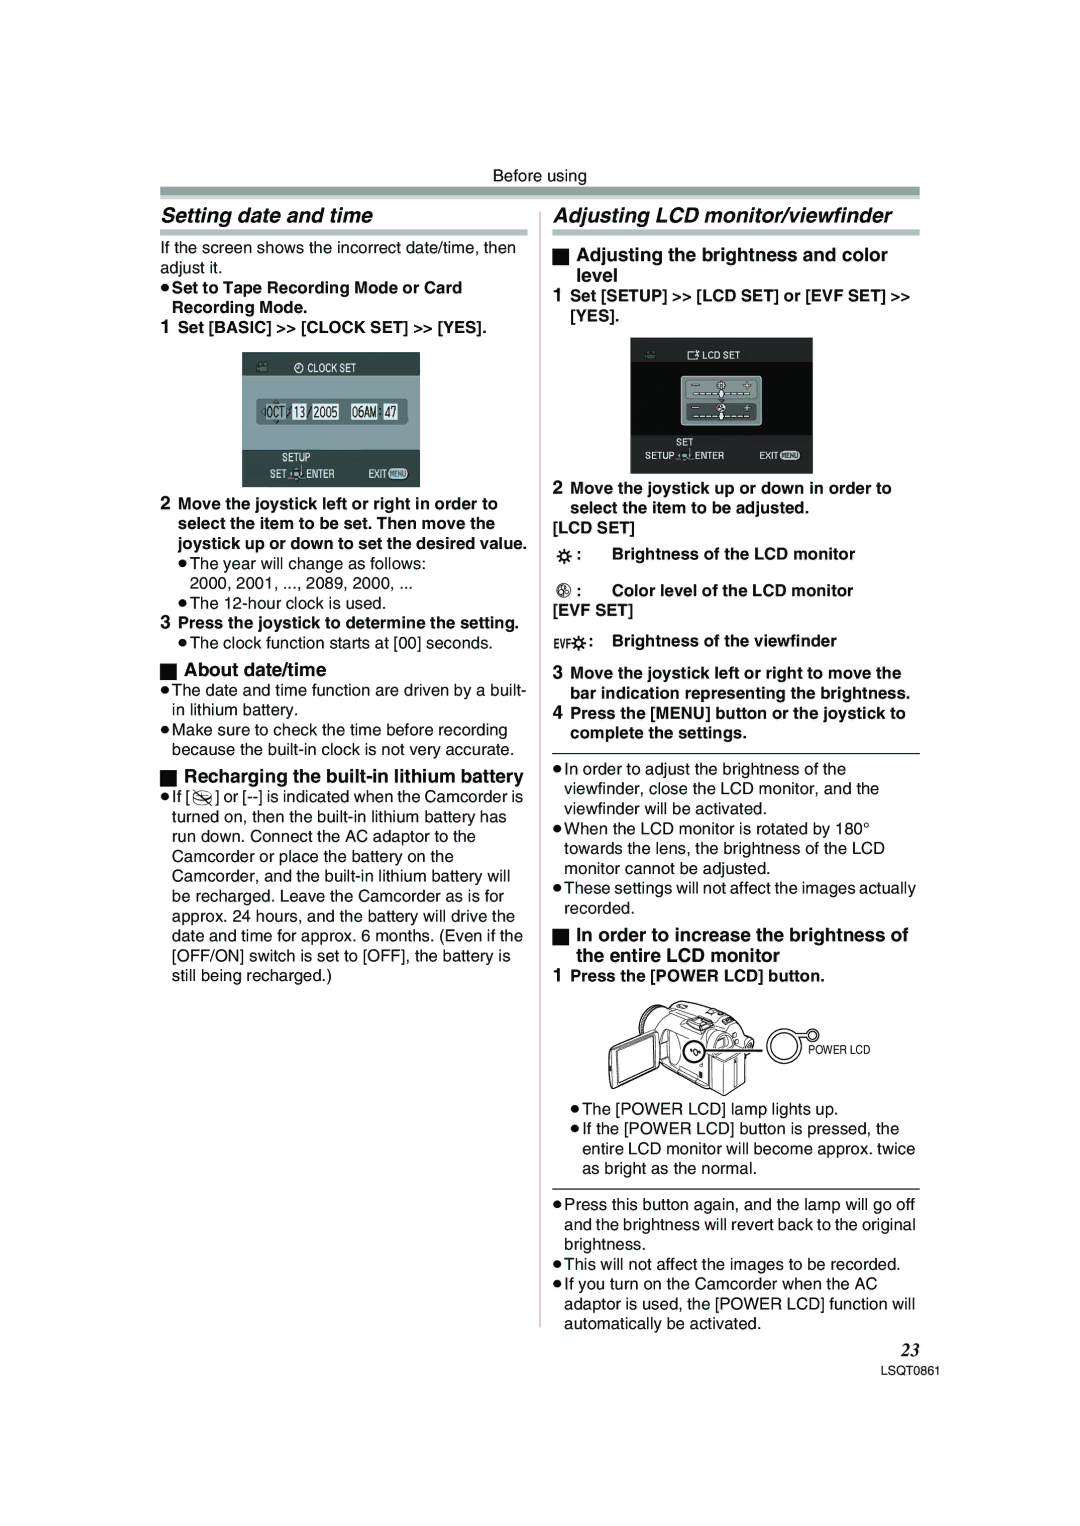
The Panasonic PV-GS150 also includes a 2.5-inch LCD flip-out screen, providing users with a vibrant display for framing shots and reviewing footage. The camcorder is compatible with various digital video recording formats, including MiniDV tapes, which are known for their reliability and quality. Moreover, it features an audio input for an external microphone, broadening the possibilities for capturing high-quality sound.
In terms of connectivity, the PV-GS150 offers USB output and FireWire (IEEE 1394) ports, facilitating easy transfer of video files to computers for editing and sharing. With its blend of user-friendly features, advanced imaging technologies, and portability, the Panasonic PV-GS150 remains a noteworthy option for those looking to venture into the world of video recording. Whether for family gatherings, travel documentation, or creative projects, this camcorder delivers impressive performance and reliability, making it a lasting favorite among users.

