DISCS
Playing discs
1 Press [x, OPEN/CLOSE] P on the main unit to open the tray Q.
Note:
• This unit supports ver. 1.0 and 1.1 ID3 tags. |
• ID3 is a tag embedded in MP3 track to provide |
information about the track. |
• Titles containing text data that the unit does not support |
MAIN UNIT
Standby/on switch [1] 2
Press to switch the unit from on to standby mode or vice versa. In standby mode, the unit is still consuming a small amount of power.
[AUTO OFF] d
This auto off function allows you to turn off the unit in disc or USB mode only after left unused for 10 minutes.
• Press the button to activate the |
TROUBLESHOOTING GUIDE
Before requesting service, make the following checks. If you are in doubt about some of the check points, or if the solutions indicated do not solve the problem, consult your dealer for instructions.
tray Q.
2 Press [4/9, CD] M to start play.
| Stop | Press [8] D (stop) during play. |
| playback | | | |
| | | | |
| Pause | Press [4/9, CD] M during play. |
| play | Press again to resume play. |
| | | | |
| Skip | | | |
| album | Press [R/T, ALBUM] j to select the |
| |
| | desired album during play or when in stop |
| | mode. |
| | • This function does not work during |
| | RANDOM mode. |
| | | | |
| Skip | During play |
| tracks | | | |
| Press [2/3] / [5/6] K, or turn |
| |
| | [TRACK] N to skip to your desired track. |
| | While in stop mode | |
| | Press [2/3] / [5/6] K followed |
| | by [4/9, CD] M to skip and play your |
| | desired track. |
| | Alternatively, turn [TRACK] N to skip and |
| | play your desired track. |
| | • During random play (Z see “Play Mode |
| | function”), you cannot skip to tracks |
| | which have been played. |
| | • You cannot use [TRACK] N to skip |
| | track during random play. |
During 1-ALBUM and 1-ALBUM RANDOM mode, track skipping can only be done within the current album.
| Search | |
| through | Press and hold [2/3] / [5/6] K |
| tracks |
| |
Program play
This function allows you to program up to 24 tracks.
1 Press [4/9, CD] M and then [8] D (stop). 2 Press [PROGRAM] V.
“PGM” appears.
3 Press the numeric buttons T to select your desired track.
Repeat this step to program other tracks.
4 Press [4/9, CD] M to start play.
1 Press [4/9, CD] M and then [8] D (stop).
2 Press [PROGRAM] V.
3 Press [R/T, ALBUM] j to select your desired album.
4 Press [5/6] K once and then the numeric buttons T to select your desired track.
5 Press [OK] j.
Repeat steps 3 to 5 to program other tracks.
6 Press [4/9, CD] M to start play.
For two-digit track, press [ 10] T once then the two digits.
For three-digit track, press [ 10] T twice then the three digits.
Cancel | Press [PROGRAM] V in the stop |
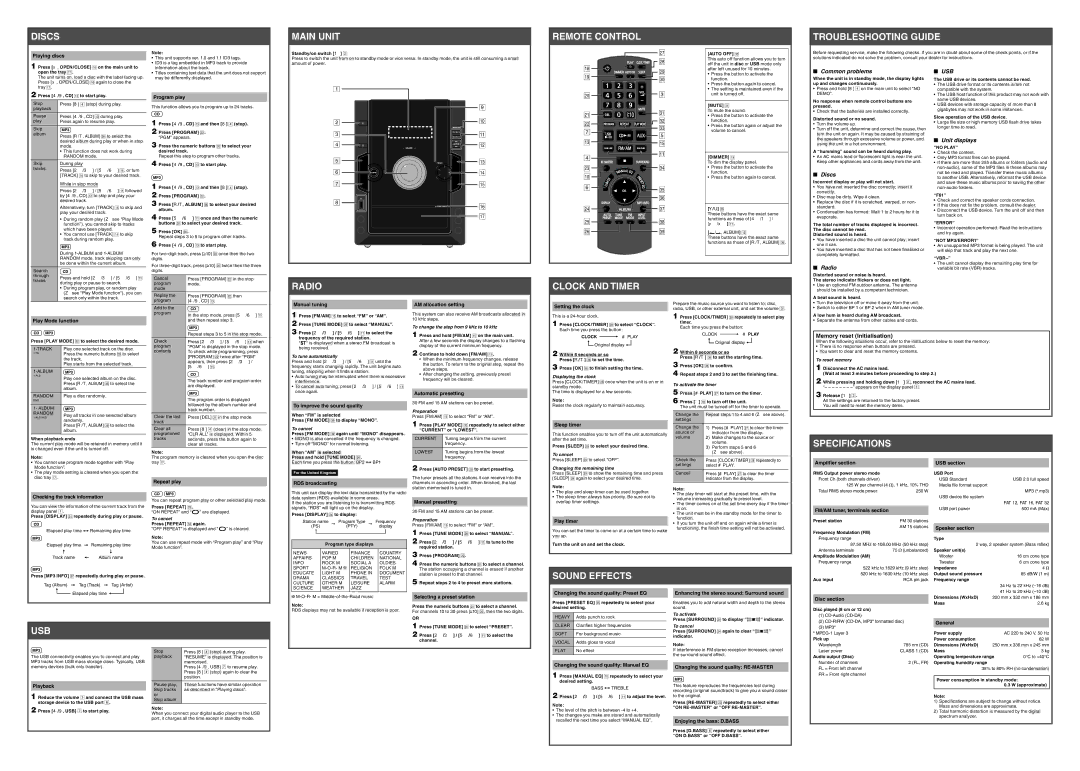
MANUAL EQ

5/6
 2/3
2/3
ALBUM
– VOLUME +
CD
TRACK 4/9


FM/AM
x OPEN CLOSE
| T | 3 |
| U | e |
| f |
| V |
| g |
| 7 |
| 5 |
| M |
| O |
| 4 | K |
| |
| W | h |
| 0 | |
| 6 | i |
| |
| | j |
| X | k |
| Y | l |
| Z | m |
• The setting is maintained even if the |
unit is turned off. |
[MUTE] e
To mute the sound.
•Press the button to activate the function.
•Press the button again or adjust the volume to cancel.
[DIMMER] S
To dim the display panel.
•Press the button to activate the function.
•Press the button again to cancel.
[Y/U] j
These buttons have the exact same functions as those of [4/1] / [y/x] K.
[ /
/ , ALBUM] L
These buttons have the exact same functions as those of [R/T, ALBUM] j.
•Press and hold [8] 4 on the main unit to select “NO DEMO”.
No response when remote control buttons are pressed.
• Check that the batteries are installed correctly.
Distorted sound or no sound.
•Turn the volume up.
•Turn off the unit, determine and correct the cause, then turn the unit on again. It may be caused by straining of the speakers through excessive volume or power, and using the unit in a hot environment.
A “humming” sound can be heard during play.
•An AC mains lead or fl uorescent light is near the unit. Keep other appliances and cords away from the unit.
■Discs
Incorrect display or play will not start.
•You have not inserted the disc correctly; insert it correctly.
•Disc may be dirty. Wipe it clean.
•Replace the disc if it is scratched, warped, or non- standard.
•Condensation has formed: Wait 1 to 2 hours for it to evaporate.
The total number of tracks displayed is incorrect. The disc cannot be read.
Distorted sound is heard.
•You have inserted a disc the unit cannot play; insert one it can.
•You have inserted a disc that has not been fi nalised or completely formatted.
■Radio
Distorted sound or noise is heard.
The stereo indicator flickers or does not light.
compatible with the system. |
• The USB host function of this product may not work with |
some USB devices. |
• USB devices with storage capacity of more than 8 |
gigabytes may not work in some instances. |
Slow operation of the USB device.
•Large fi le size or high memory USB fl ash drive takes longer time to read.
■Unit displays
“NO PLAY”
•Check the content.
•Only MP3 format fi les can be played.
•If there are more than 255 albums or folders (audio and non-audio), some of the MP3 fi les in these albums may not be read and played. Transfer these music albums to another USB. Alternatively, reformat the USB device and save these music albums prior to saving the other non-audio folders.
“F61”
•Check and correct the speaker cords connection.
•If this does not fi x the problem, consult the dealer.
•Disconnect the USB device. Turn the unit off and then turn back on.
“ERROR”
•Incorrect operation performed. Read the instructions and try again.
“NOT MP3/ERROR1”
•An unsupported MP3 format is being played. The unit will skip that track and play the next one.
“VBR–”
•The unit cannot display the remaining play time for variable bit rate (VBR) tracks.
Play Mode function
Press [PLAY MODE] f to select the desired mode.
| 1-TRACK | Play one selected track on the disc. |
| 1-TR | Press the numeric buttons T to select |
| | the track. |
| | Play starts from the selected track. |
| | |
| 1-ALBUM | |
| 1-ALB | Play one selected album on the disc. |
| |
| | Press [R/T, ALBUM] j to select the |
| | album. |
| | |
| RANDOM | Play a disc randomly. |
| RND | |
| | |
| 1- ALBUM | |
| RANDOM | Play all tracks in one selected album |
| 1-ALB RND |
| randomly. |
| |
| | Press [R/T, ALBUM] j to select the |
| | album. |
| | |
When playback ends
The current play mode will be retained in memory until it is changed even if the unit is turned off.
Note:
• You cannot use program mode together with “Play |
Mode function”. |
| M |
Add to the | |
program | In the stop mode, press [5/6] K |
|
| and then repeat step 3. |
| Repeat steps 3 to 5 in the stop mode. |
| |
Check | Press [2/3] / [5/6] K when |
program | “PGM” is displayed in the stop mode. |
contents | To check while programming, press |
| [PROGRAM] V twice after “PGM” |
| appears, then press [2/3] / |
| [5/6] K. |
| The track number and program order |
| are displayed. |
| The program order is displayed |
| followed by the album number and |
| track number. |
Clear the last | Press [DEL] U in the stop mode. |
track | |
Clear all | Press [8] 4 (clear) in the stop mode. |
programmed | “CLR ALL” is displayed. Within 5 |
tracks | seconds, press the button again to |
| clear all tracks. |
Note:
The program memory is cleared when you open the disc tray Q.
Manual tuning
1 Press [FM/AM] O to select “FM” or “AM”.
2 Press [TUNE MODE] Z to select “MANUAL”.
3 Press [2/3] / [5/6] K to select the frequency of the required station.
“ ” is displayed when a stereo FM broadcast is being received.
To tune automatically
Press and hold [2/3] / [5/6] K until the frequency starts changing rapidly. The unit begins auto tuning, stopping when it fi nds a station.
•Auto tuning may be interrupted when there is excessive interference.
•To cancel auto tuning, press [2/3] / [5/6] K once again.
To improve the sound quality
When “FM” is selected
Press [FM MODE] m to display “MONO”.
To cancel
Press [FM MODE] m again until “MONO” disappears.
•MONO is also cancelled if the frequency is changed.
•Turn off “MONO” for normal listening.
When “AM” is selected
Press and hold [TUNE MODE] Z.
Each time you press the button: BP2  BP1
BP1
AM allocation setting
This system can also receive AM broadcasts allocated in 10 kHz steps.
To change the step from 9 kHz to 10 kHz
1 Press and hold [FM/AM] O on the main unit.
After a few seconds the display changes to a fl ashing display of the current minimum frequency.
2 Continue to hold down [FM/AM] O.
•When the minimum frequency changes, release the button. To return to the original step, repeat the above steps.
•After changing the setting, previously preset frequency will be cleared.
Automatic presetting
30 FM and 15 AM stations can be preset.
Preparation
Press [FM/AM] O to select “FM” or “AM”.
1 Press [PLAY MODE] f repeatedly to select either “CURRENT” or “LOWEST”.
CURRENT | Tuning begins from the current |
| frequency. |
| |
LOWEST | Tuning begins from the lowest |
| frequency. |
| |
2 Press [AUTO PRESET] Y to start presetting.
Setting the clock
This is a 24-hour clock.
1 Press [CLOCK/TIMER] b to select “CLOCK”.
Each time you press the button:
CLOCK  # PLAY
 Original display
2 Within 8 seconds or so Press [R/T] j to set the time.
3 Press [OK] j to finish setting the time.
Displaying the clock
Press [CLOCK/TIMER] b once when the unit is on or in standby mode.
The time is displayed for a few seconds.
Note:
Reset the clock regularly to maintain accuracy.
Sleep timer
This function enables you to turn off the unit automatically after the set time.
Press [SLEEP] c to select your desired time.
To cancel
Press [SLEEP] c to select “OFF”.
Changing the remaining time
Prepare the music source you want to listen to; disc, radio, USB, or other external unit, and set the volume 3.
1 Press [CLOCK/TIMER] b repeatedly to select play timer.
Each time you press the button:
CLOCK  # PLAY
 Original display
2 Within 8 seconds or so
Press [R/T] j to set the starting time.
3 Press [OK] j to confirm.
4 Repeat steps 2 and 3 to set the finishing time.
To activate the timer
5 Press [#PLAY] a to turn on the timer. 6 Press [`] R to turn off the unit.
The unit must be turned off for the timer to operate.
Change the | Repeat steps 1 to 4 and 6 (Z see above). |
settings | |
| |
Change the | 1) Press [#PLAY] a to clear the timer |
source or | indicator from the display. |
volume | 2) Make changes to the source or |
| volume. |
| 3) Perform steps 5 and 6 |
| (Z see above). |
| |
Check the | Press [CLOCK/TIMER] b repeatedly to |
settings | select #PLAY. |
•Turn the television off or move it away from the unit.
•Switch to either BP 1 or BP 2 when in AM tuner mode.
A low hum is heard during AM broadcast.
• Separate the antenna from other cables and cords.
Memory reset (Initialisation)
When the following situations occur, refer to the instructions below to reset the memory:
•There is no response when buttons are pressed.
•You want to clear and reset the memory contents.
To reset memory
1 Disconnect the AC mains lead.
(Wait at least 3 minutes before proceeding to step 2.)
2 While pressing and holding down [1] 2, reconnect the AC mains lead.
“– – – – – – – –” appears on the display panel 1.
3 Release [1] 2.
All the settings are returned to the factory preset.
You will need to reset the memory items.
SPECIFICATIONS
Amplifier section | USB section |
Checking the track information
You can view the information of the current track from the display panel 1.
Press [DISPLAY] X repeatedly during play or pause.
Repeat play
You can repeat program play or other selected play mode.
Press [REPEAT] g.
“ON REPEAT” and “ ” are displayed.
To cancel
Press [REPEAT] g again.
“OFF REPEAT” is displayed and “ ” is cleared.
The tuner presets all the stations it can receive into the
RDS broadcastingchannels in ascending order. When fi nished, the last station memorised is tuned in.
This unit can display the text data transmitted by the radio
data system (RDS) available in some areas.
If the station you are listening to is transmitting RDS Manual presetting signals, “RDS” will light up on the display.
| Press [DISPLAY] X to display: | | 30 FM and 15 AM stations can be preset. |
| | |
| Station name | Program Type | Frequency | Preparation |
| Press [FM/AM] O to select “FM” or “AM”. |
| (PS) | (PTY) | display |
[SLEEP] c again to select your desired time.
Note:
•The play and sleep timer can be used together.
•The sleep timer always has priority. Be sure not to overlap timer settings.
Play timer
indicator from the display. |
Note:
• The play timer will start at the preset time, with the |
volume increasing gradually to preset level. |
• The timer comes on at the set time every day if the timer |
is on. |
• The unit must be in the standby mode for the timer to |
function. |
• If you turn the unit off and on again while a timer is |
functioning, the fi nish time setting will not be activated. |
Front Ch (both channels driven) | |
125 W per channel (4 | ), 1 kHz, 10% THD |
Total RMS stereo mode power | 250 W |
FM/AM tuner, terminals section
Preset station | FM 30 stations |
| AM 15 stations |
USB Standard | USB 2.0 full speed |
Media fi le format support | |
| MP3 ( .mp3) |
USB device fi le system | |
| FAT 12, FAT 16, FAT 32 |
USB port power | 500 mA (Max) |
Speaker section
SPORT | M-O-R- M | RELIGION | FOLK M |
EDUCATE | LIGHT M | PHONE IN | DOCUMENT |
DRAMA | CLASSICS | TRAVEL | TEST |
CULTURE | OTHER M | LEISURE | ALARM |
SCIENCE | WEATHER | JAZZ | |

 M-O-R- M = Middle-of-the-Road music
Note:
RDS displays may not be available if reception is poor.
The station occupying a channel is erased if another station is preset to that channel.
5 Repeat steps 2 to 4 to preset more stations.
Selecting a preset station
Press the numeric buttons T to select a channel.
For channels 10 to 30 press [ 10] T, then the two digits.
OR
SOUND EFFECTS
Changing the sound quality: Preset EQ
Press [PRESET EQ] i repeatedly to select your desired setting.
| 522 kHz to 1629 kHz (9 kHz step) |
| 520 kHz to 1630 kHz (10 kHz step) |
Aux input | RCA pin jack |
Disc section
Disc played (8 cm or 12 cm)
(1) | CD-Audio (CD-DA) |
(2) | CD-R/RW (CD-DA, MP3 formatted disc) |
Impedance | 4 |
Output sound pressure | 85 dB/W (1 m) |
Frequency range | |
| 34 Hz to 22 kHz (–16 dB) |
| 41 Hz to 20 kHz (–10 dB) |
Dimensions (WxHxD) | 220 mm x 332 mm x 186 mm |
Mass | 2.6 kg |
General
| memory devices (bulk only transfer). | | | Press [4/9, USB] 7 to resume play. |
| | | | Press [8] 4 (stop) again to clear the |
| | | | position. |
| | | | |
| Playback | | Pause play, | These functions have similar operation |
| | | Skip tracks | as described in “Playing discs”. |
| 1 Reduce the volume 3 and connect the USB mass | |
| | or | |
| | Skip album | |
| storage device to the USB port 8. | | |
| | | |
| | | |
| 2 Press [4/9, USB] 7 to start play. | Note: | |
| When you connect your digital audio player to the USB |
| |
| | port, it charges all the time except in standby mode. |
Changing the sound quality: Manual EQ
1 Press [MANUAL EQ] 0 repeatedly to select your desired setting.
BASS  TREBLE
2 Press [2/3] / [5/6] K to adjust the level.
Note:
•The level of the pitch is between -4 to +4.
•The changes you make are stored and automatically recalled the next time you select “MANUAL EQ”.
Changing the sound quality: RE-MASTER
This feature reproduces the frequencies lost during recording (original soundtrack) to give you a sound closer to the original.
Press [RE-MASTER] W repeatedly to select either “ON RE-MASTER” or “OFF RE-MASTER”.
Enjoying the bass: D.BASS
Press [D.BASS] 6 repeatedly to select either “ON D.BASS” or “OFF D.BASS”.
FL = Front left channel |
FR = Front right channel |
35% to 80% RH (no condensation) |
Power consumption in standby mode: |
0.3 W (approximate) |
Note:
1)Specifi cations are subject to change without notice. Mass and dimensions are approximate.
2)Total harmonic distortion is measured by the digital spectrum analyzer.