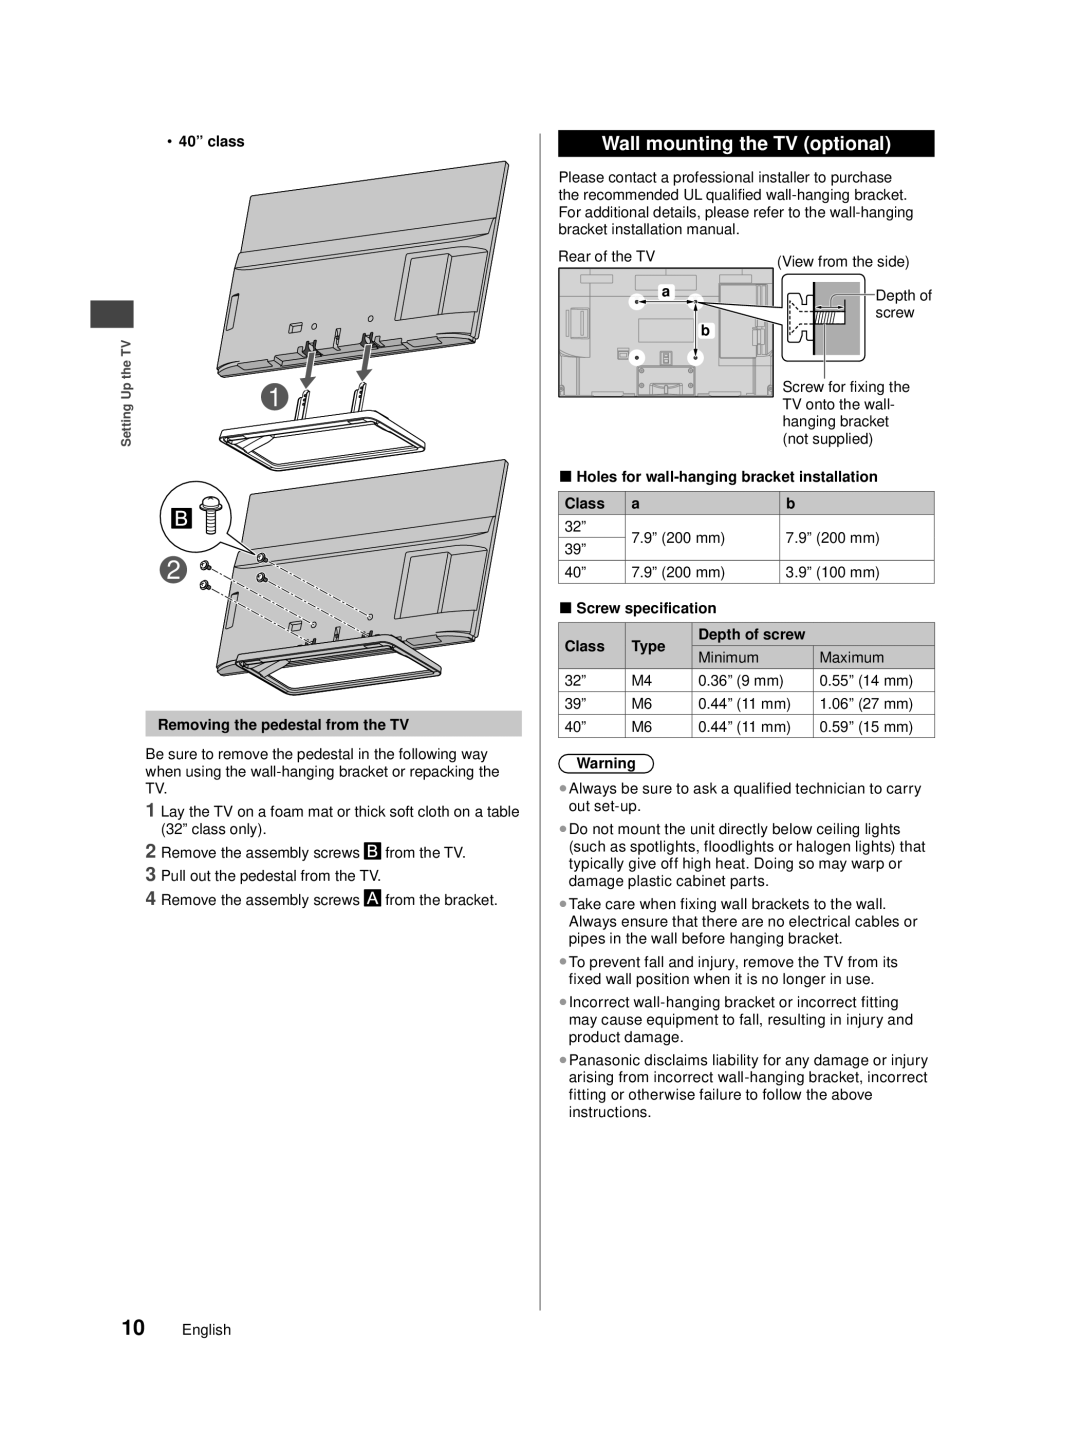
TC-40A420U, TC-39A400U, TC-32A400U specifications
The Panasonic TC-32A400U, TC-39A400U, and TC-40A420U are a series of high-performance LED televisions that cater to a range of viewer preferences and needs. Each model offers a blend of cutting-edge technology, exceptional image quality, and a sleek design, making them a popular choice among consumers looking for an enhanced viewing experience.Starting with the TC-32A400U, this 32-inch model is designed to fit seamlessly into smaller living spaces while still delivering impressive visuals. The TV features a vibrant HD display that brings images to life with clarity and detail. One notable characteristic of the TC-32A400U is its IPS LED technology, which ensures wide viewing angles and consistent color reproduction, allowing viewers to enjoy a great picture from various locations in the room. Additionally, the model is equipped with multiple HDMI and USB ports, enabling easy connectivity to other devices such as gaming consoles, streaming devices, and external hard drives.
Next in the lineup is the TC-39A400U, which ups the size to 39 inches while retaining similar features to its smaller counterpart. This model strikes a balance between size and performance, making it ideal for medium-sized rooms. The TC-39A400U boasts Full HD resolution, enhancing the viewing experience with sharper images and greater detail. This model also incorporates Panasonic's VIERA image technology which optimizes color accuracy and contrast levels, ensuring that every scene is vivid and immersive.
Finally, the TC-40A420U enters the scene with its 40-inch screen that appeals to those who want a larger display without sacrificing picture quality. This model features advanced sound technologies that enhance audio clarity, providing an all-around excellent viewing experience. Furthermore, the TV is equipped with Smart TV capabilities, allowing access to a plethora of streaming services and online content. Its sleek and modern design complements contemporary home aesthetics, making it a stylish addition to any entertainment setup.
In summary, the Panasonic TC-32A400U, TC-39A400U, and TC-40A420U televisions combine excellent picture quality, user-friendly features, and modern design to meet the diverse needs of today’s consumers. Whether for casual viewing, gaming, or streaming, these models provide a noteworthy option for those seeking quality and performance in their television choice.

