HCA 806A specifications
The Parasound HCA 806A is a high-performance power amplifier renowned for its exceptional audio quality and robust build. Designed for audiophiles and home theater enthusiasts alike, this amplifier offers impressive power delivery and advanced technologies that elevate the listening experience.With a solid power output of 85 watts per channel at 8 ohms and 135 watts at 4 ohms, the HCA 806A is capable of driving a wide range of speakers with ease. This makes it an ideal choice for both stereo and multi-channel applications, catering to a variety of sound systems. The amplifier has six channels, allowing for configurations that support surround sound systems or multi-room setups.
One of the standout features of the HCA 806A is its unique design, which incorporates high-quality components to ensure superior sound fidelity. The amplifier employs a Class AB design, striking a balance between the efficiency of Class D and the sonic warmth of Class A. This results in a sound that is both powerful and free from distortion, even at higher volume levels.
The HCA 806A also features a robust power supply, which contributes to its dynamic performance. It utilizes a massive toroidal transformer that minimizes electrical noise and maximizes power delivery. This feature ensures that the amplifier can handle transient peaks without compromising audio quality.
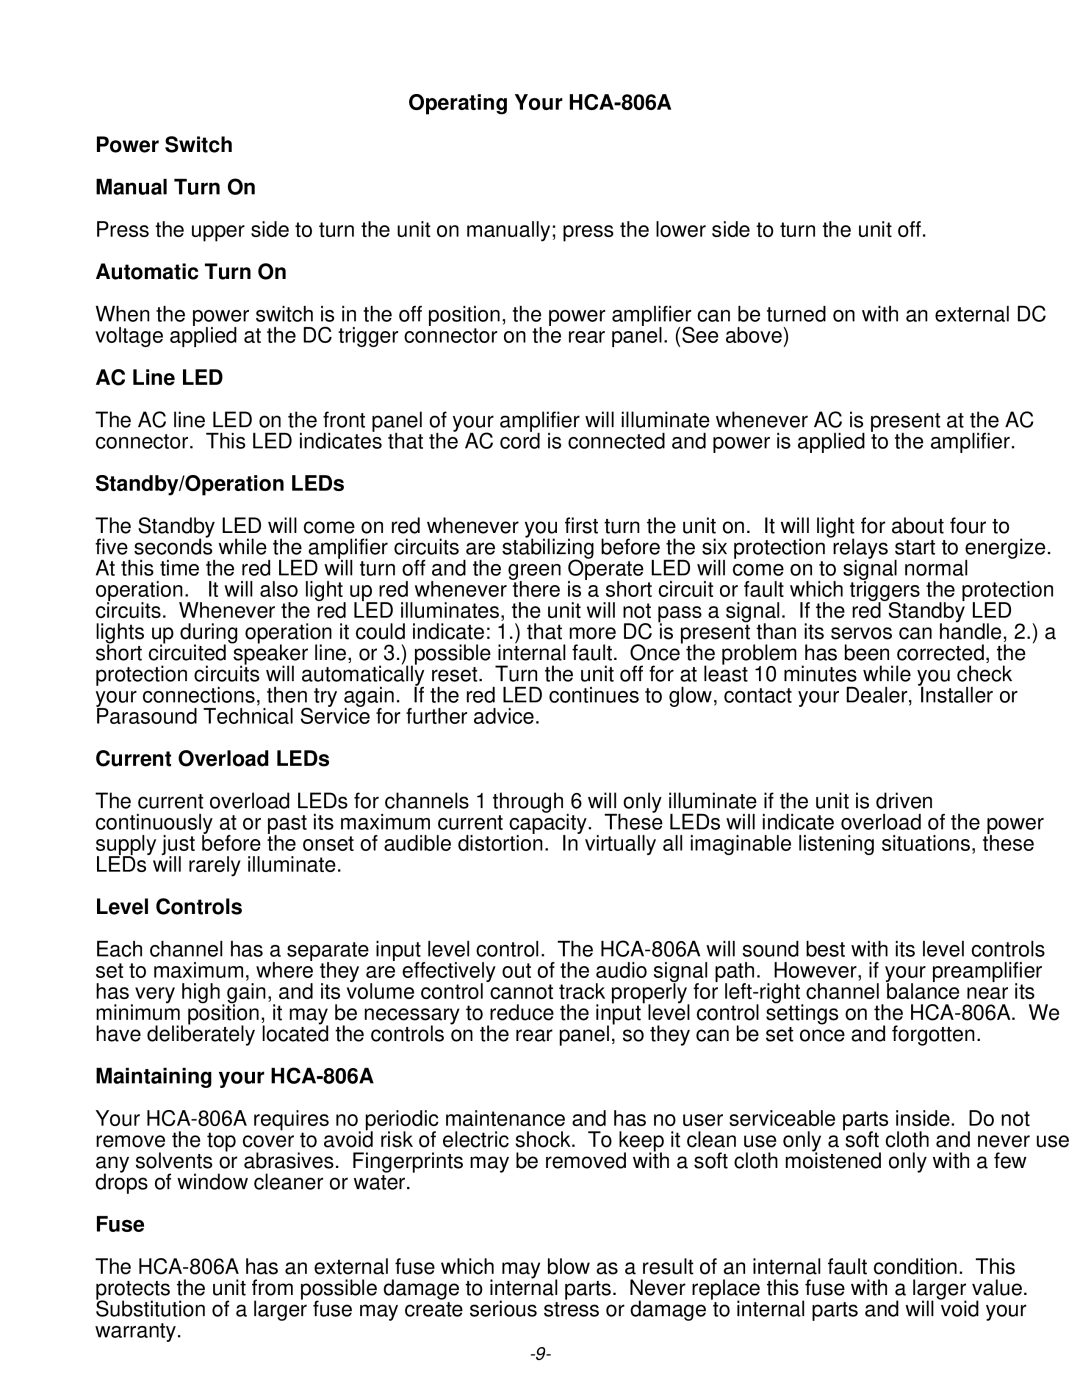
For added convenience, the amplifier is equipped with both balanced XLR and unbalanced RCA inputs, allowing for a flexible connection to various sources. This versatility enables users to integrate the HCA 806A into existing audio systems seamlessly. The amplifier also includes a triggered power function, which allows it to be turned on and off automatically with compatible devices.
Thermal management is another critical characteristic of the Parasound HCA 806A. It features intelligent fan cooling, which protects the unit from overheating during extended use. This advanced cooling system ensures consistent performance and longevity, crucial for high-demand audio environments.
In summary, the Parasound HCA 806A is a well-engineered amplifier that encapsulates quality and performance. With its powerful output, high-fidelity audio reproduction, and thoughtful design features, it stands out as an excellent choice for those seeking an immersive audio experience in their home theater or music setup. Whether used for critical listening or casual enjoyment, the HCA 806A is built to exceed expectations.
