
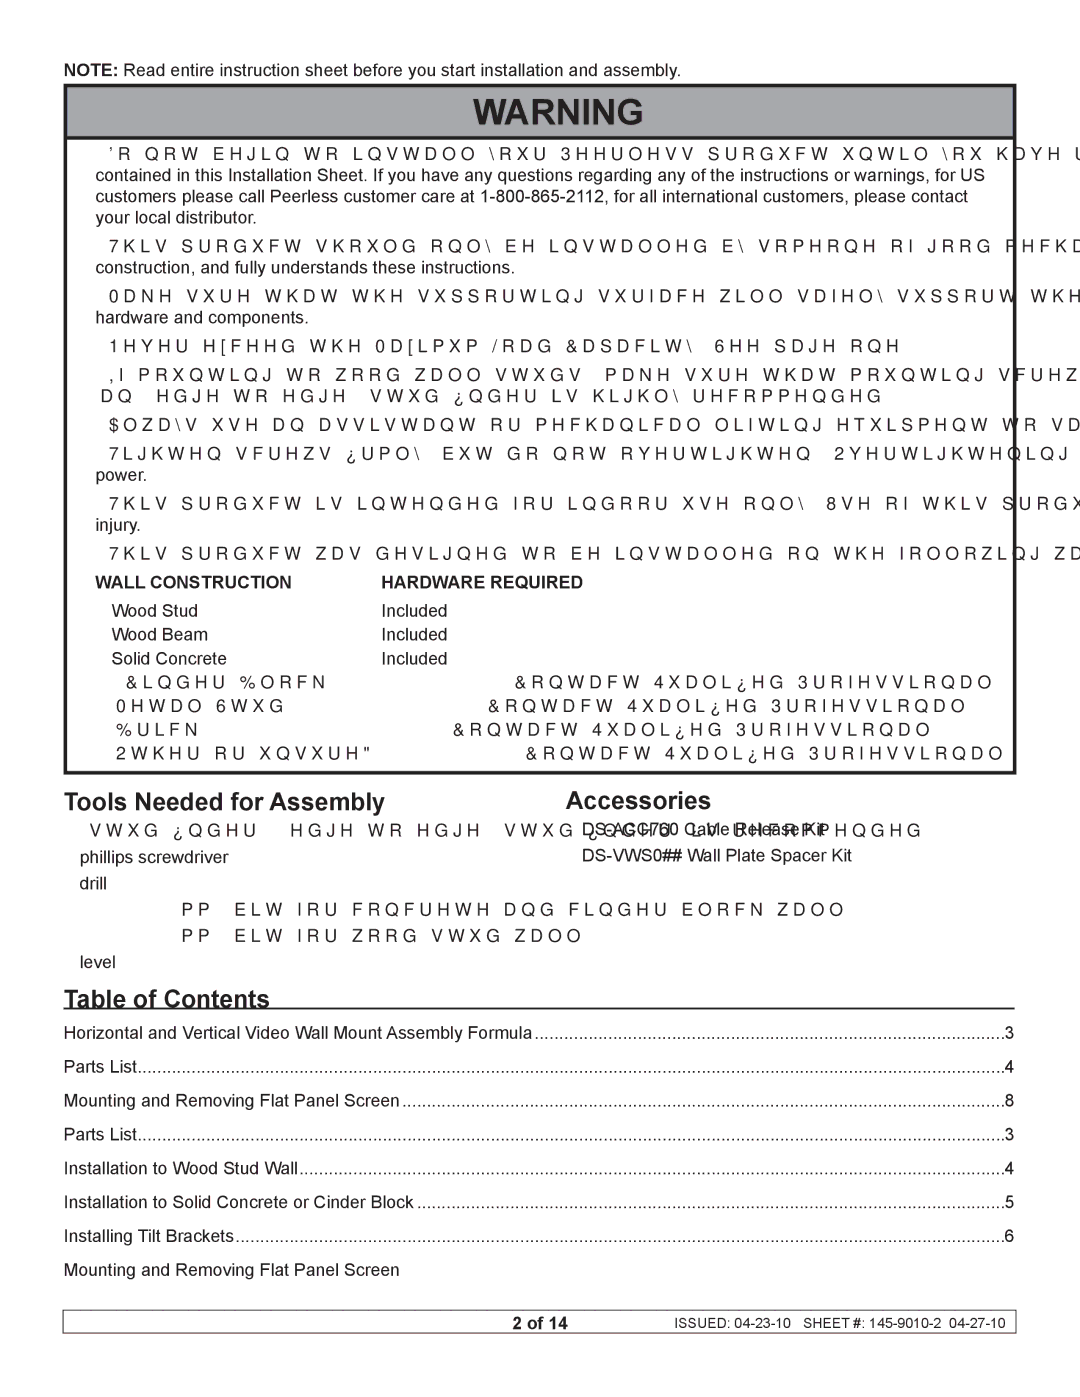
DS-VW760 specifications
The Peerless Industries DS-VW760 is a state-of-the-art video wall mounting solution designed for commercial displays and digital signage applications. Built with precision and durability in mind, this mounting system exemplifies Peerless Industries' commitment to innovation and quality. The DS-VW760's primary feature is its seamless video wall integration, accommodating large arrays of displays while ensuring that visual presentations remain cohesive and uninterrupted.One of the standout characteristics of the DS-VW760 is its ultra-thin profile. This design aspect not only enhances aesthetics but also minimizes the gap between individual screens, resulting in a more unified picture. The mounting system is engineered to support multiple configurations, allowing users to create various arrangements ranging from standard rectangular to custom shapes, which is ideal for marketing displays and immersive experiences.
Another notable feature is the tool-less adjustment capability, which simplifies the installation process. Users can make precise horizontal and vertical adjustments without the need for additional tools, significantly saving installation time and effort. This is particularly beneficial in environments where efficiency is paramount.
Peerless Industries has also integrated advanced security features into the DS-VW760. The system includes locking mechanisms that safeguard displays against theft, providing peace of mind in high-traffic public areas. This security aspect makes it an excellent choice for retail environments, public transportation hubs, and corporate offices.
The DS-VW760 is constructed from high-quality materials that ensure both longevity and reliability. The robust design handles the weight and size of modern displays, accommodating screens up to 75 inches with ease. Furthermore, the system supports a wide range of display brands and models, making it versatile and adaptable to various use cases.
In terms of ease of maintenance, the DS-VW760 is designed for accessibility. By allowing straightforward access to the back of the displays, maintenance personnel can easily reach cables and connections, further enhancing the user experience.
In summary, the Peerless Industries DS-VW760 offers a perfect blend of advanced technology, versatile installation options, and robust security features, making it an ideal solution for any professional setting that requires high-quality visual presentations. Whether for retail signage, corporate communication, or entertainment applications, the DS-VW760 stands as a premier choice that accommodates the needs of modern digital displays.