
c1978m specifications
The Pelco c1978M is a notable model that has gained recognition among surveillance camera enthusiasts and professionals alike. Introduced in an era marked by the burgeoning demand for enhanced security and monitoring systems, the c1978M showcased Pelco's commitment to quality and innovation. The camera was designed for versatility, providing users with a reliable solution for both indoor and outdoor applications.One of the standout features of the c1978M is its high-resolution imaging capabilities. With its ability to deliver clear and detailed video footage, the camera is equipped to handle various lighting conditions, making it suitable for a wide range of environments. The c1978M's advanced optics contribute significantly to its performance, delivering crisp images that are crucial for accurate identification.
The camera is built with solid construction, ensuring durability and reliability over time. Its rugged design makes it resilient against the elements, making it an excellent choice for outdoor installations. Furthermore, the c1978M incorporates advanced weatherproofing elements, allowing it to operate effectively in diverse weather conditions.
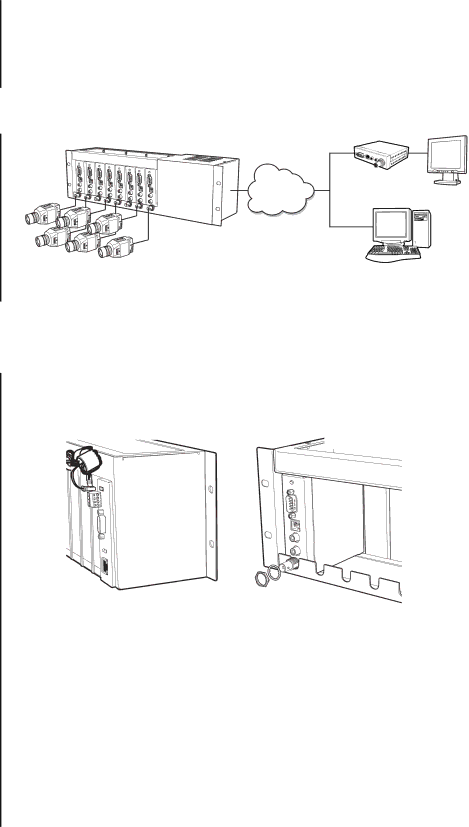
Another important aspect of the Pelco c1978M is its connectivity features. The camera supports various connectivity options, allowing easy integration into existing security systems. This flexibility is vital for facilities looking to expand or update their surveillance capabilities without overhauling their entire infrastructure.
The c1978M also incorporates advanced imaging technologies, such as automatic gain control and backlight compensation, which enhance its functionality in challenging lighting scenarios. These features allow the camera to adapt to sudden changes in light, ensuring consistent video quality day or night.
Moreover, the device is compatible with a range of lenses, giving users the ability to tailor the camera to their specific needs, whether for wide-area surveillance or focused monitoring. This adaptability further solidifies its position as a versatile option in the security market.
In conclusion, the Pelco c1978M stands out as a reliable and effective surveillance camera. With its combination of high-resolution imaging, rugged construction, and advanced features, it remains a relevant choice for security professionals seeking quality and performance in their surveillance systems. Its ability to adapt to various environments and lighting conditions continues to make it a valuable asset in the realm of security technology.