SECURING THE MONITOR
1.Attach the mounting bracket to the wall using screws (not included) large enough to support the weight of the mount and monitor and that are appropriate for the wall material. Ensure the mounting bracket is secured tightly.
WARNING: Dry wall may not be sturdy enough to support the combined weight of the monitor and the mount. Attach the mount to studs, if possible; if not, attach plywood to the studs and the mount to the plywood. Use enough screws when attaching the mount to ensure the monitor’s weight is evenly and adequately supported.
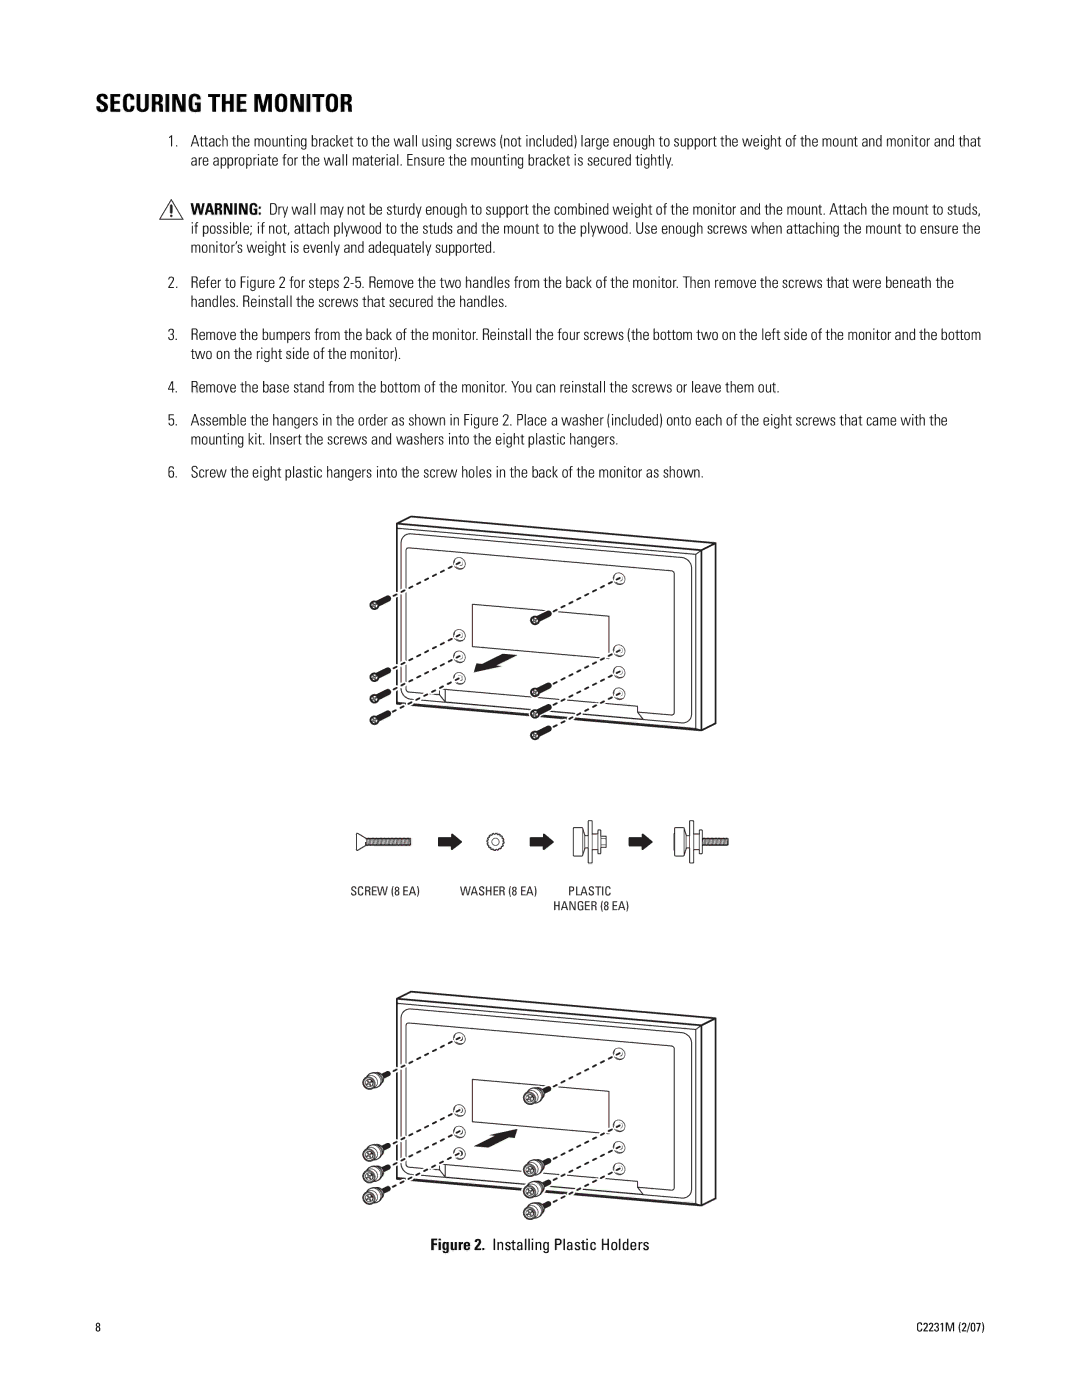
2.Refer to Figure 2 for steps
3.Remove the bumpers from the back of the monitor. Reinstall the four screws (the bottom two on the left side of the monitor and the bottom two on the right side of the monitor).
4.Remove the base stand from the bottom of the monitor. You can reinstall the screws or leave them out.
5.Assemble the hangers in the order as shown in Figure 2. Place a washer (included) onto each of the eight screws that came with the mounting kit. Insert the screws and washers into the eight plastic hangers.
6.Screw the eight plastic hangers into the screw holes in the back of the monitor as shown.
SCREW (8 EA) | WASHER (8 EA) | PLASTIC |
|
| HANGER (8 EA) |
Figure 2. Installing Plastic Holders
8 | C2231M (2/07) |